
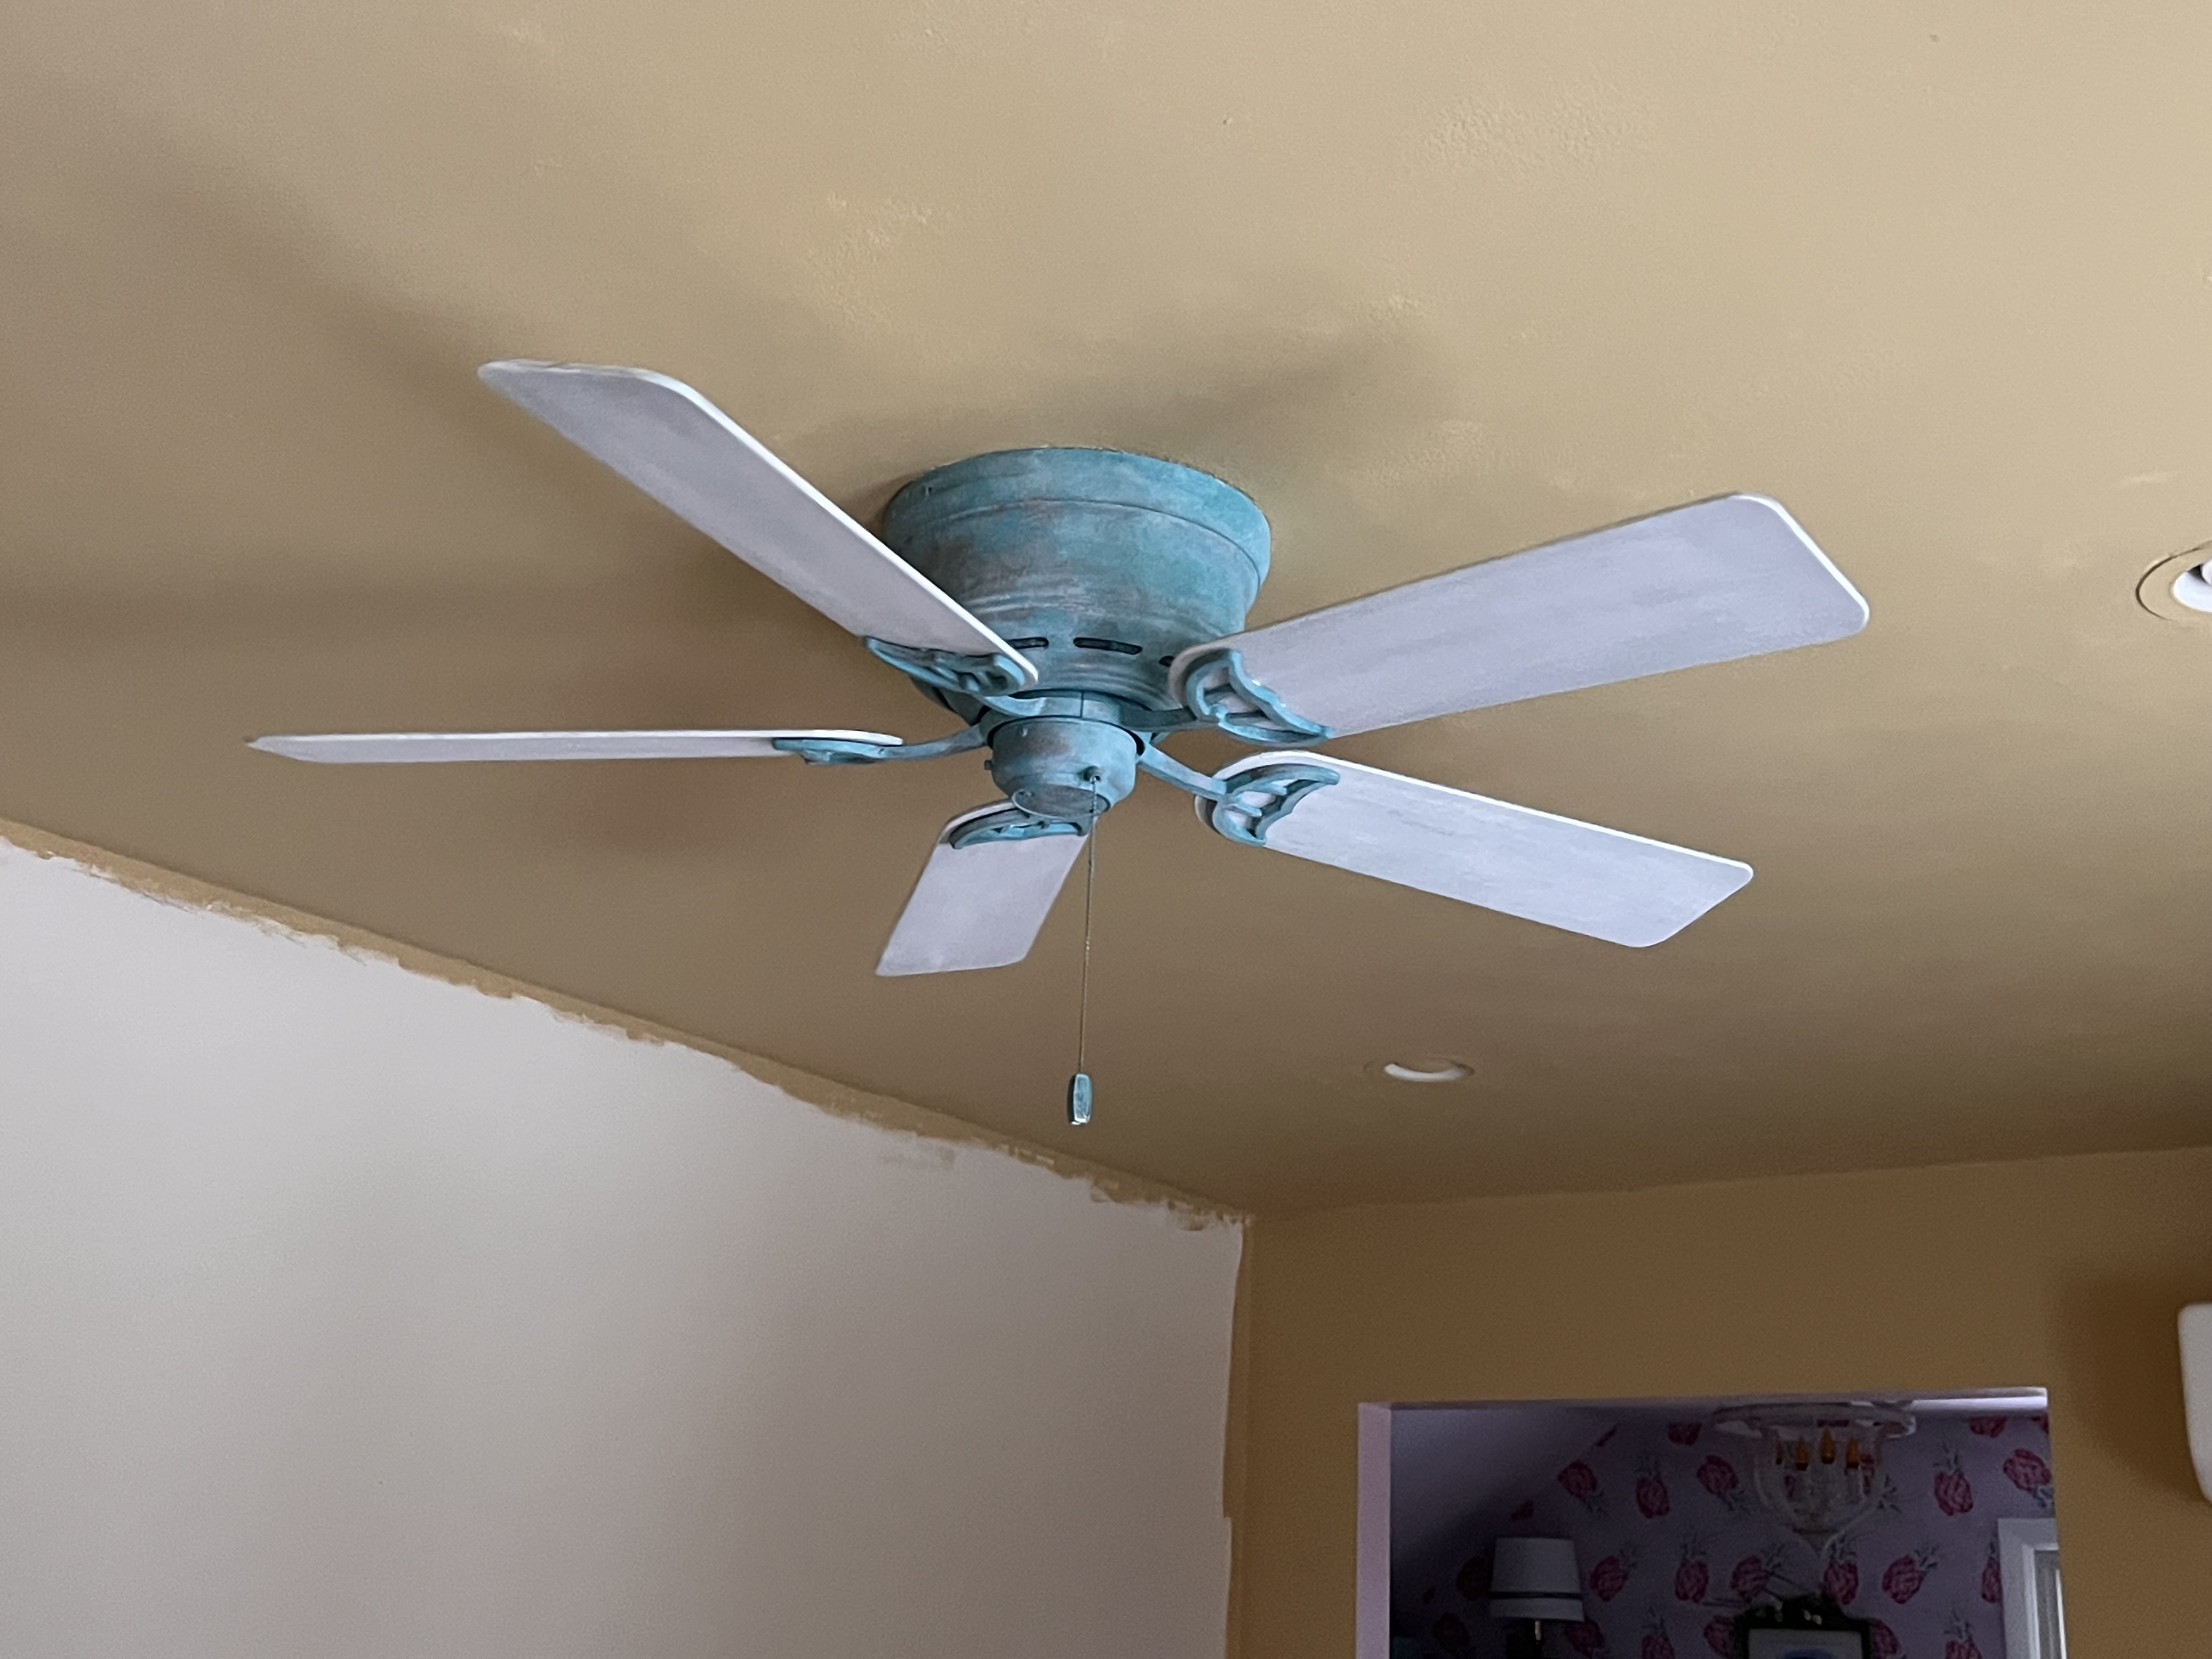
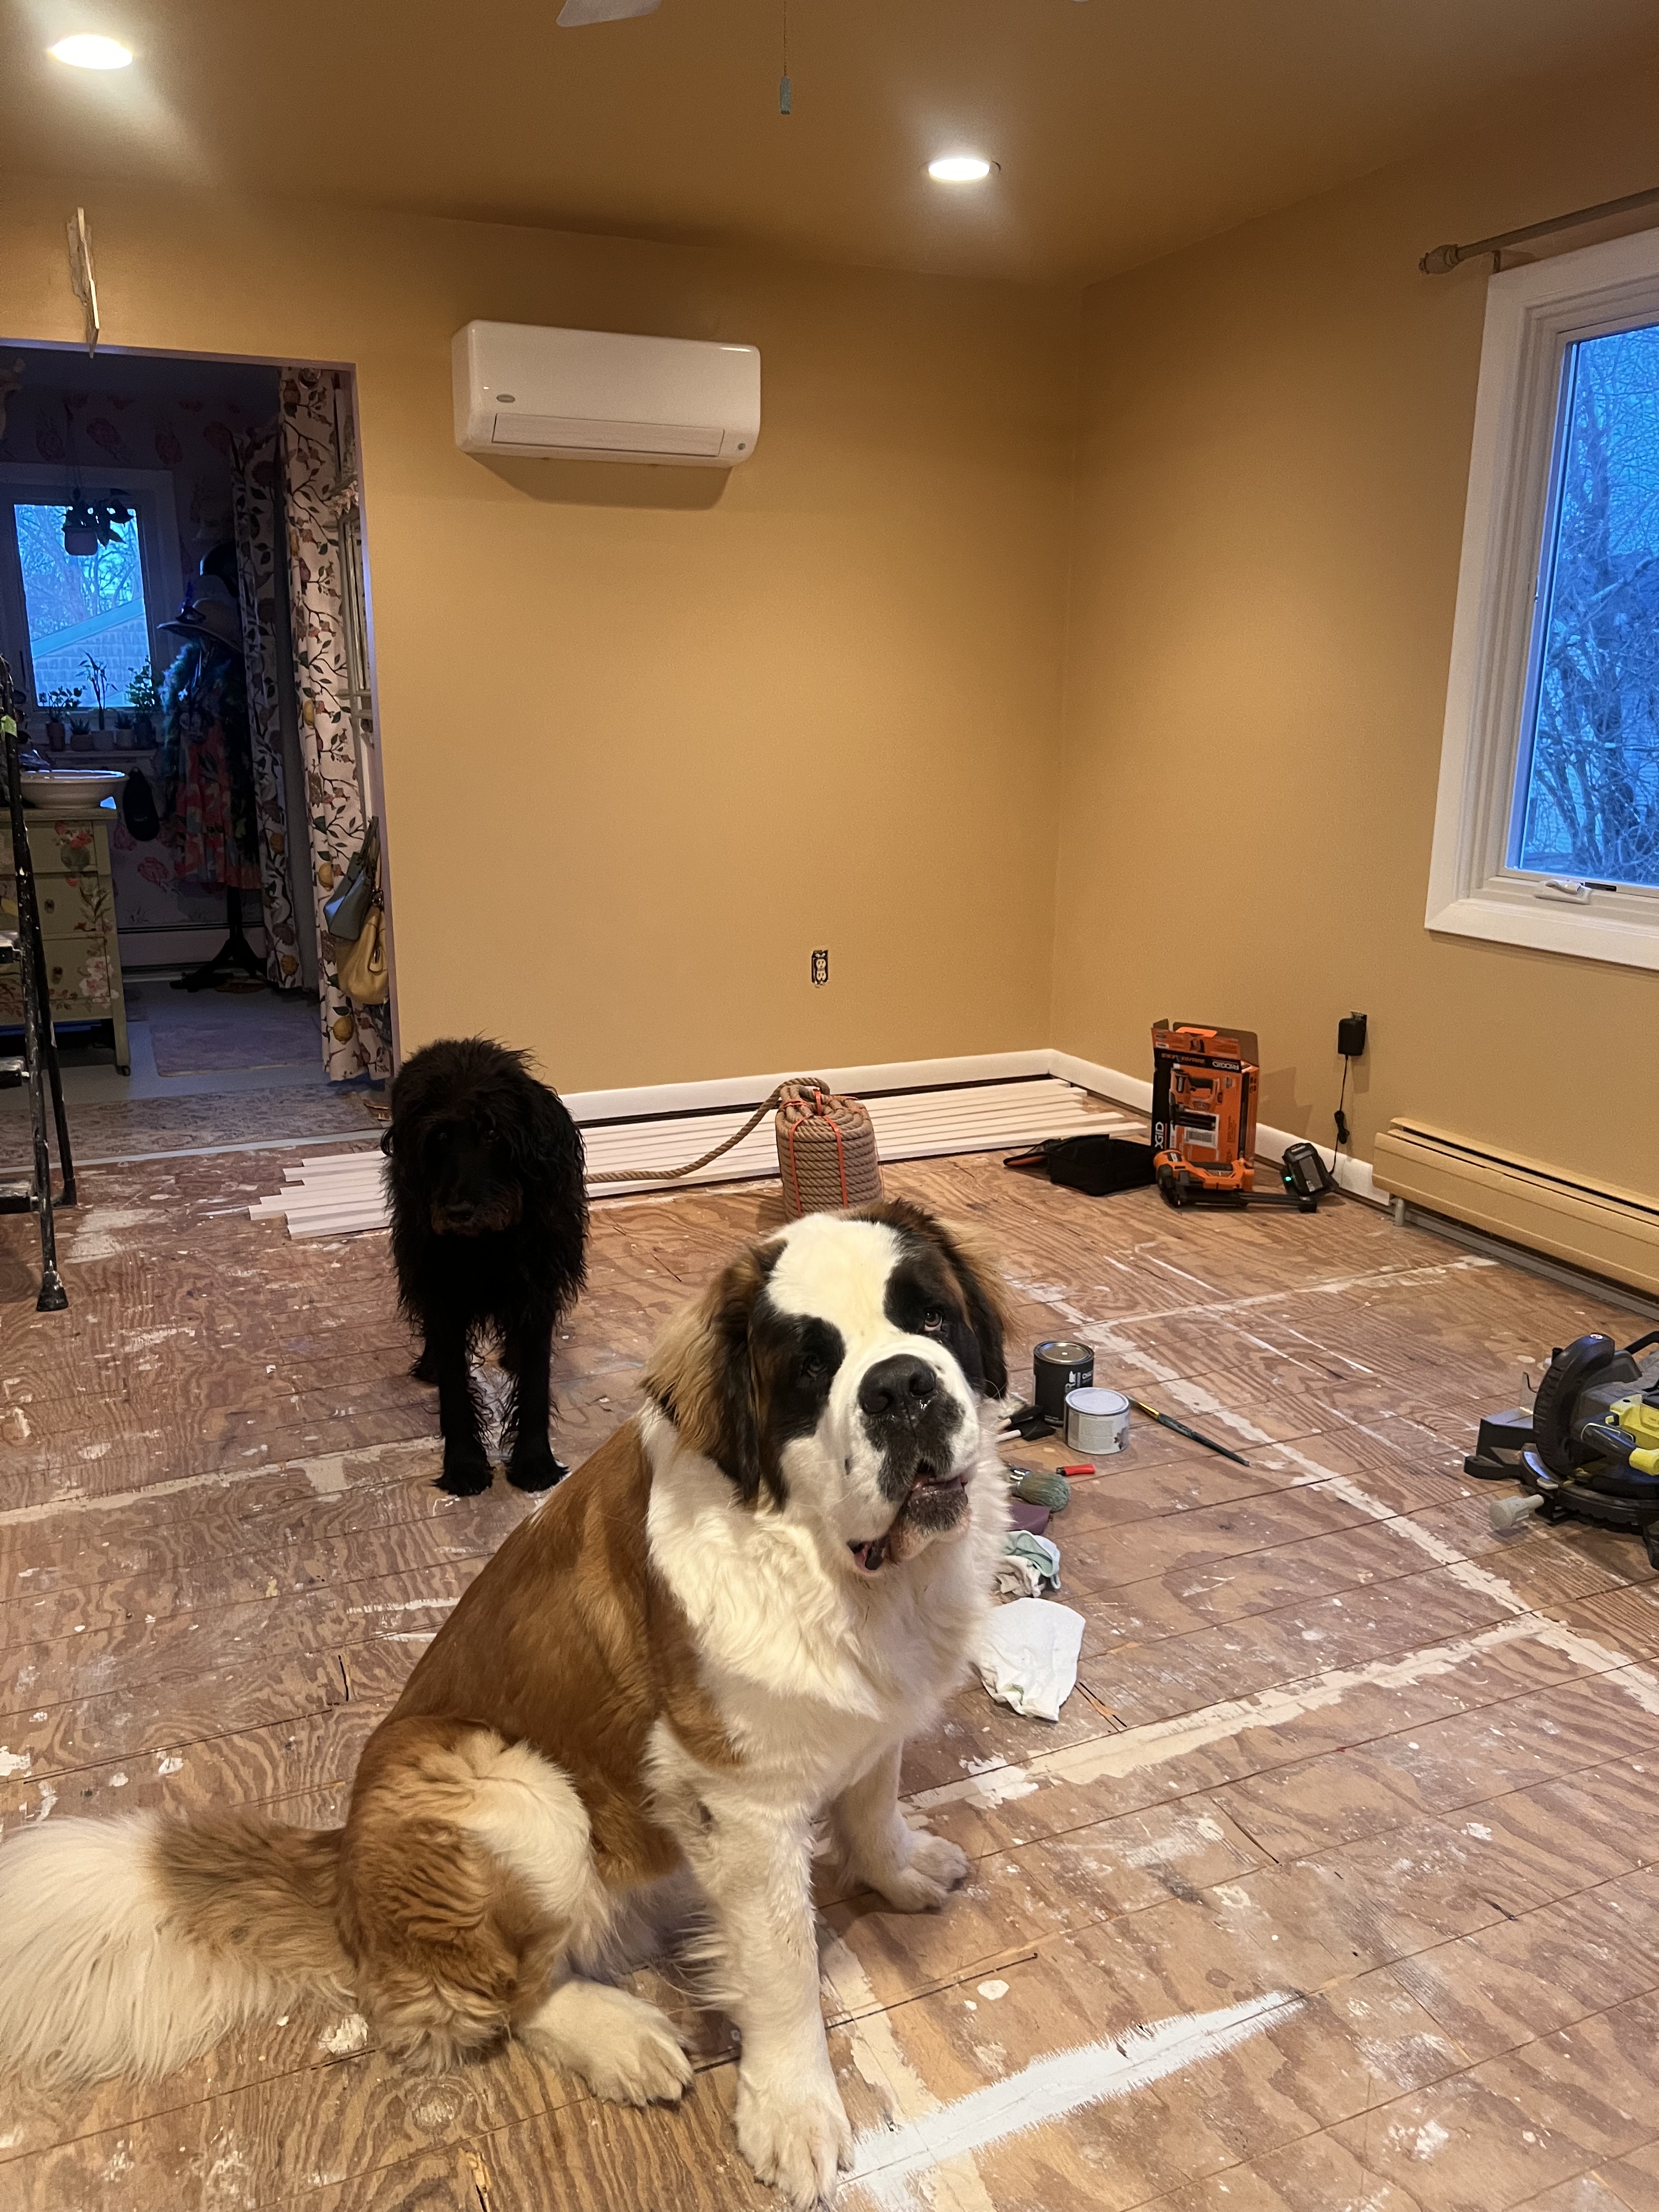
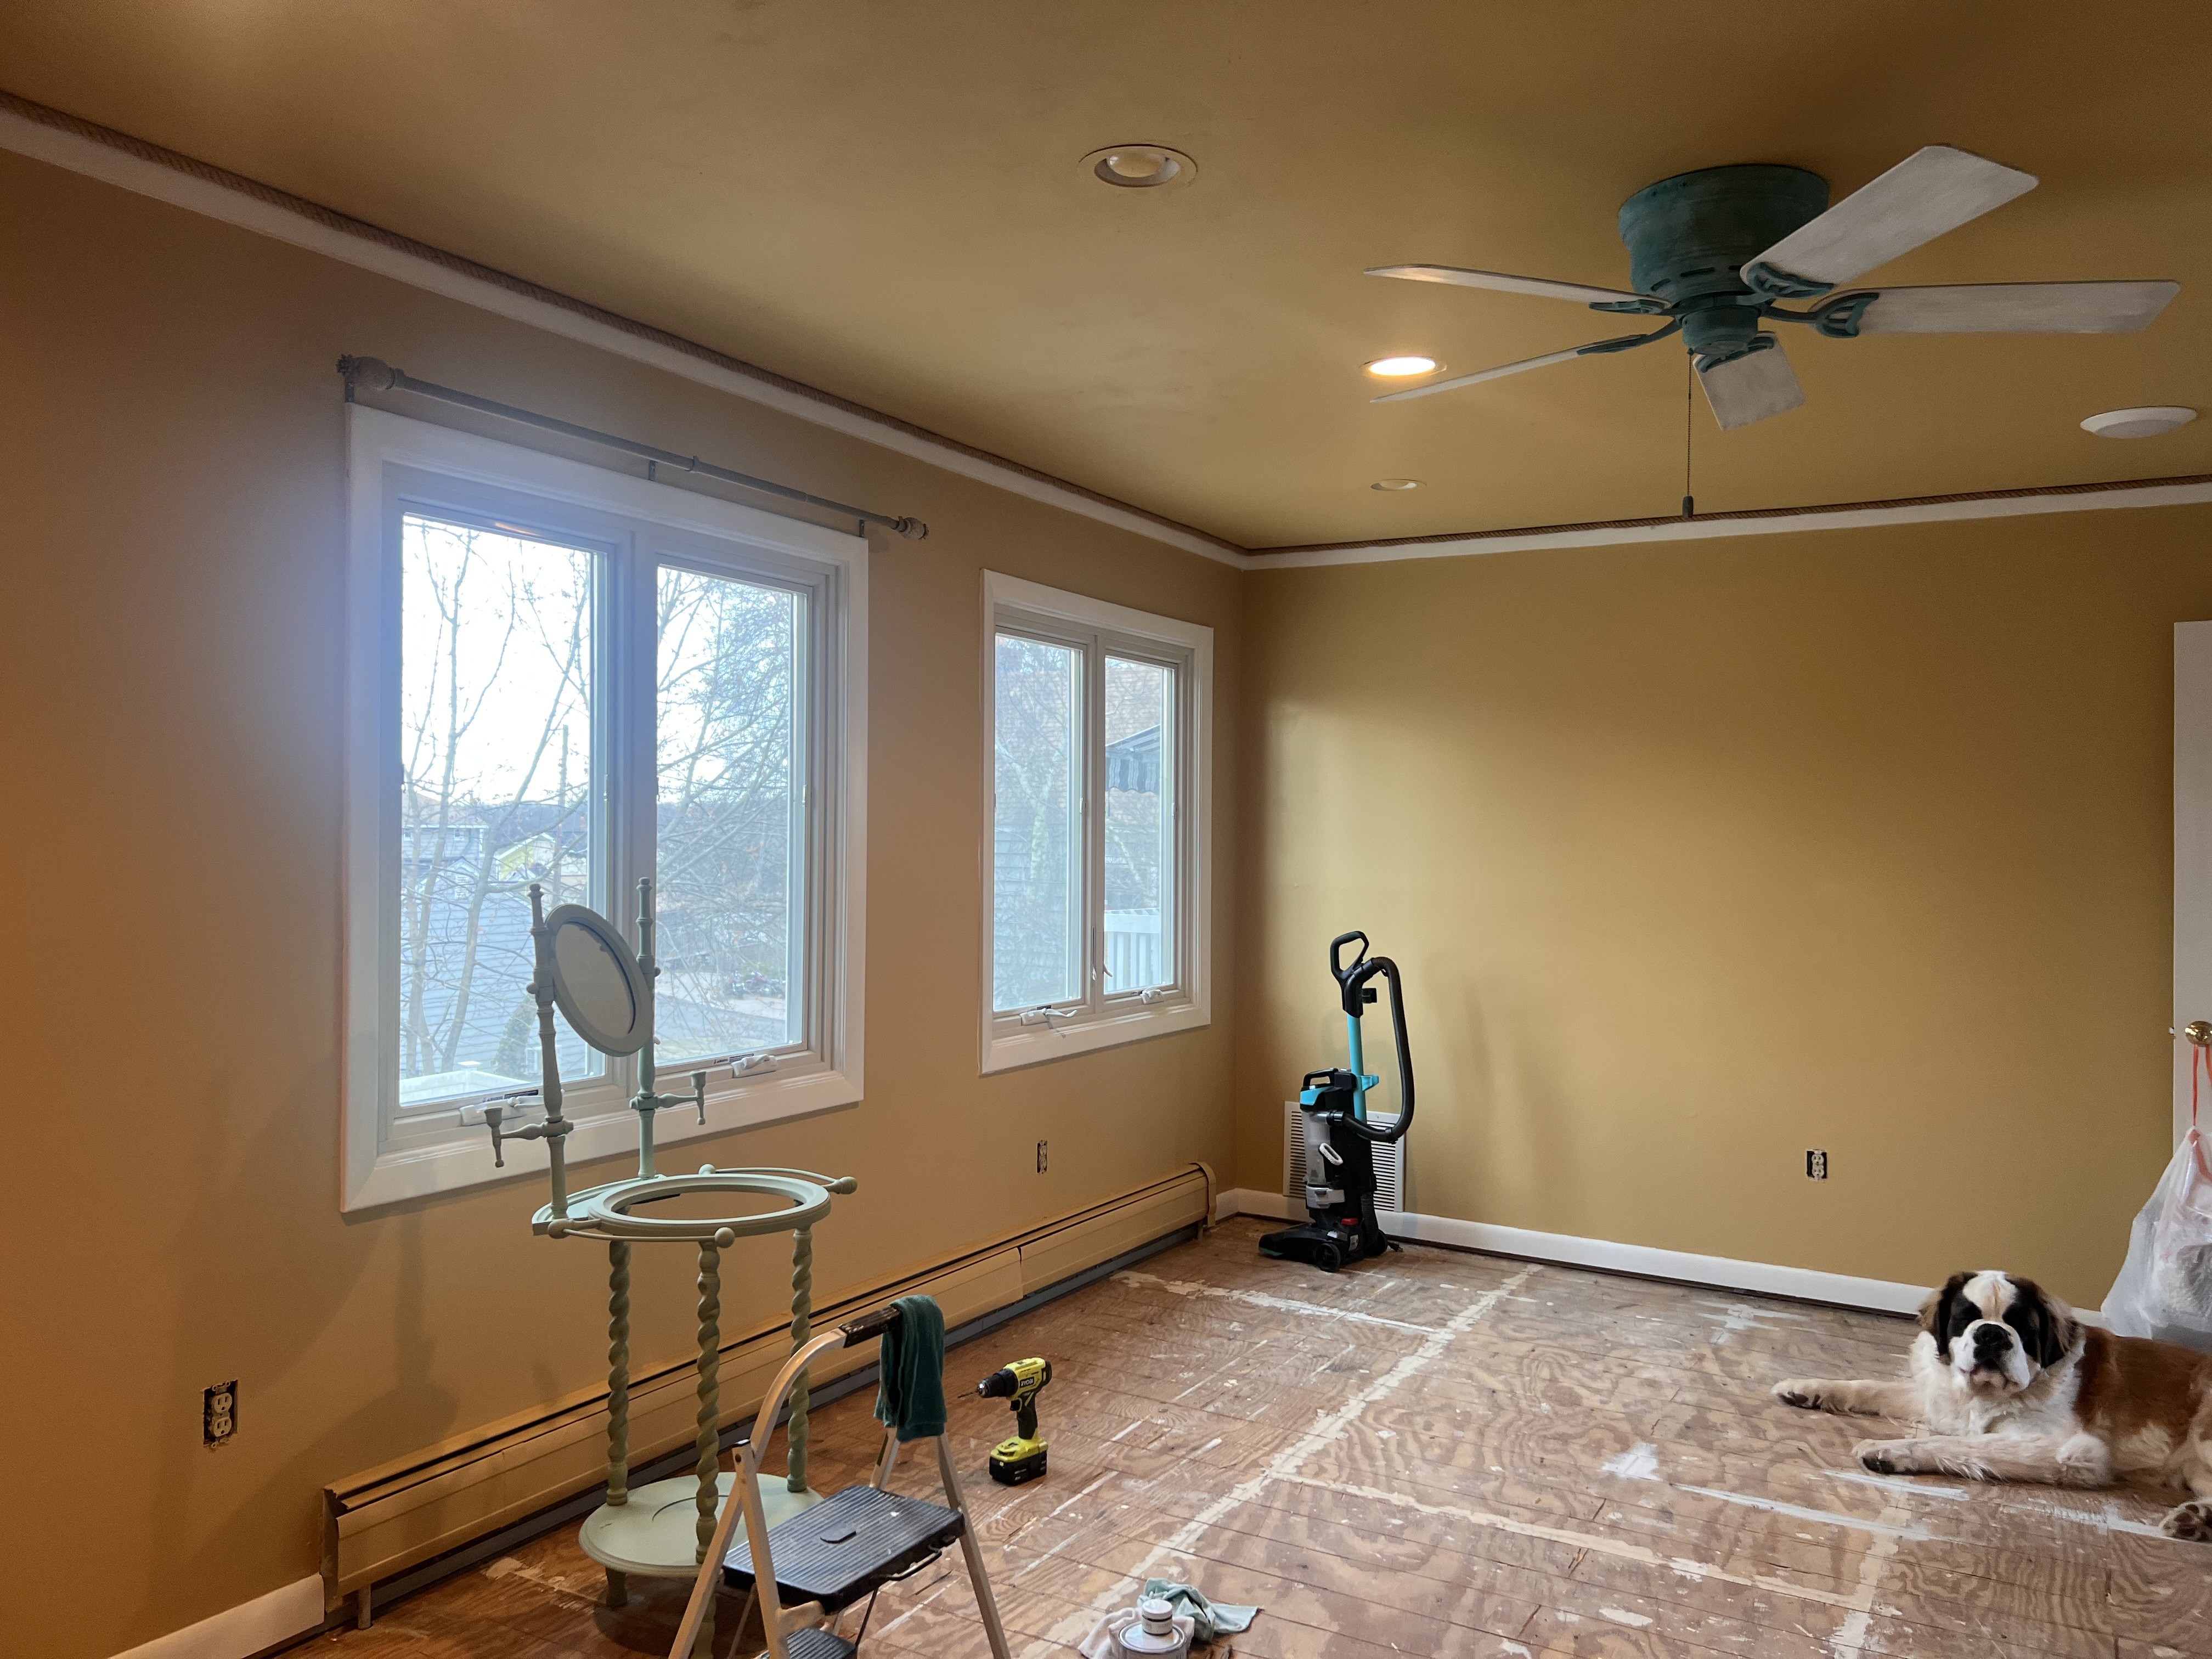
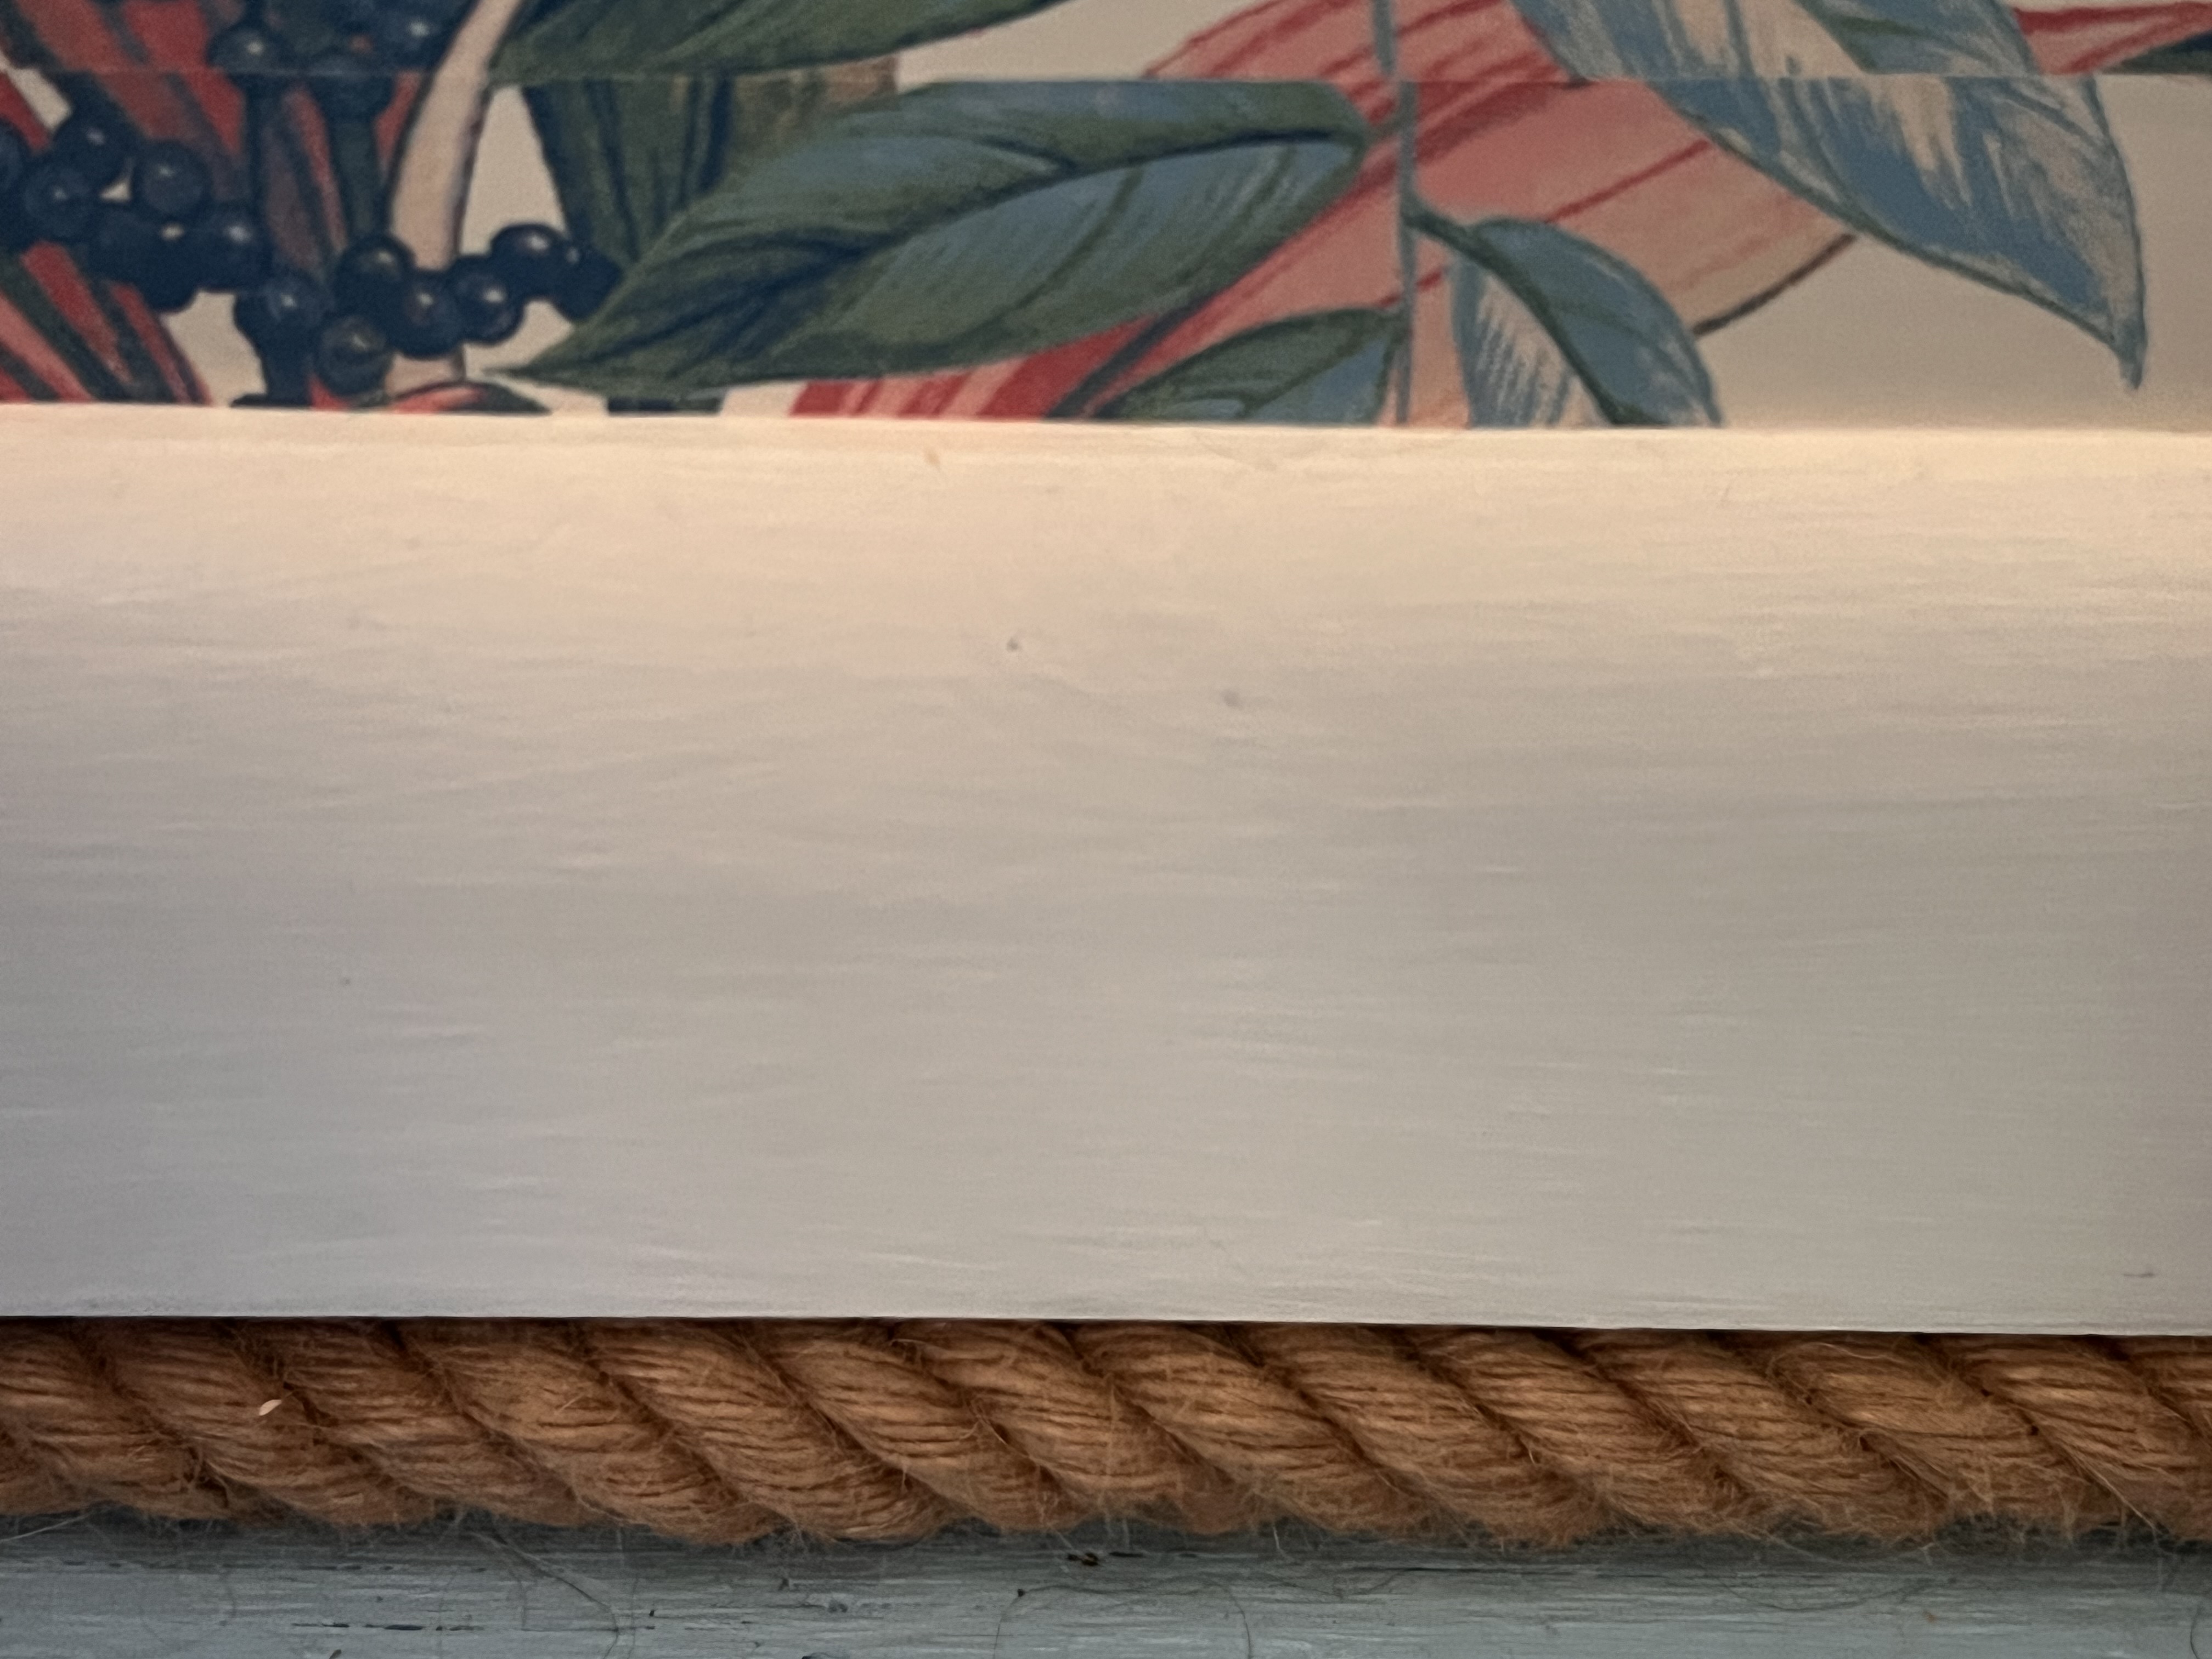
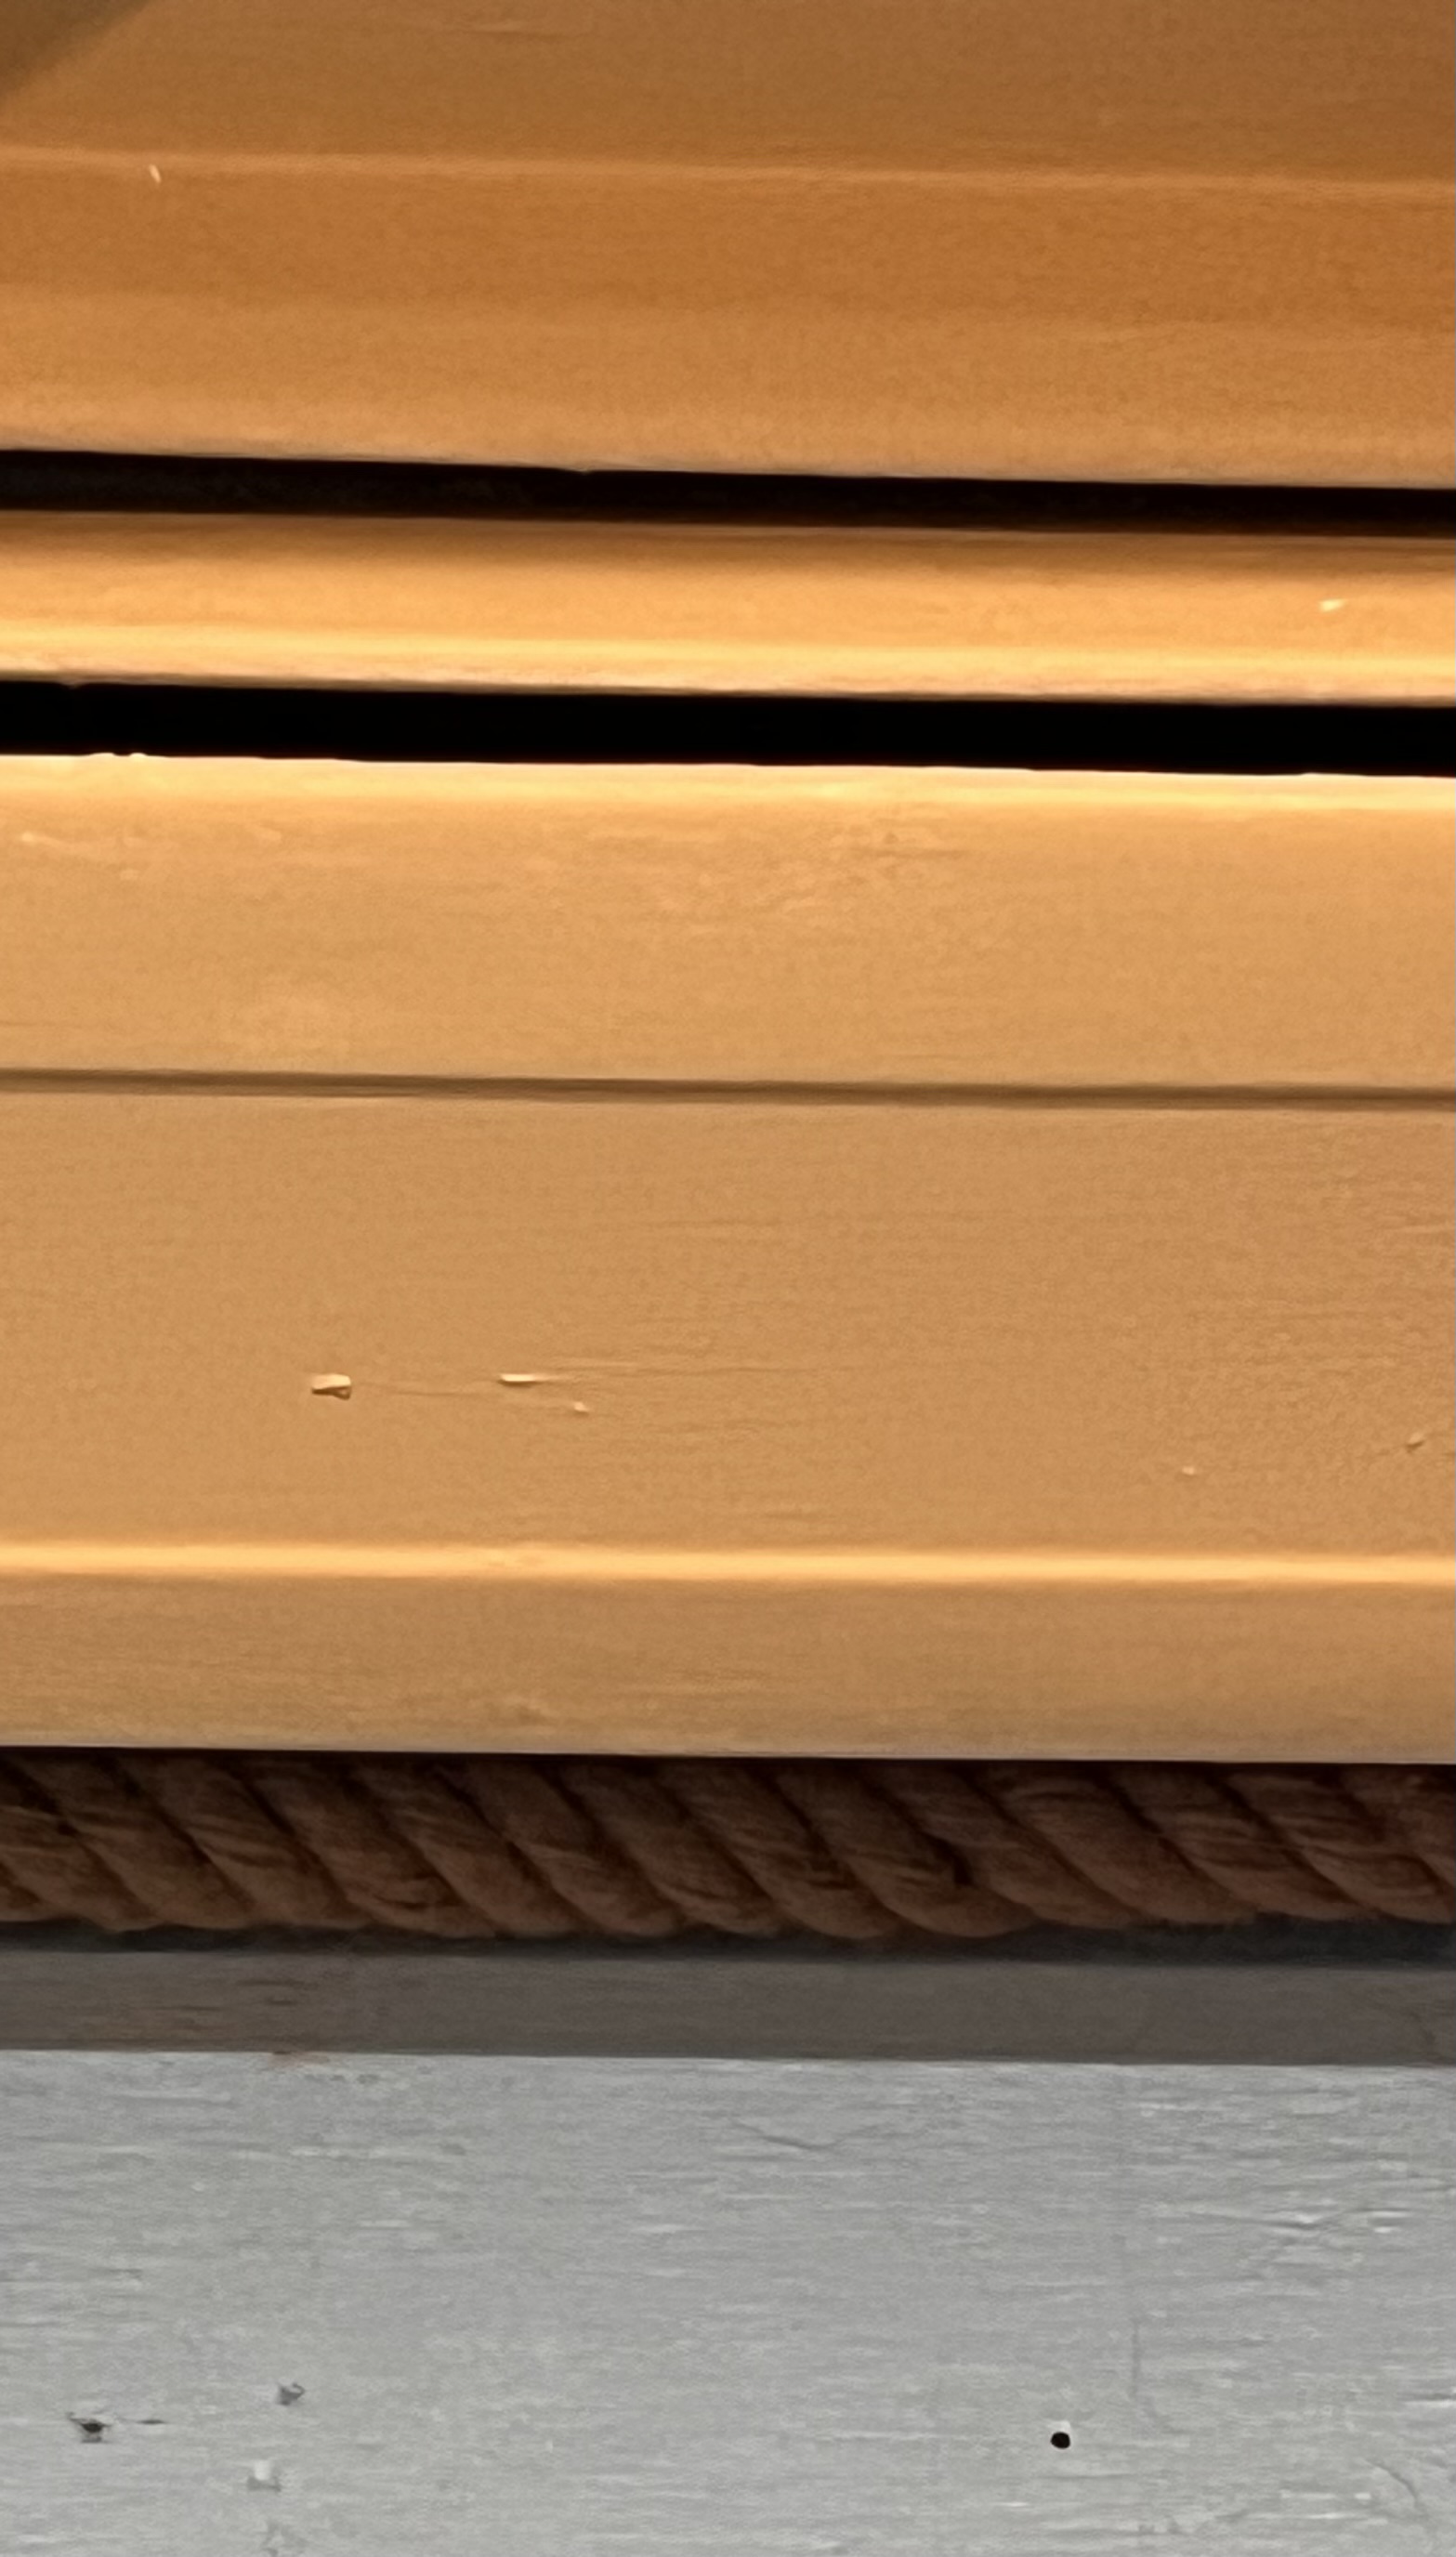
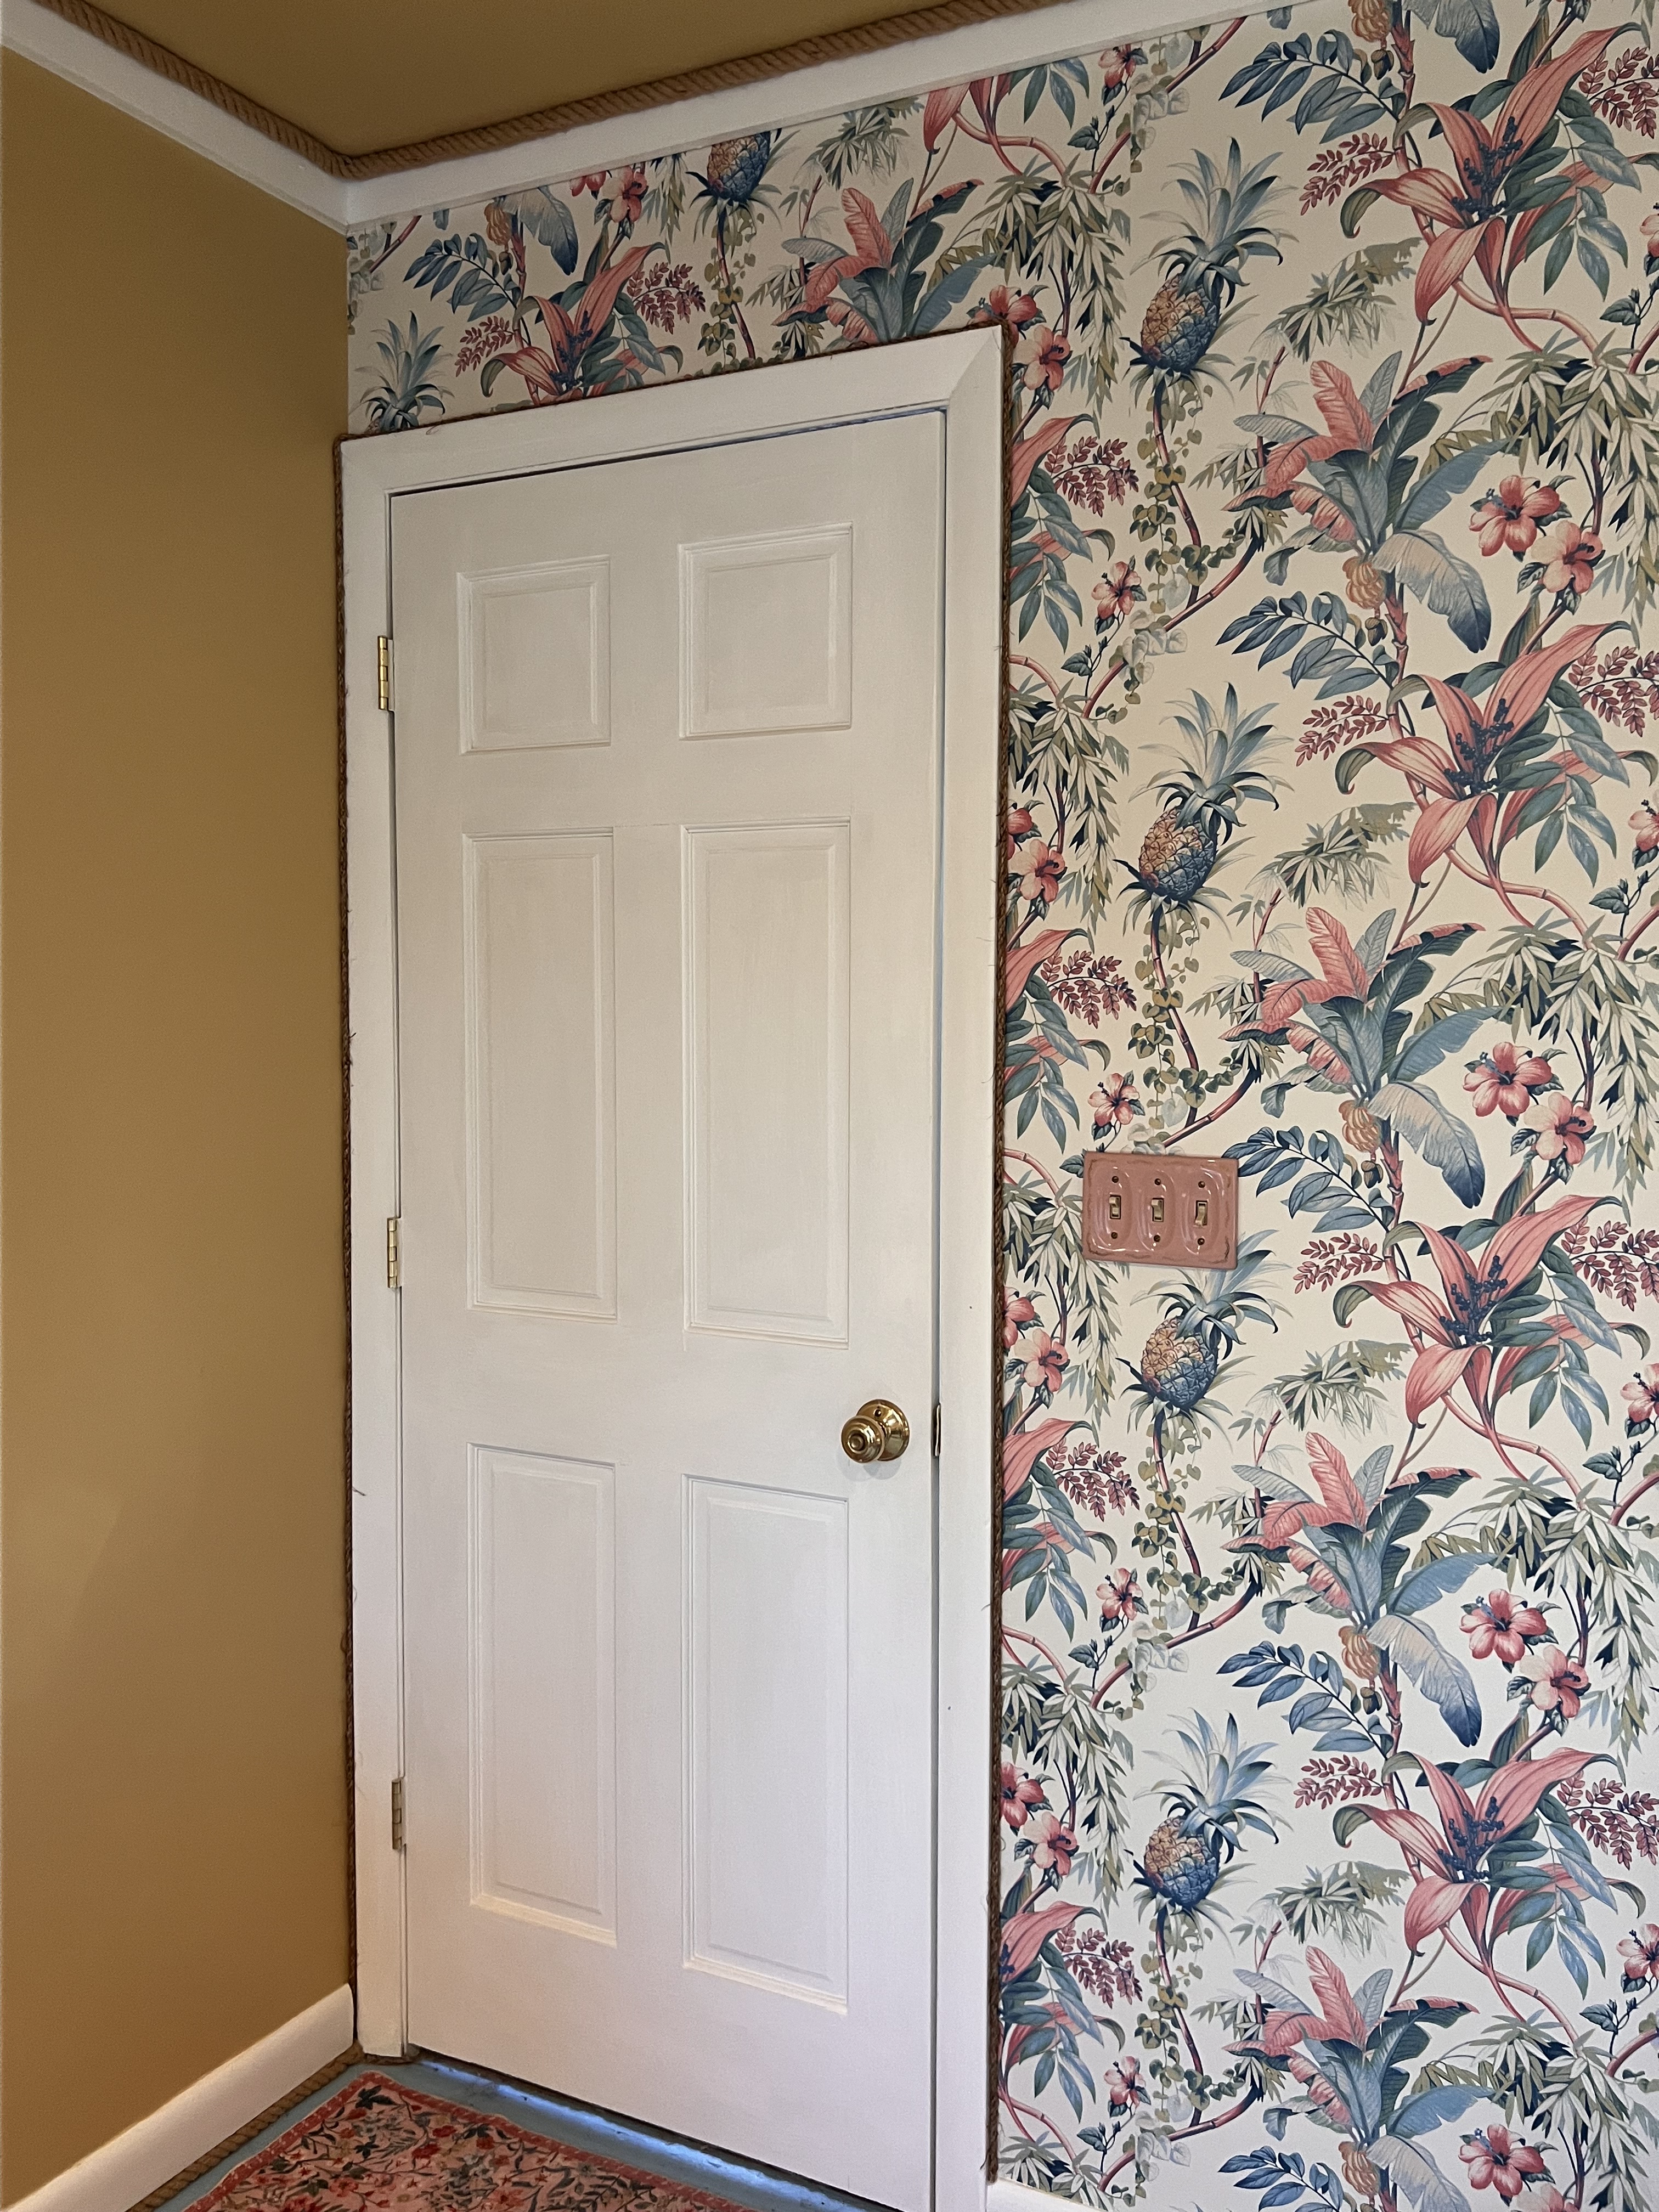
When redoing my bedroom, at first, I wanted crown molding. After pricing it out and realizing it is not super easy to install by yourself (unless you are excellent at angles and cuts), I opted for something a bit more creative, easier to install, and budget friendly. I love painting ceilings. Tip: But even when you use the same color for a ceiling, make sure you purchase flat tinted the same color or a contrasting shade for the ceilings. This will help hide flaws to your ceilings. For some spaces and colors, breaking this up is more visually appealing. Also crown molding provides such a finished and formal feeling to a space. As you can see, my style is not very formal, so I wanted an option that finished the space, but stayed true to my surf shack chic roots. In addition, after removing the carpet from my space and painting my subfloor to look like old painted plank flooring (post coming soon), I had about a 1-inch gap from subfloor to baseboard trim I needed to close as well. Below are pics of the painted walls with no molding, the gap from the baseboard molding I had to close, and some of my furry friends and DIY buddies Rocky (St. Bernard) and Apollo (Labradoodle) who are always with me as my foremen.

With Rocky and Apollo’s guidance, I purchased 1-inch rope in bulk from Amazon. They have a range of widths, lengths and colors available. I purchased a 150 ft to ensure I would have enough for both the perimeter of the floor to baseboard gap and for the ceilings. You can find the natural hemp rope or any of the other supplies used in this project by following my Amazon Associates links.
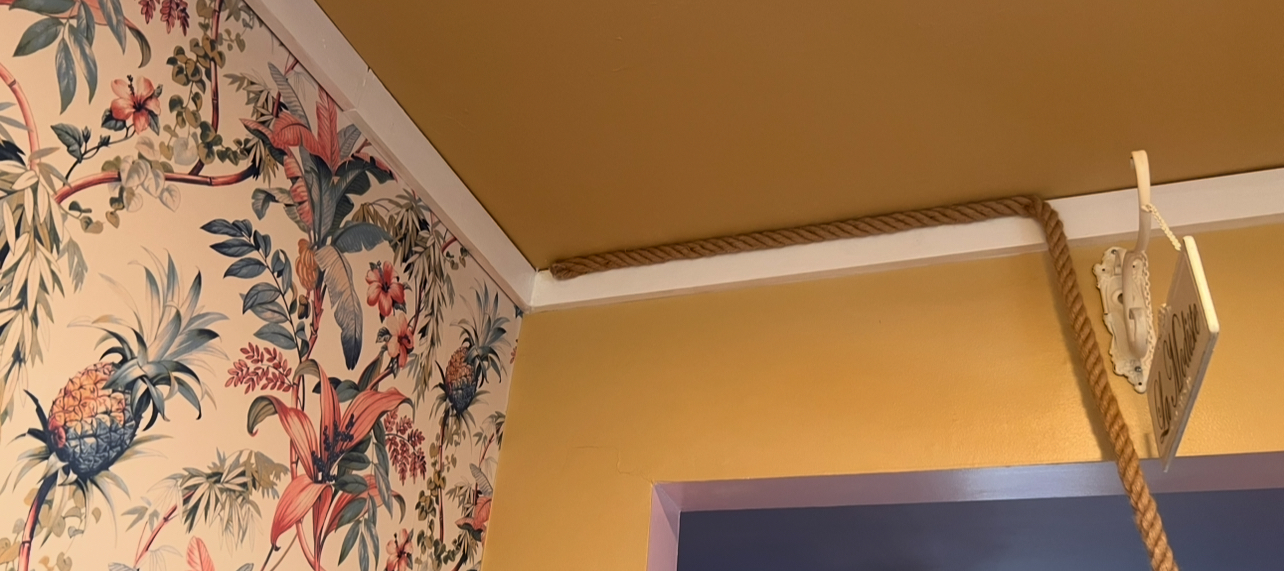
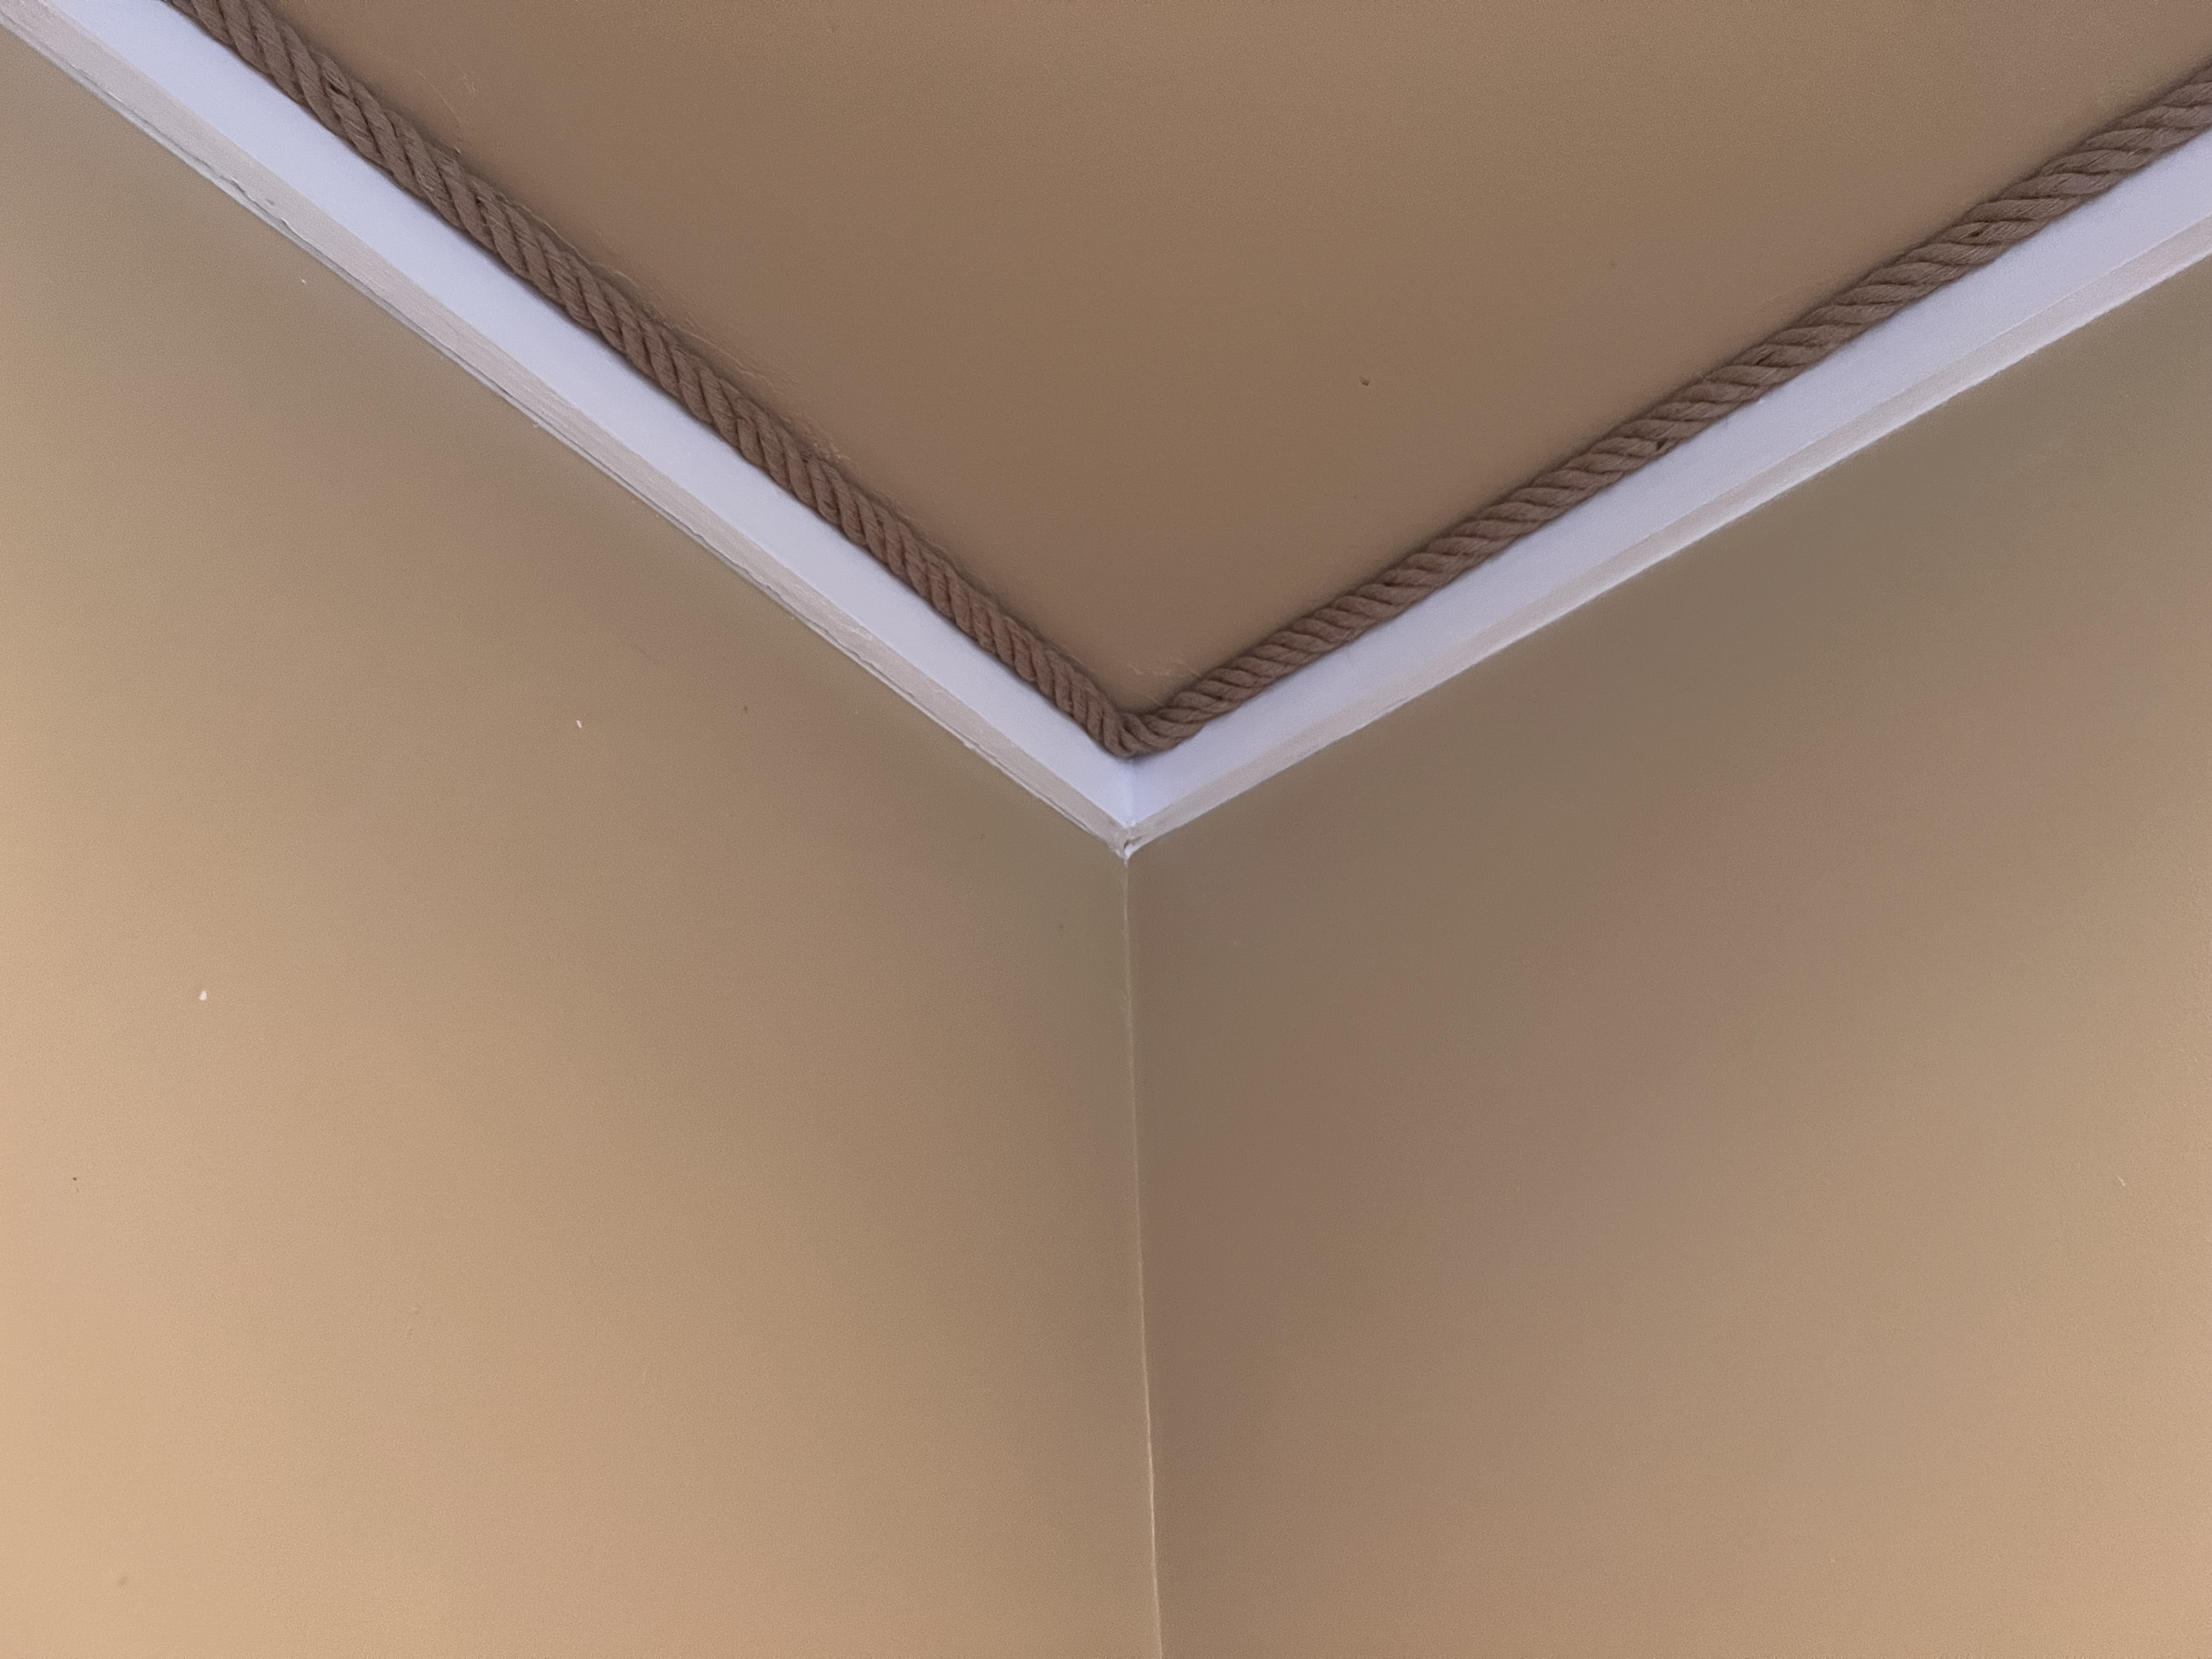
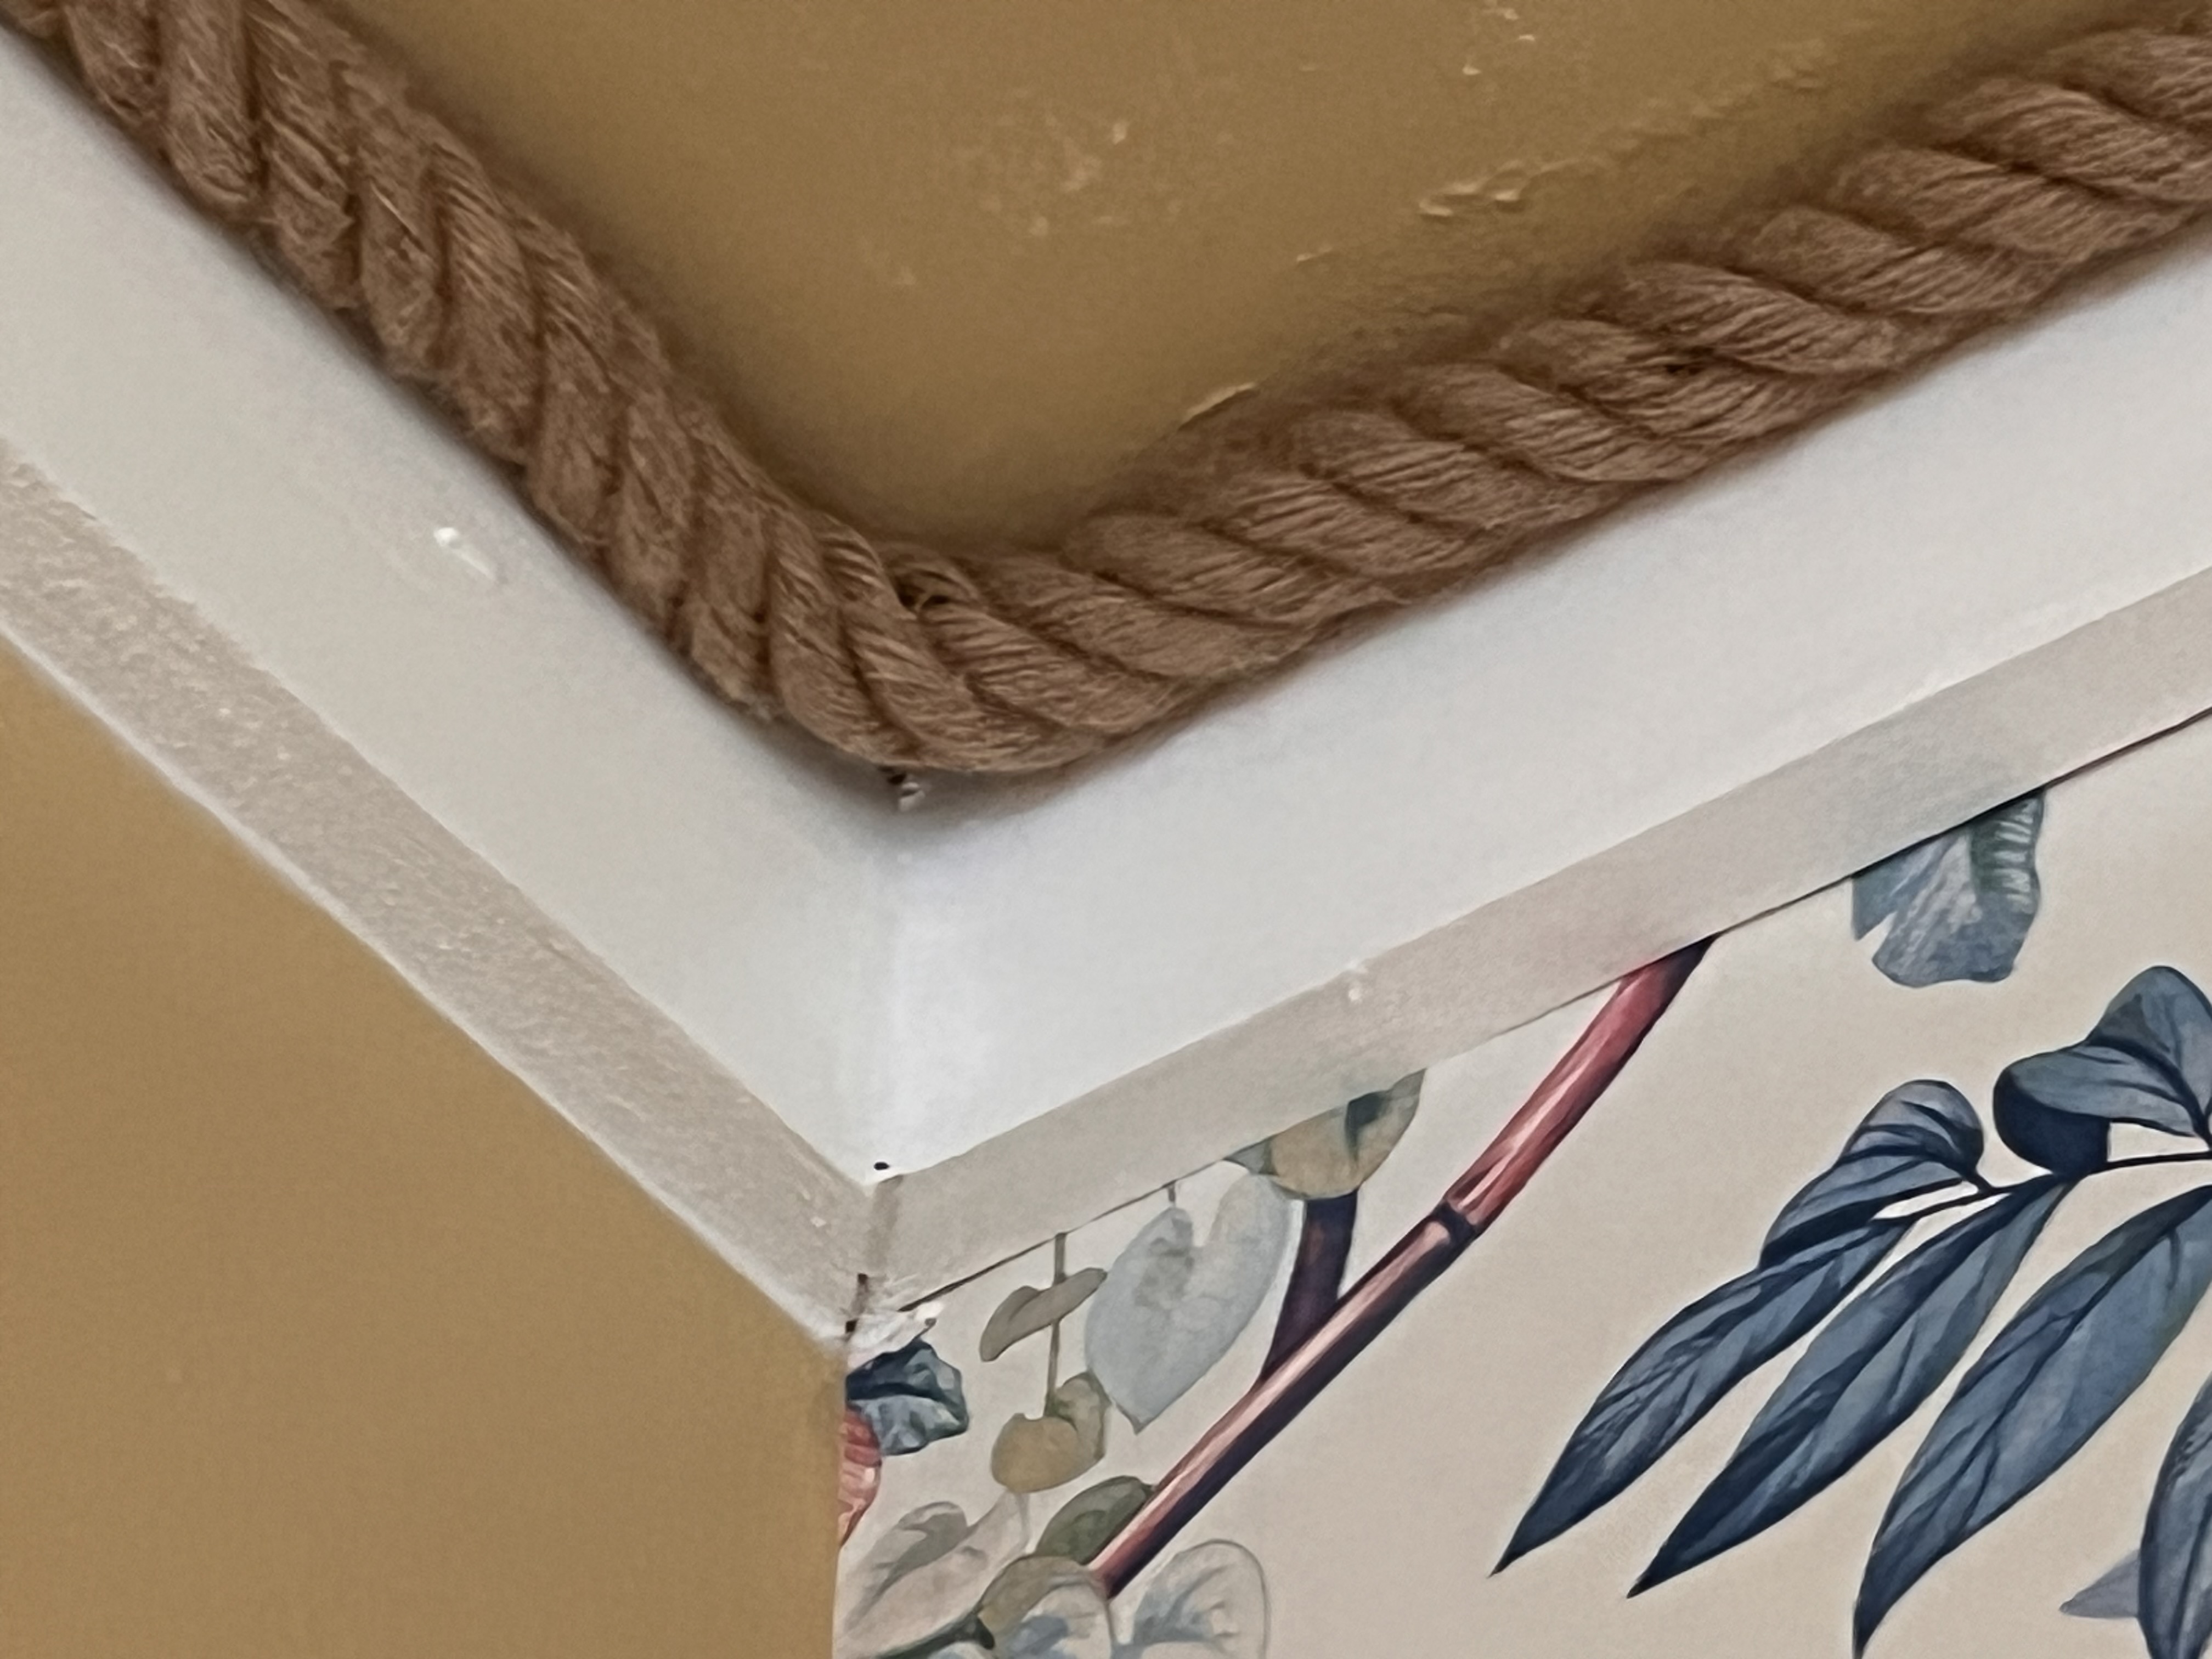
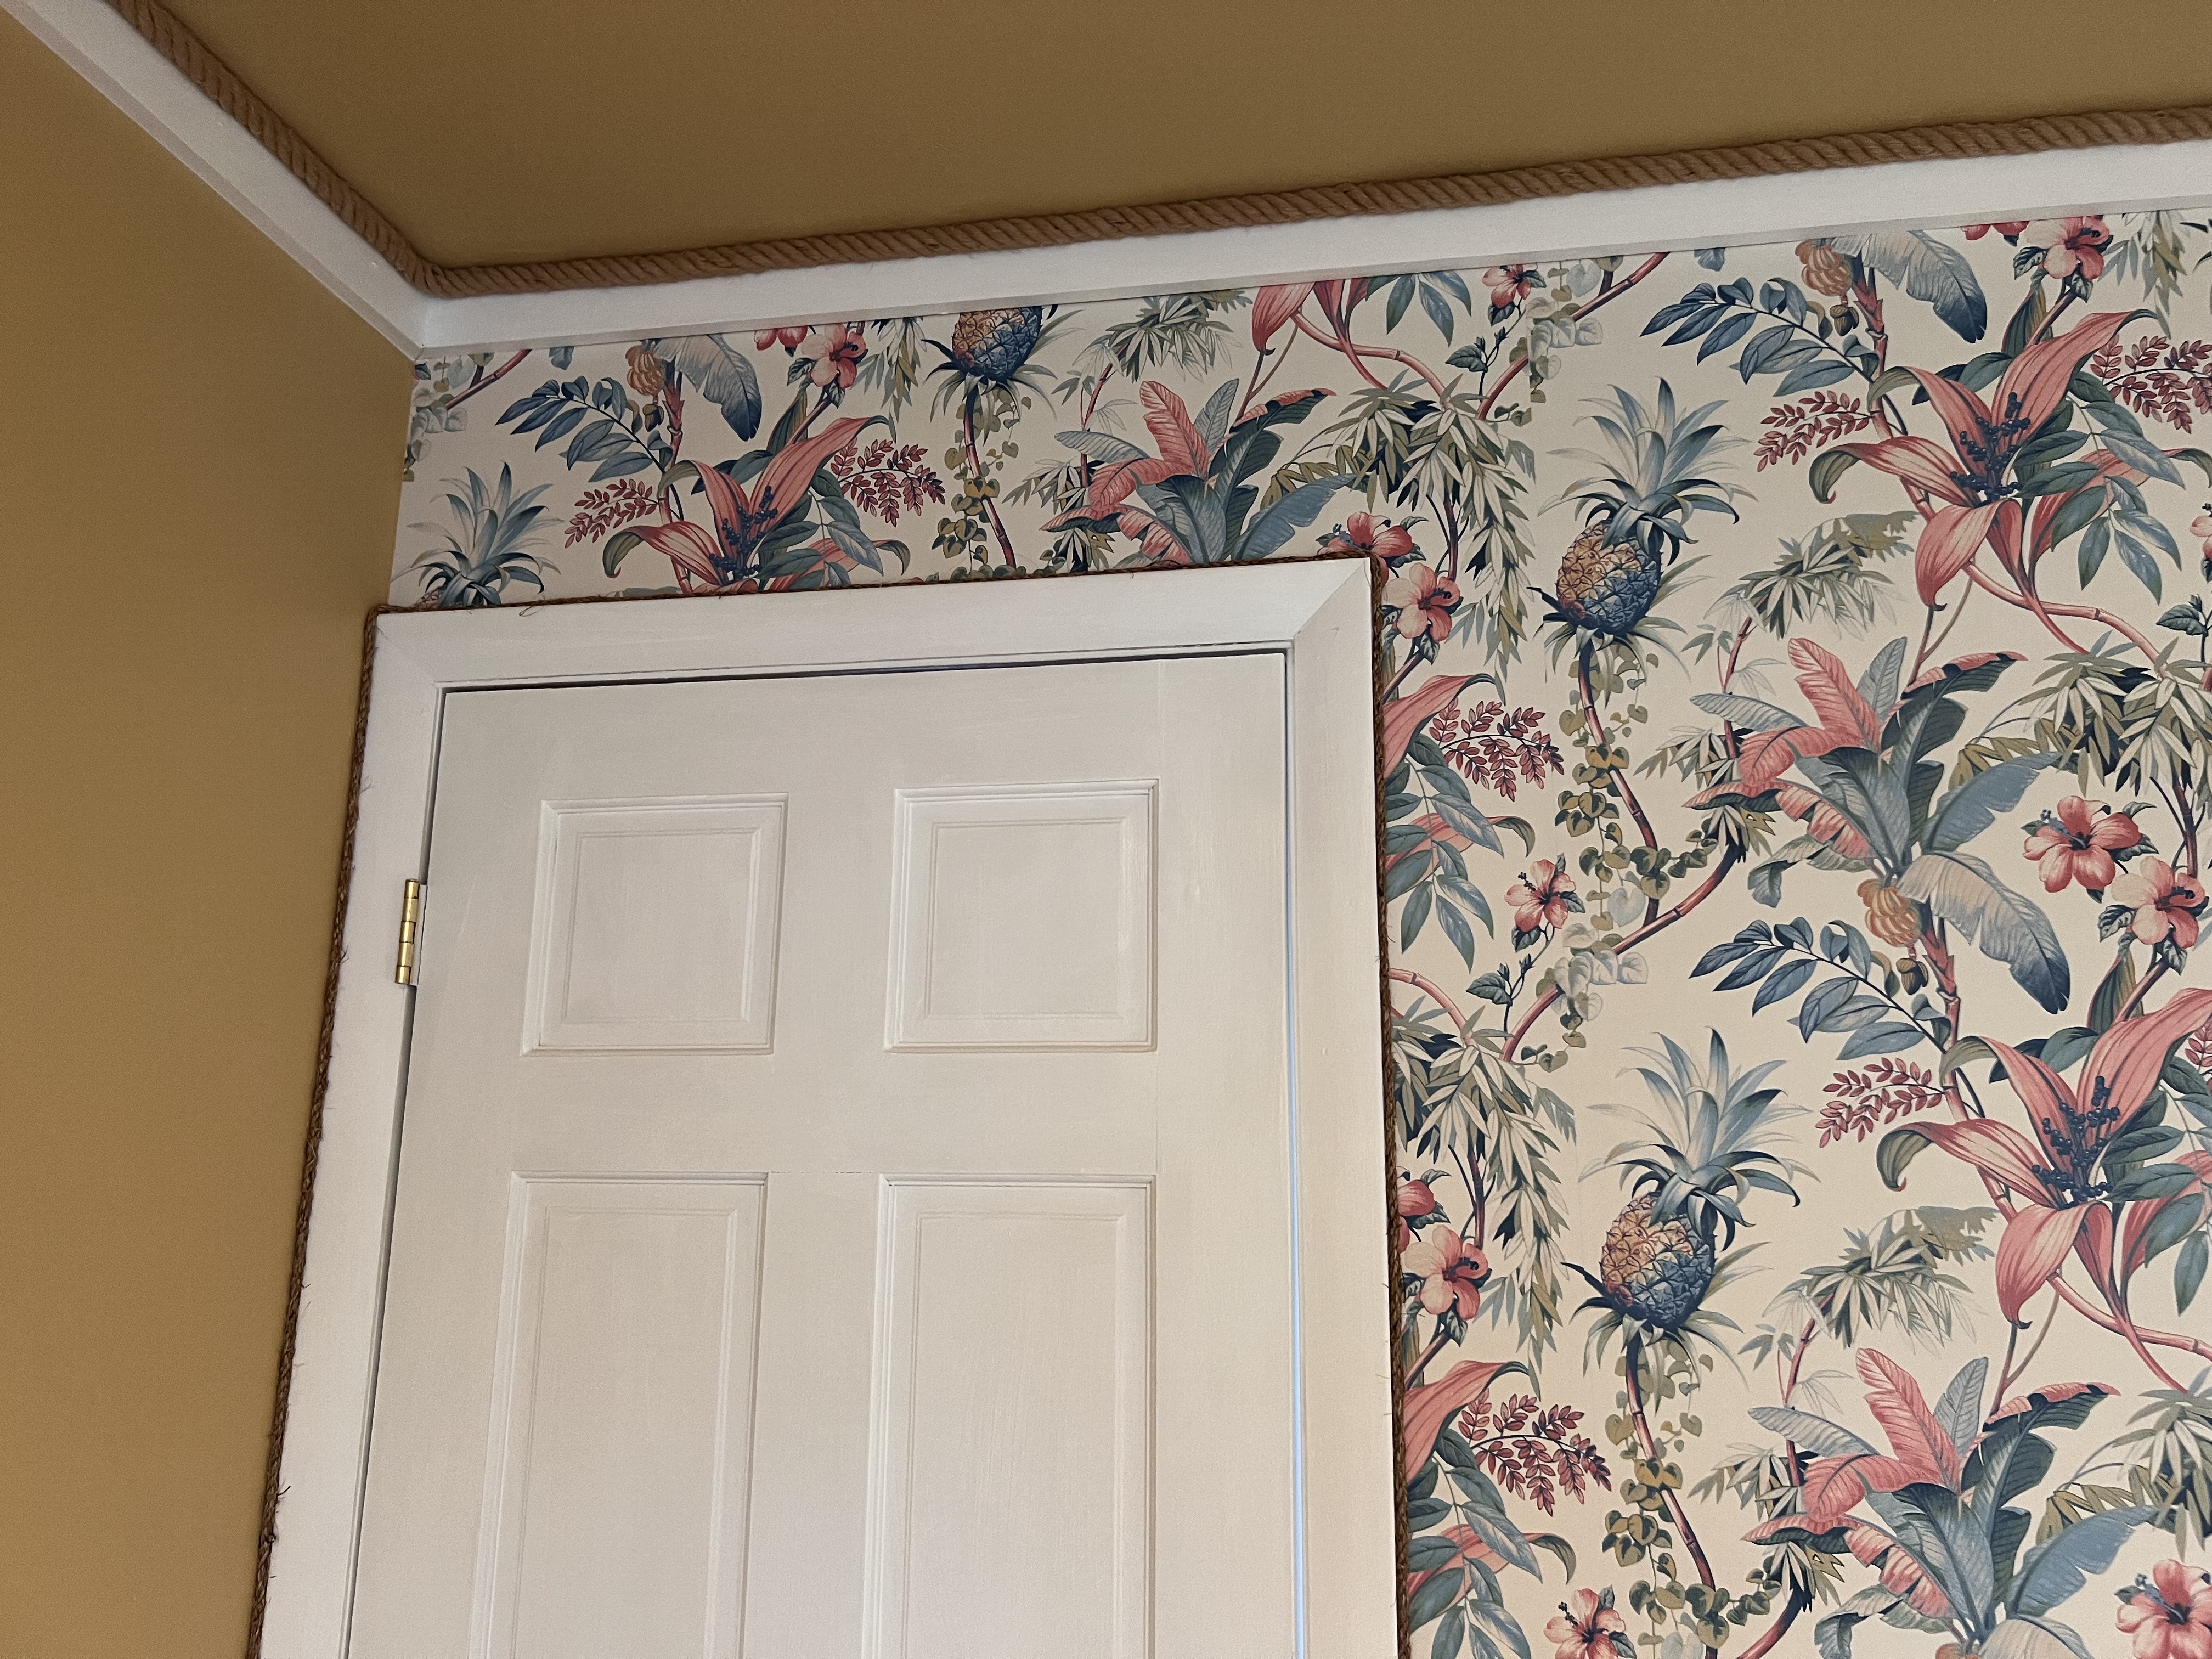
When I went to a store to price out the ceiling moldings, they were very expensive, but simple 1x3x8 ft boards were much cheaper at $3-4 per board. You can purchase up to 12 ft lengths, but I always buy 8 ft even though it means more pieces simply because I do not have a truck, and they are easier for me at 5 ft tall to work with. Before I even began to cut, I gave them a light sanding and painted with my pure white trim paint. I first installed the trim and used an angled cut to give it a finished look. However, my walls are so crooked (thanks to the original builders) straight cuts actually ended up being much more appealing. With some help from one of my sons, I used my 18-gauge cordless Brad Nailer (a must have tool for any DIYer), to install the painted trim. Following install of the trim, I finished off the seams with white paintable calk. Tip: Although I pre-painted with two coats of trim paint, I always finish a project with a quick coat of paint to cover any seams and calk, nail heads, or other blemishes that occur during install. At this point we were ready to Tie it all together with the rope.
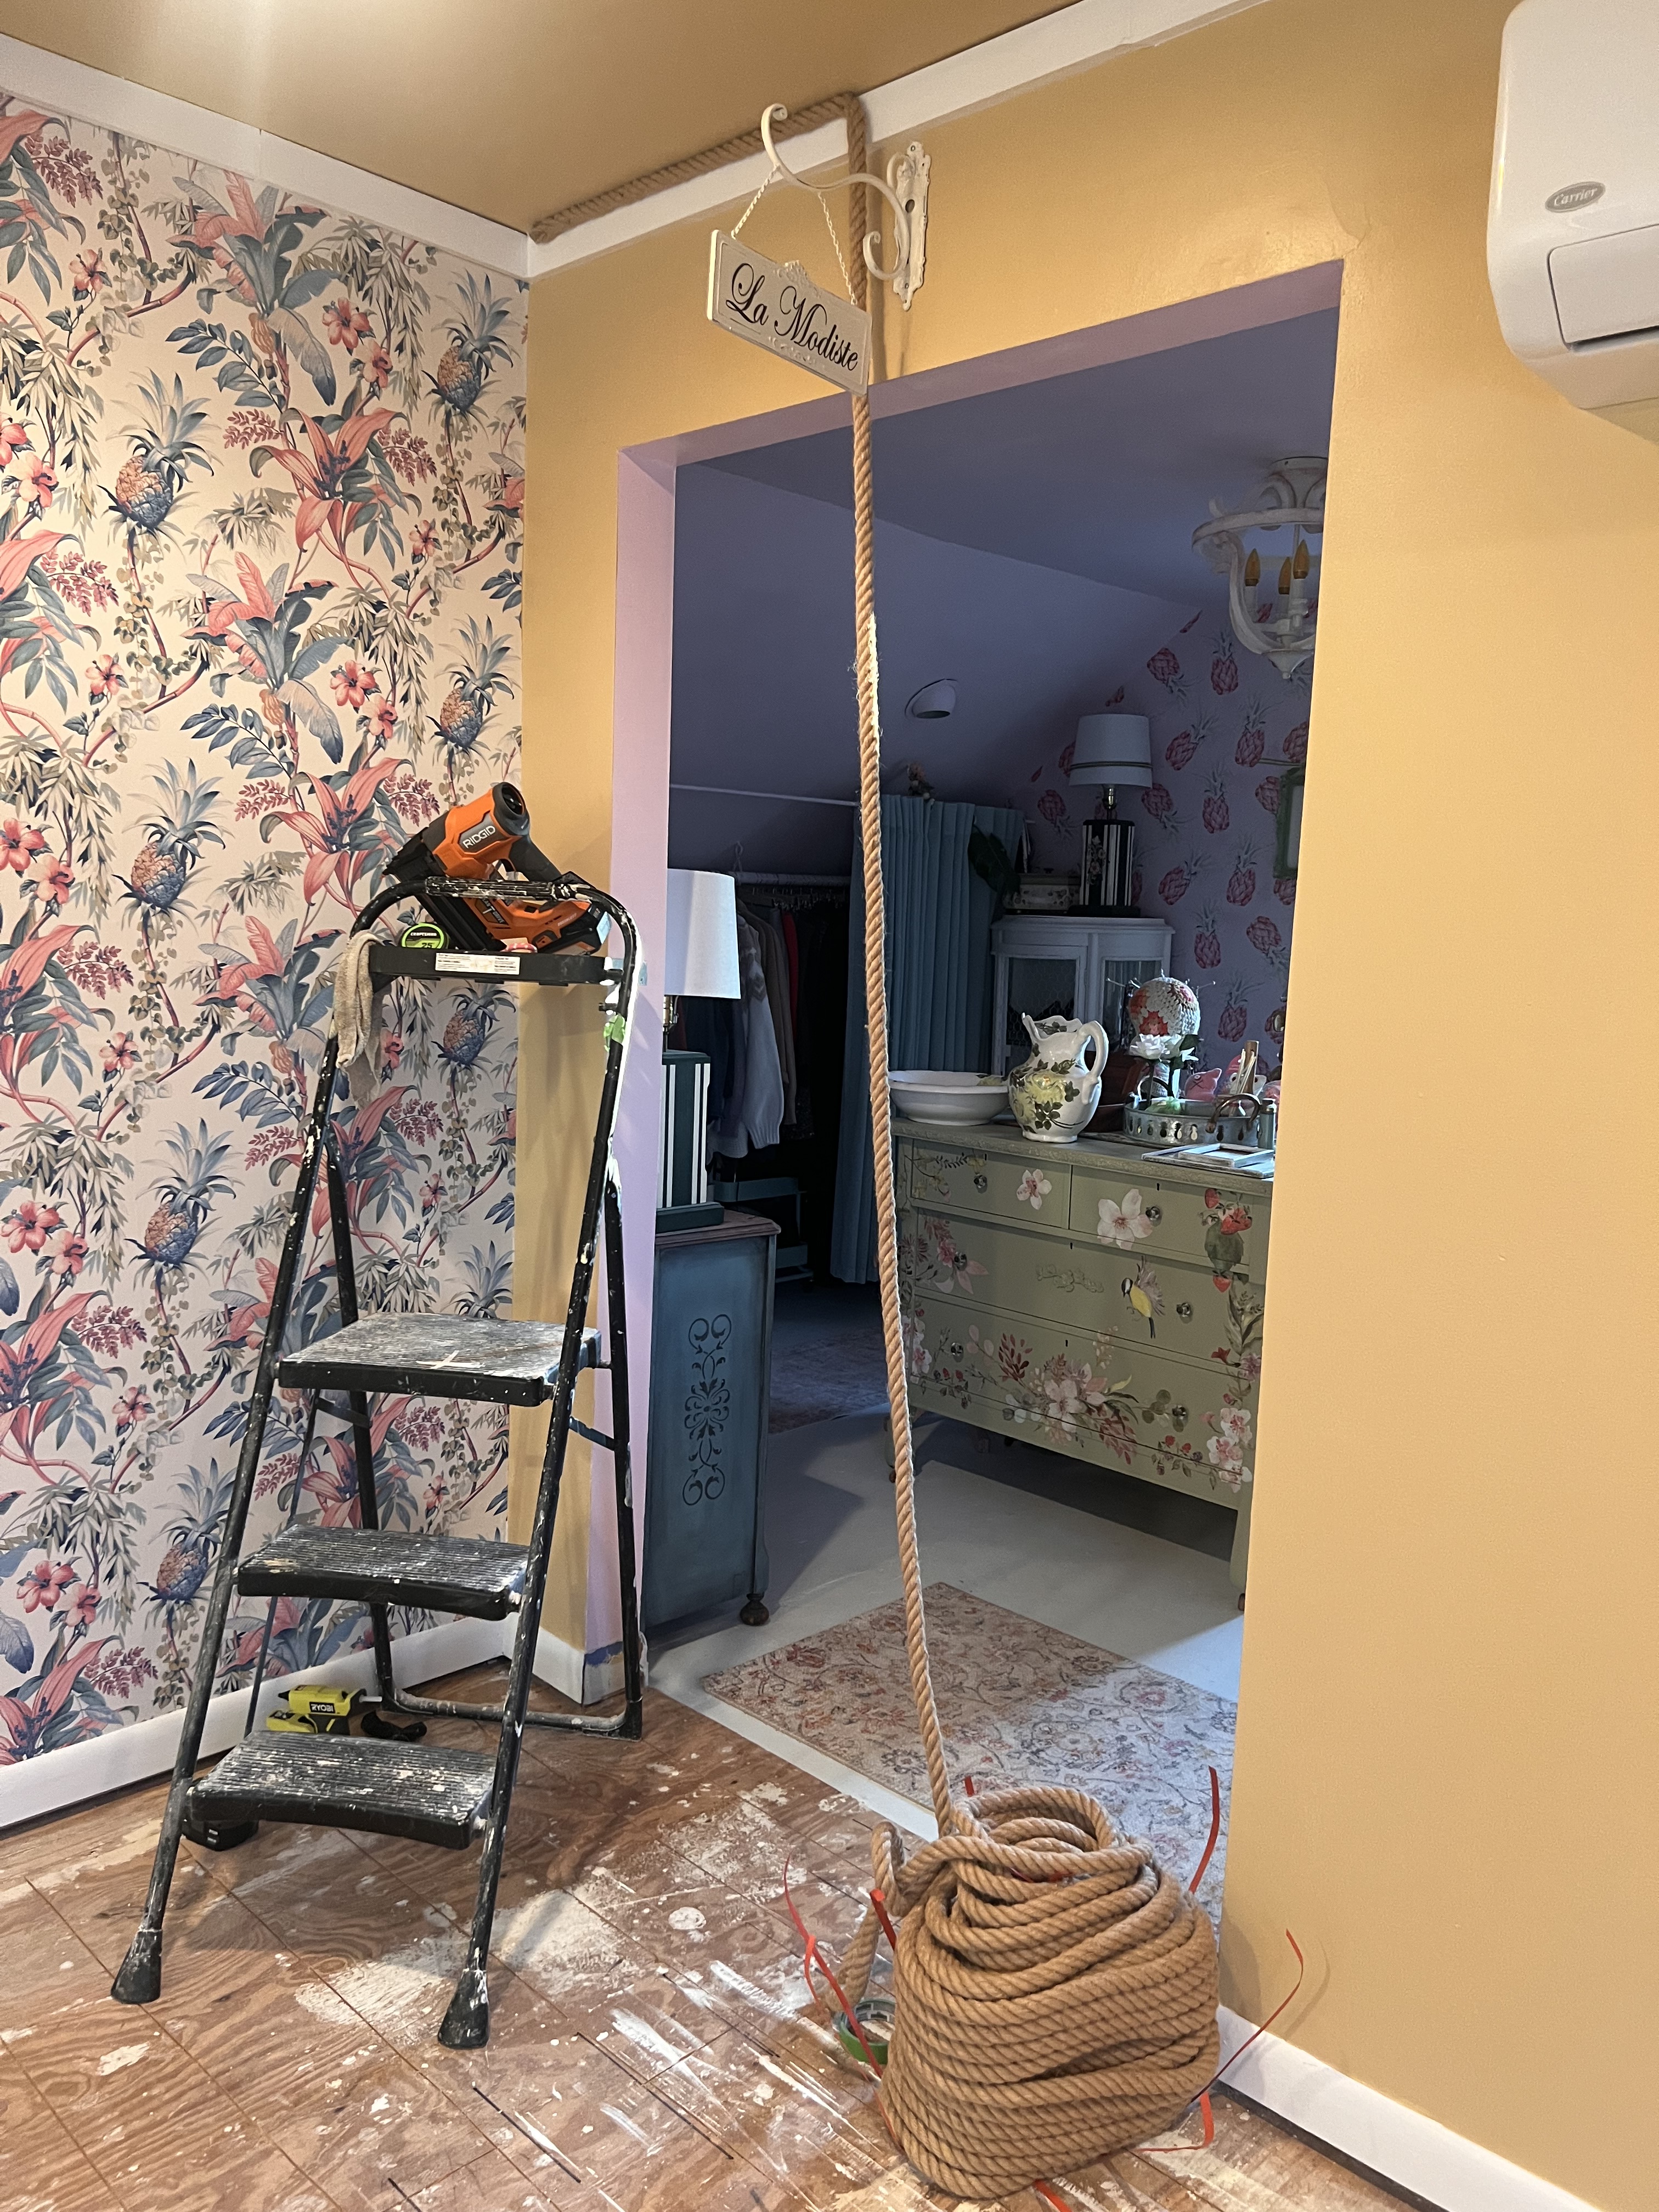
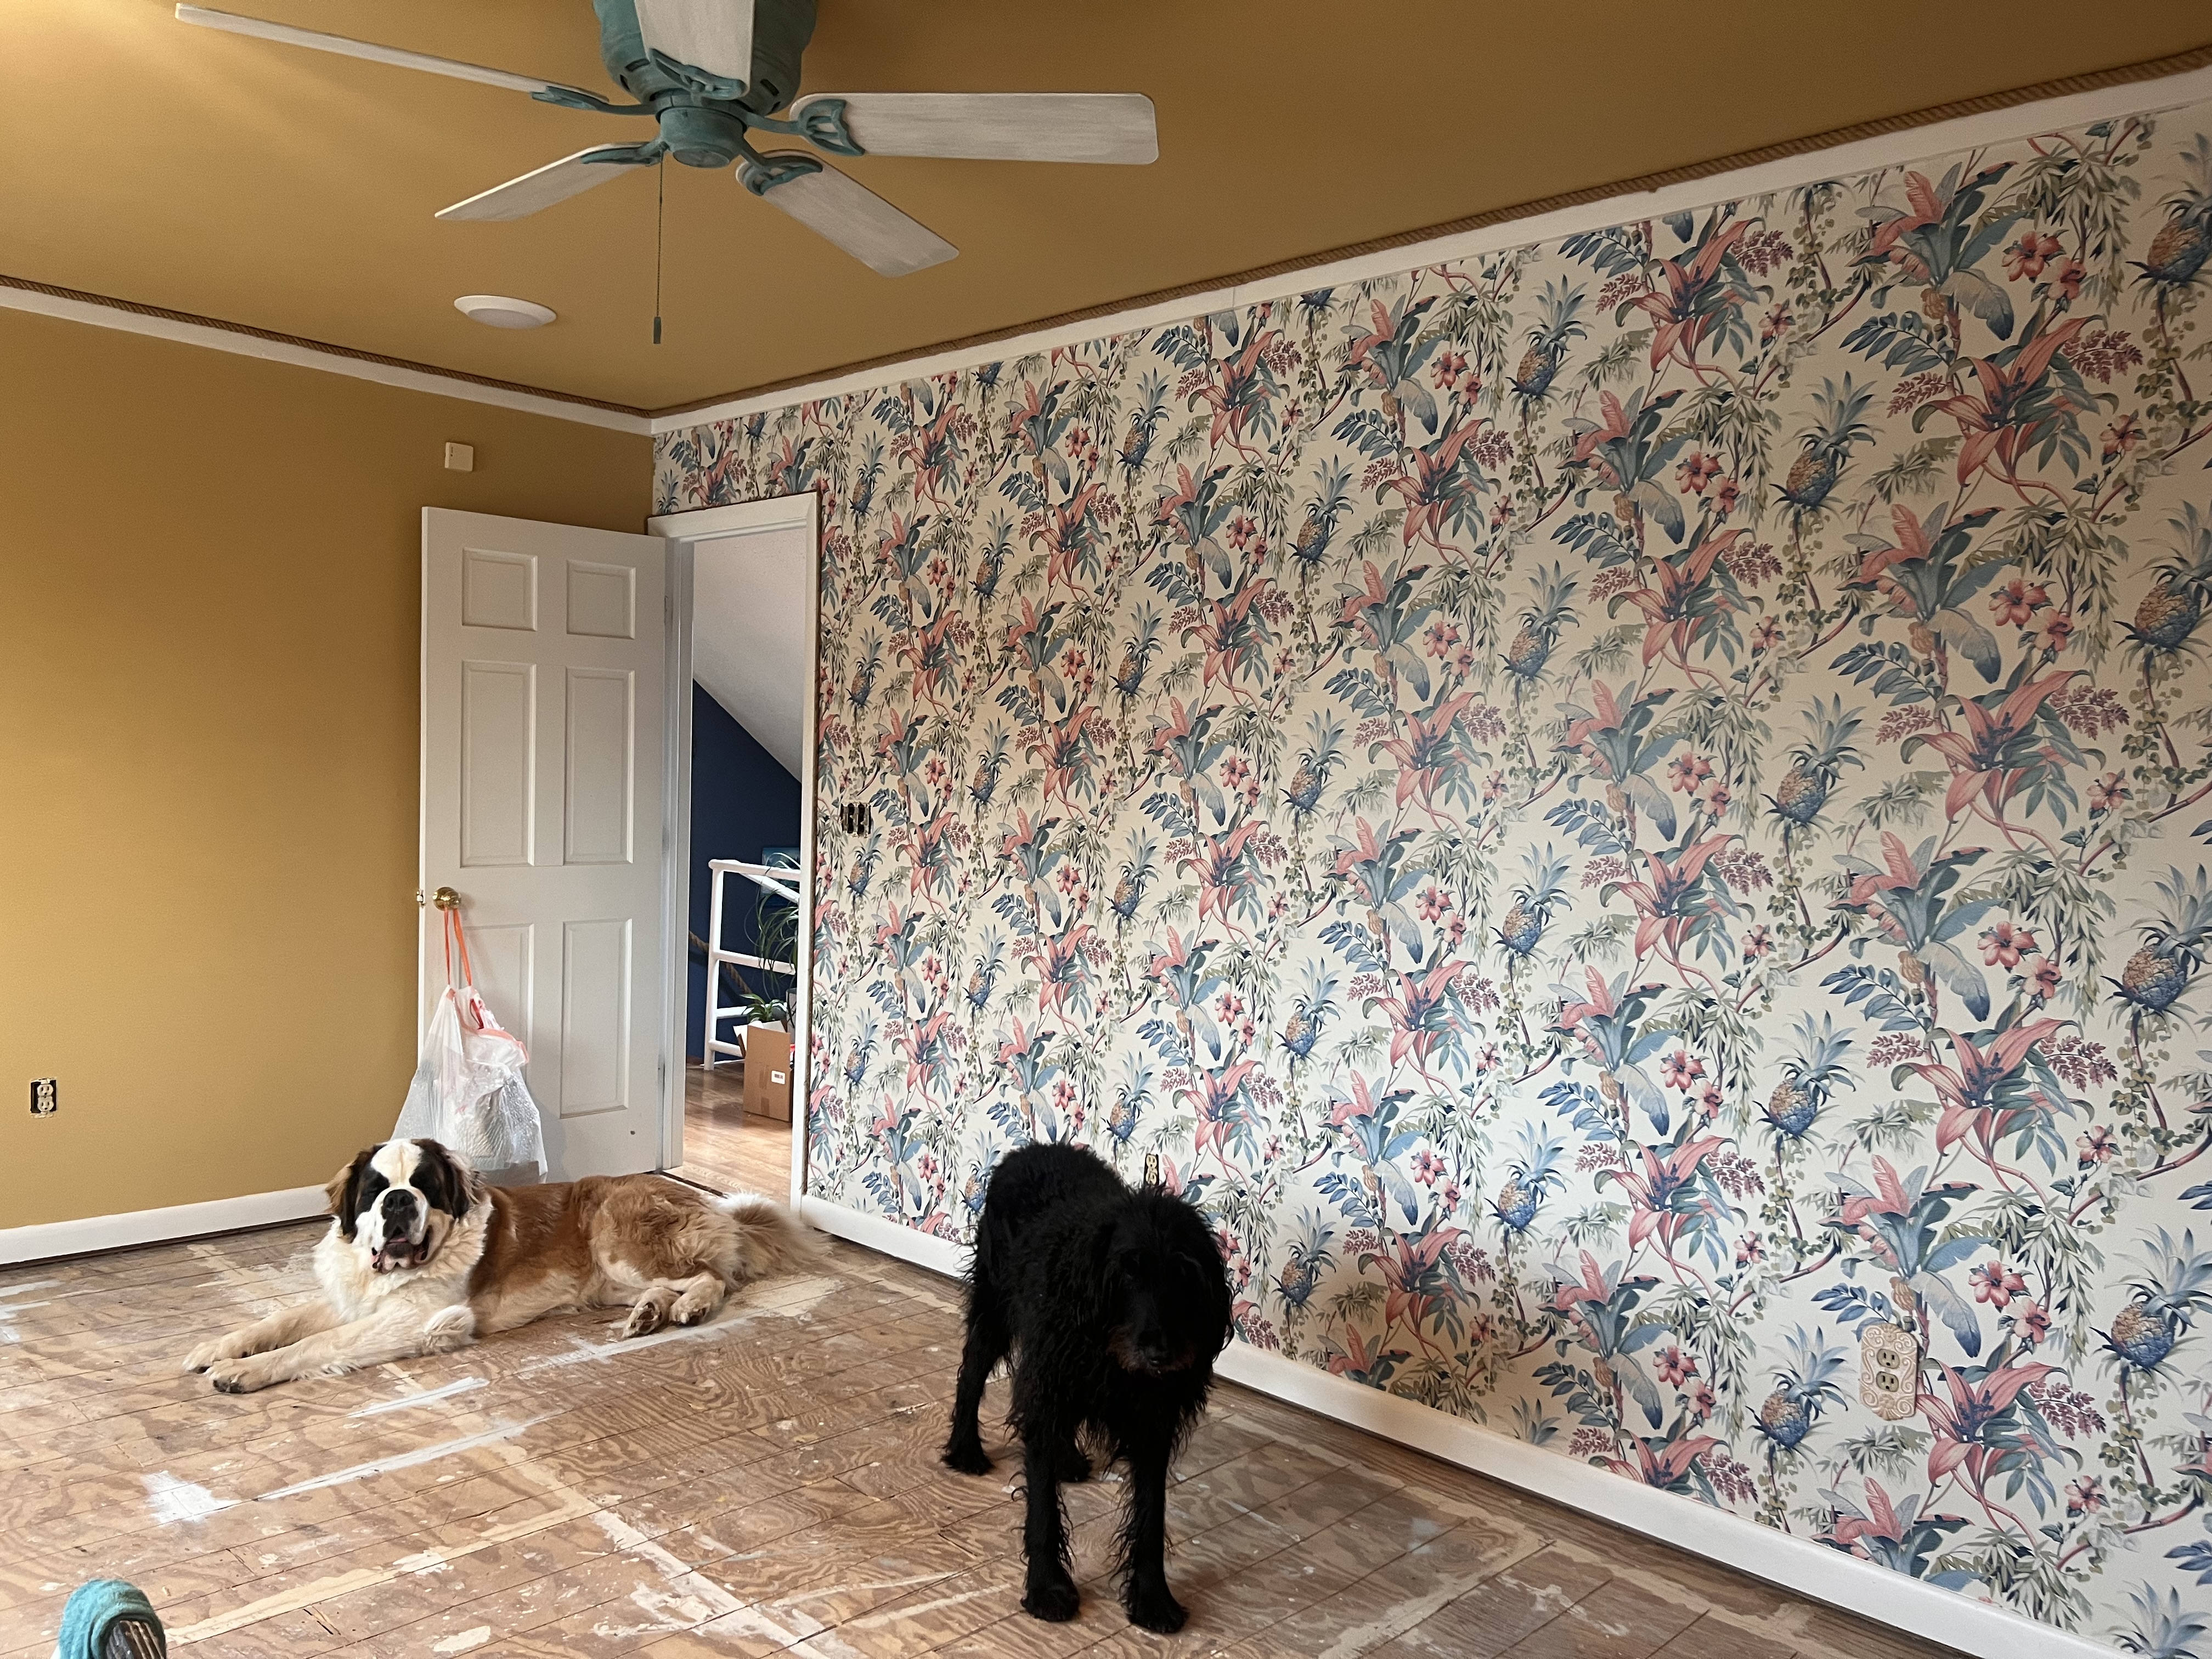
Using the Brad Nailer again, I started at the point over my closet. If I could go back, I actually would have started over my entry way door to the room. The closet with newly installed doors is now a focal point. You can learn from my mistake! No one will know but me, but I tend to focus on the things only I can see.
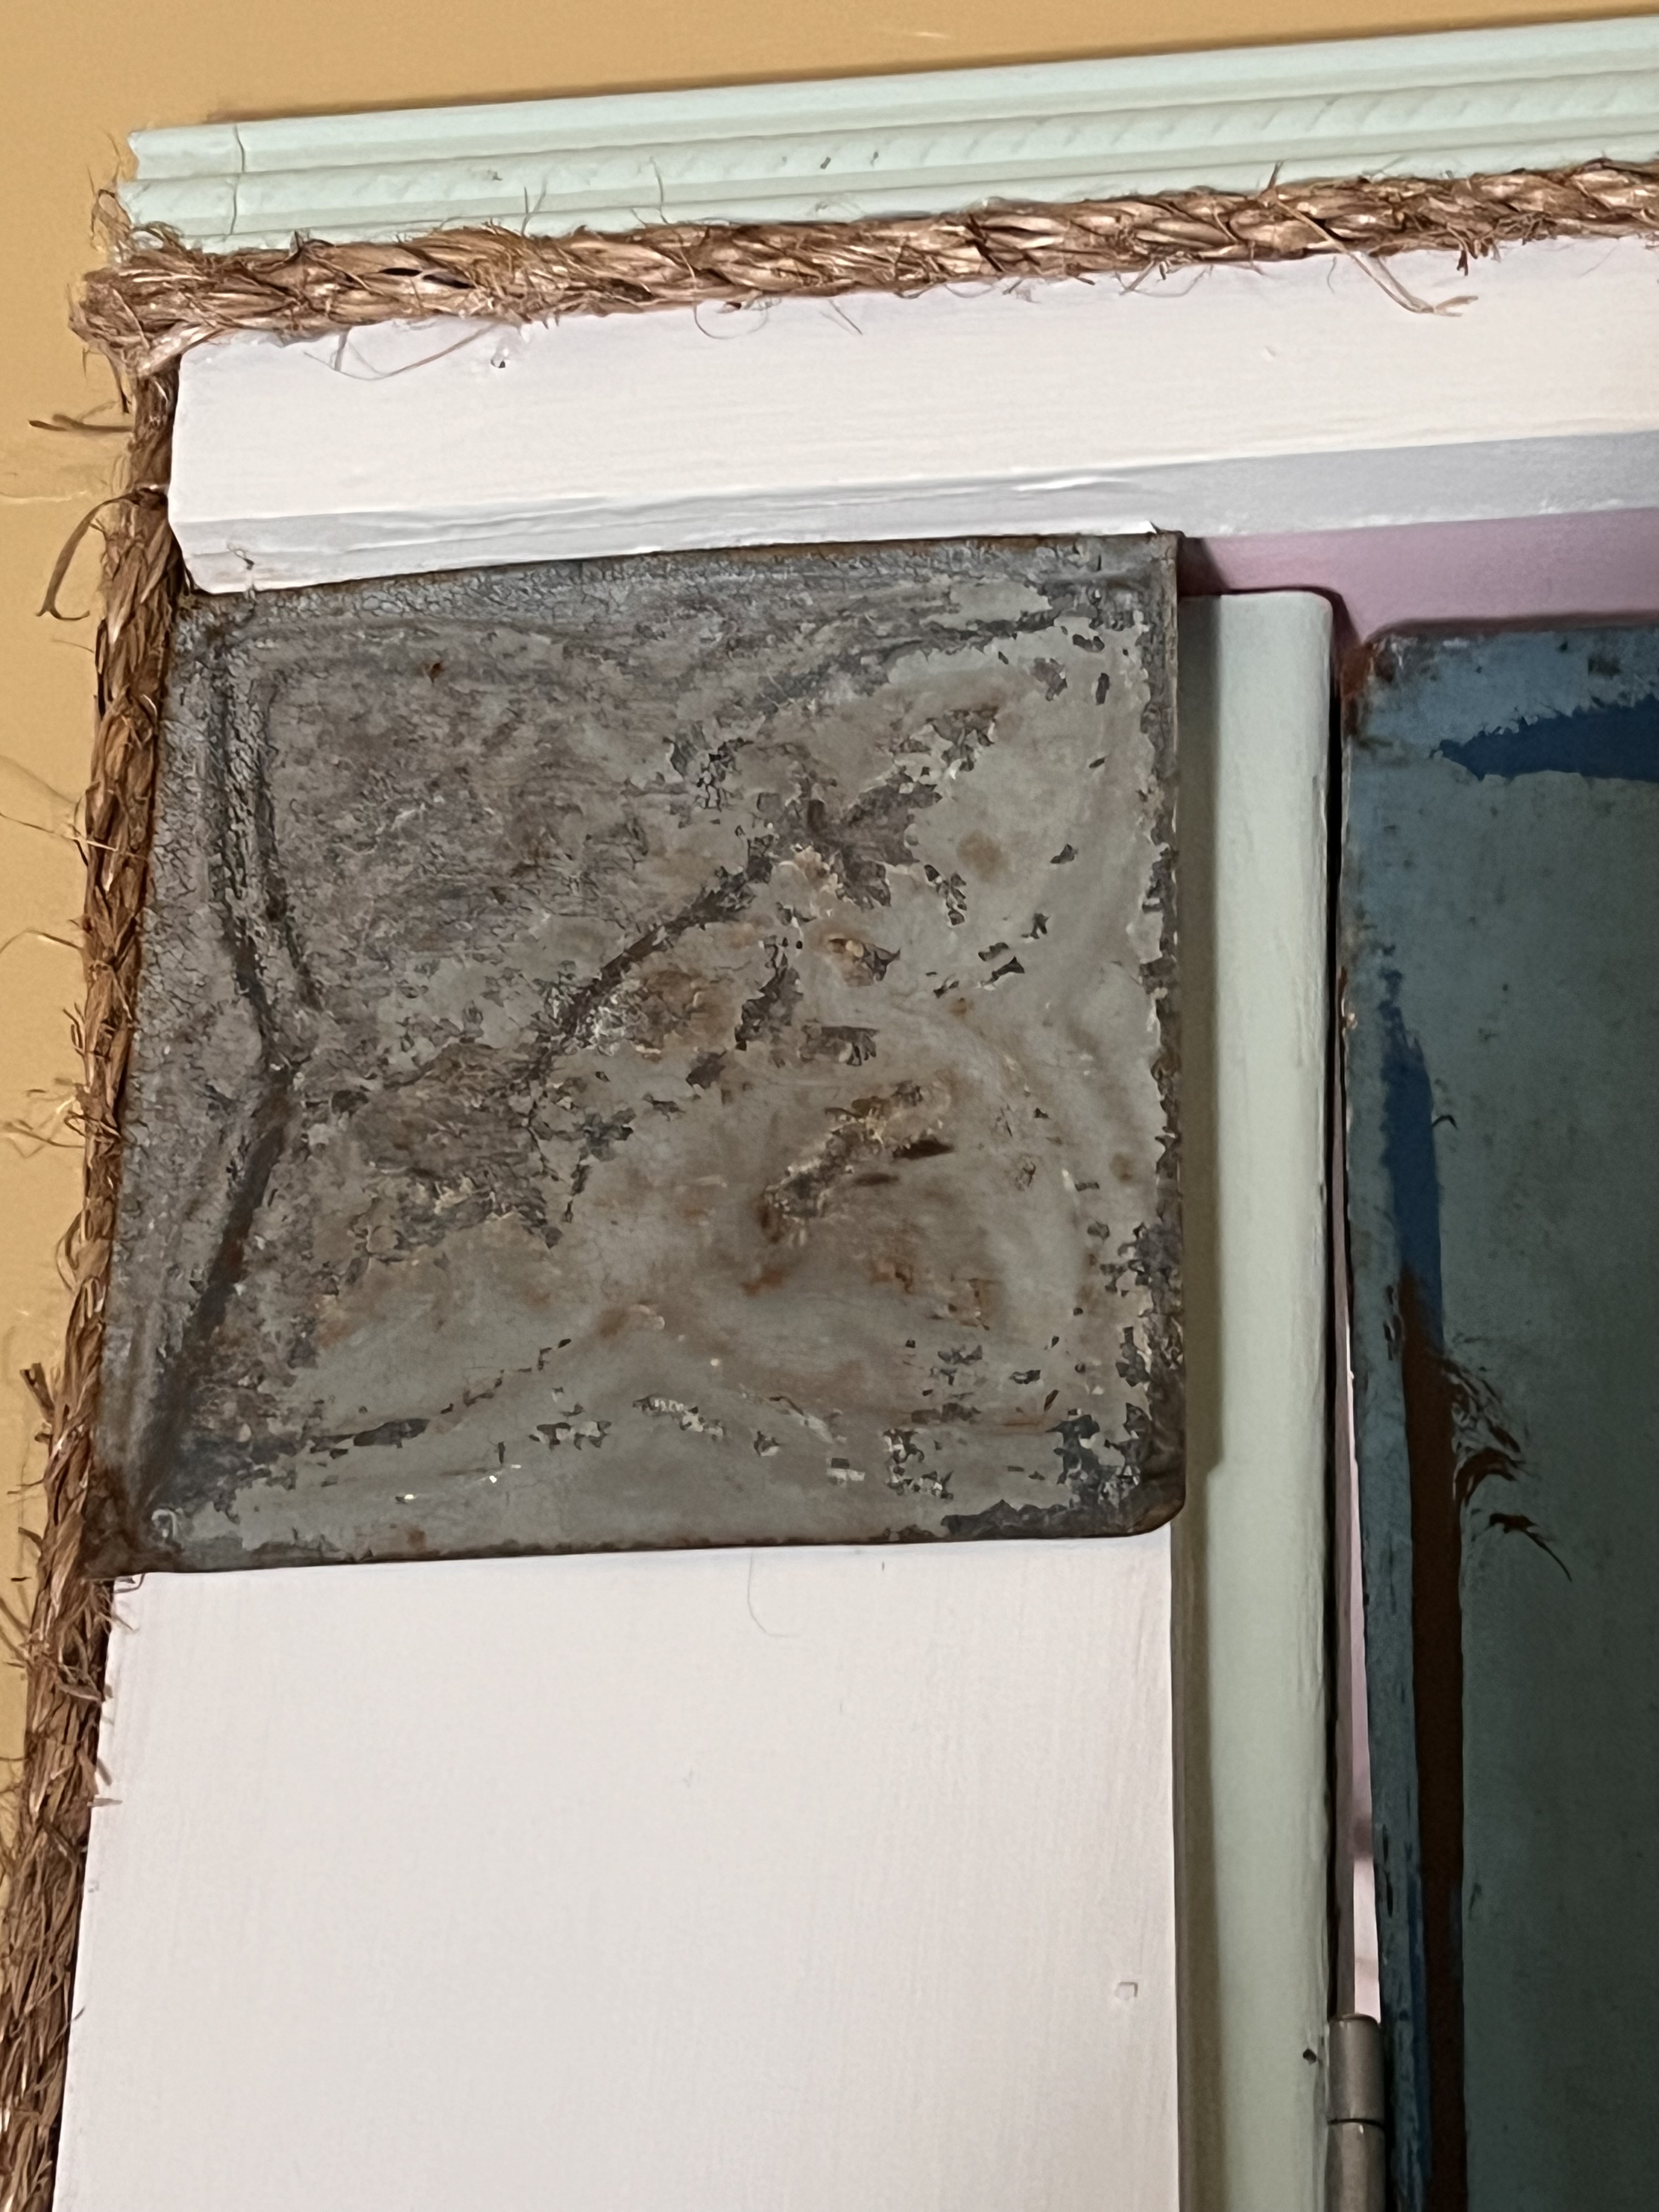
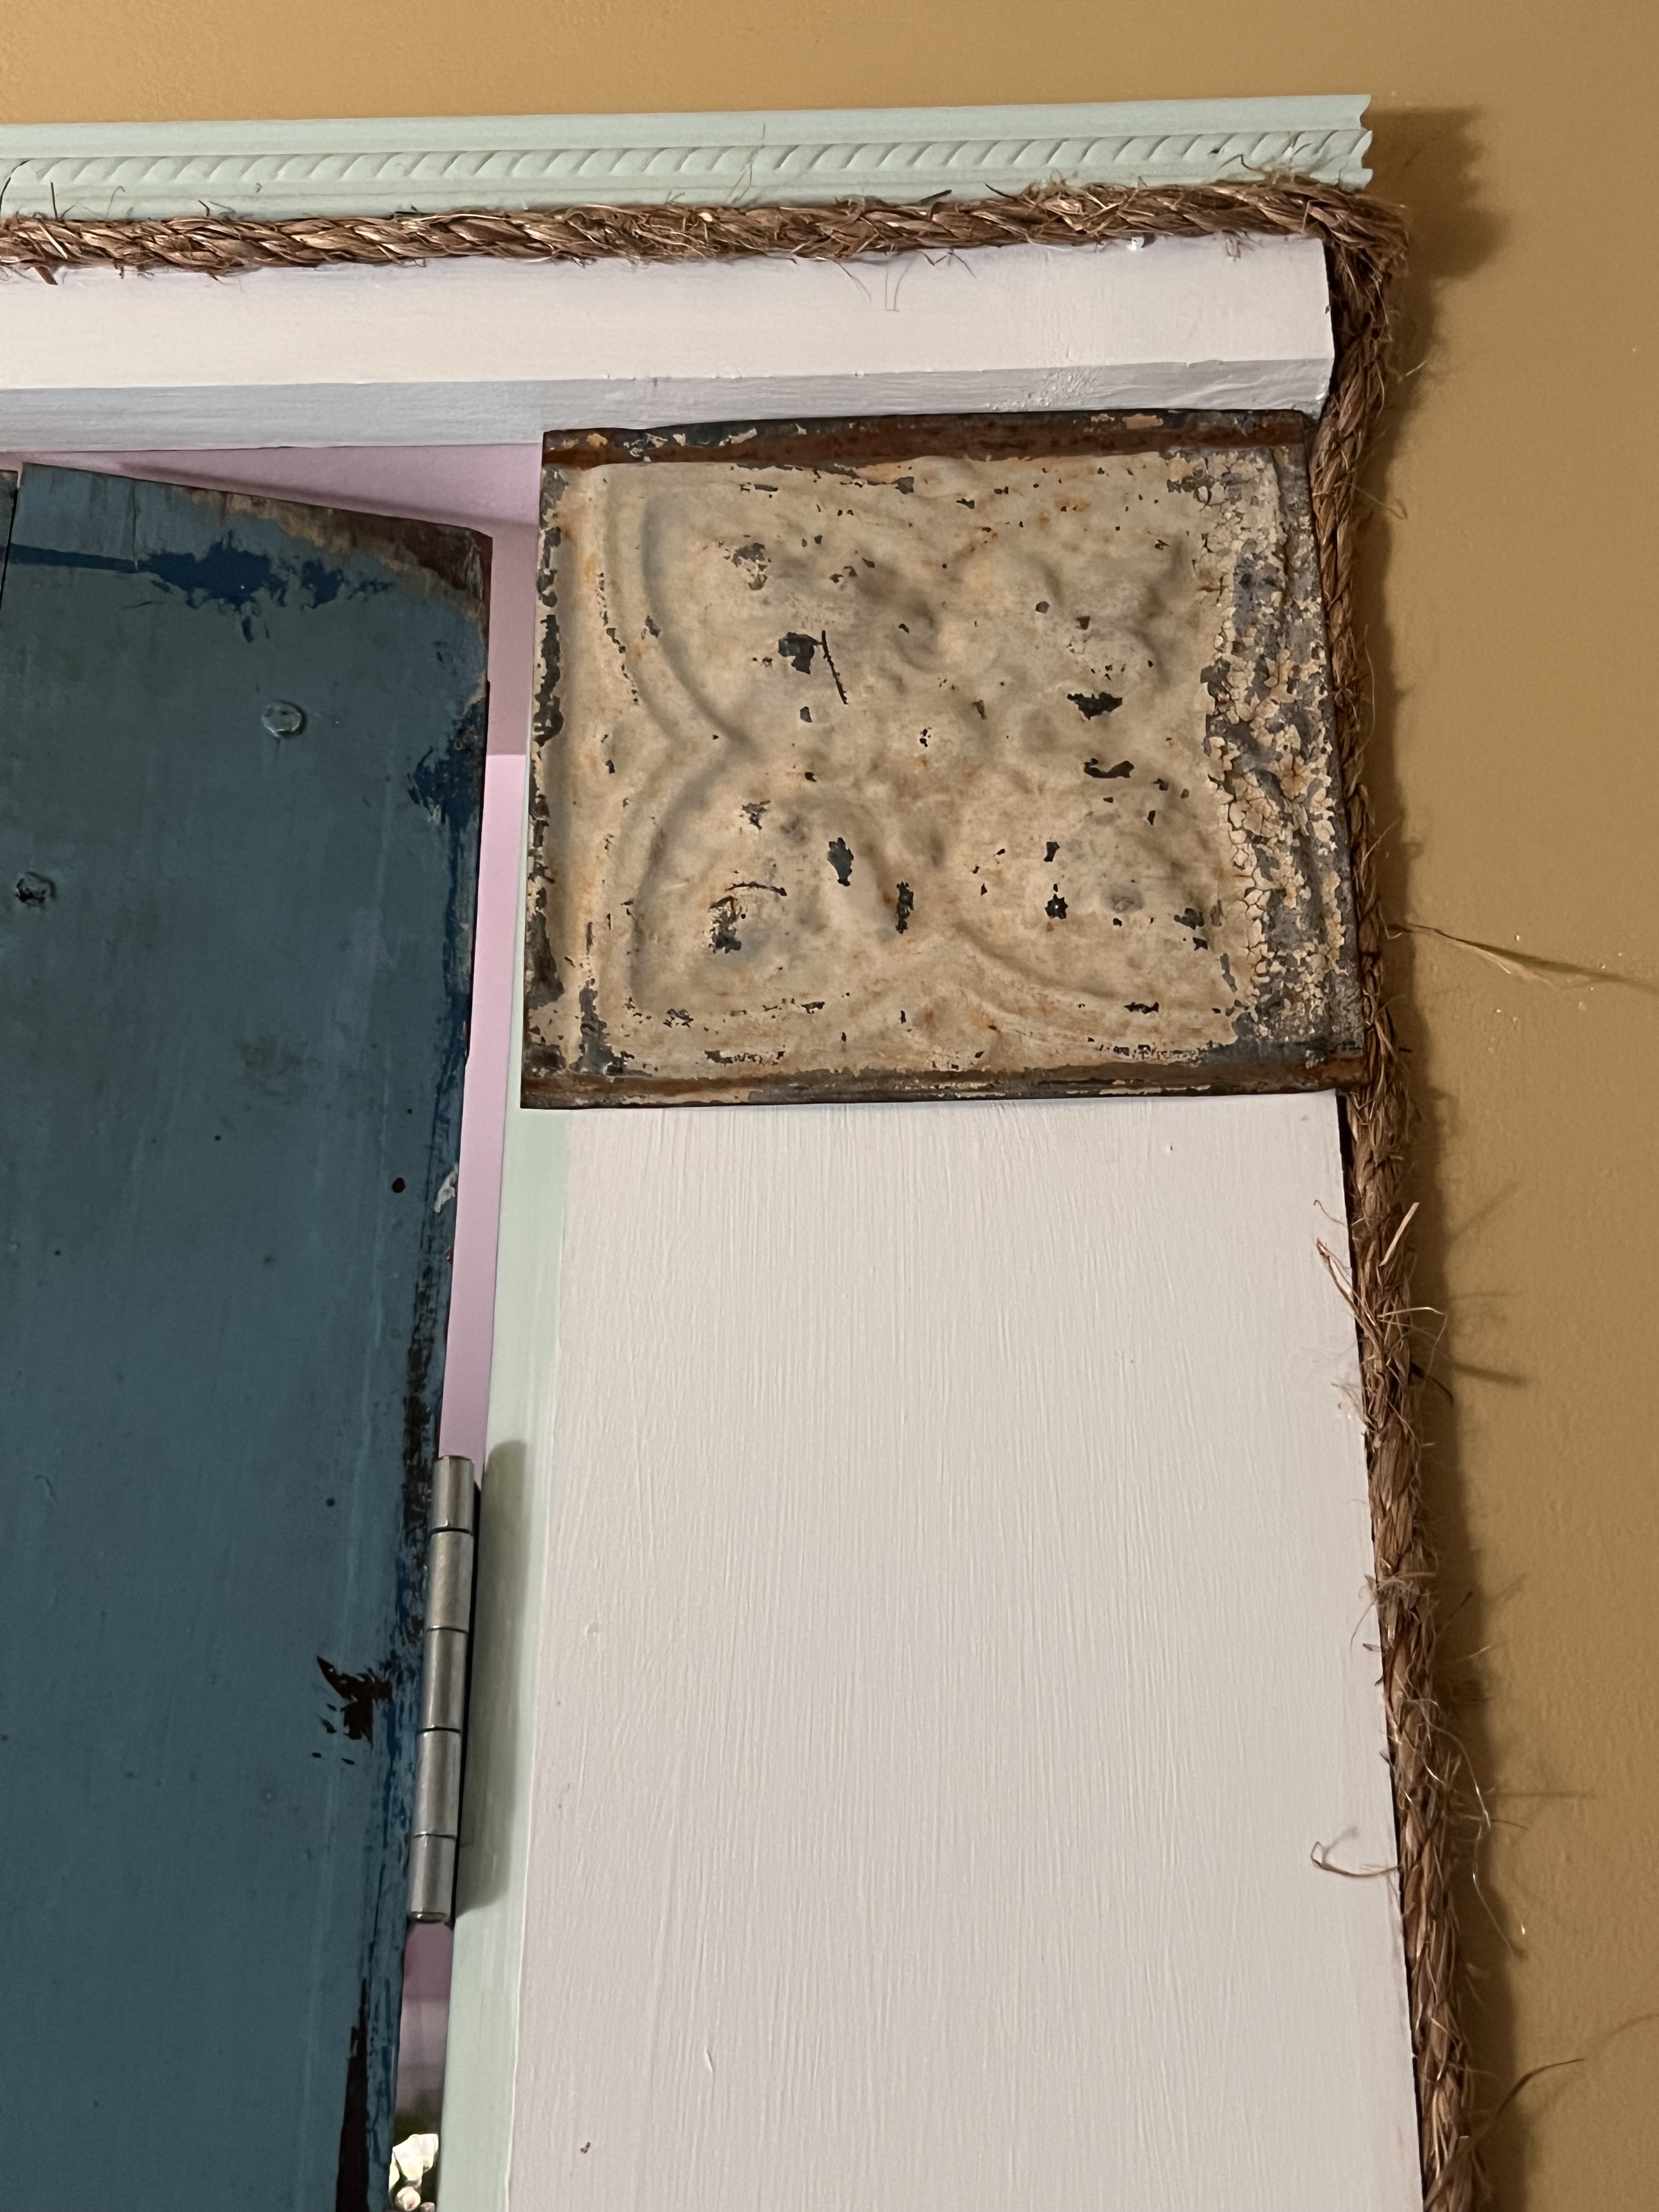
To start, I simply removed the tape at the end and started nailing about every 6-10 inches holding tight so there was no slack. At the corners, I reinforced with a few extra nails to make sure the corners where crisp. Tip: Keep your rope nice and organized at the bottom of your ladder and move it in a clean pile as you follow the perimeter of the room. Rope can be like Christmas lights and easily tangle. To avoid this, make sure you attempt to keep the pile together as it was sent from the factory.
When I got close to the end, I measured the last 8 ft or so I needed to the corner. I used painters tape and a serrated kitchen knife to cut the rope at the exact length. Tip: Don’t wait to do this step till the last few feet. If you do, you will be trying to cut your rope in the air, against the wall, or on your ladder. One inch rope is sturdy, but you do need something to finish the ends and prevent the rope from fraying. Of course, you do not want to leave the tape on. To finish the ends, I used a cordless glue gun (another DIYer must have tool) to apply hot glue. Tip: Do not use your fingers to prevent drips, have a small tool like a flat head screwdriver or butter knife that you reinforce the glue to the end of the rope. You can use your fingers like I did, but if you want to feel things for the following days, I do not suggest it ;).
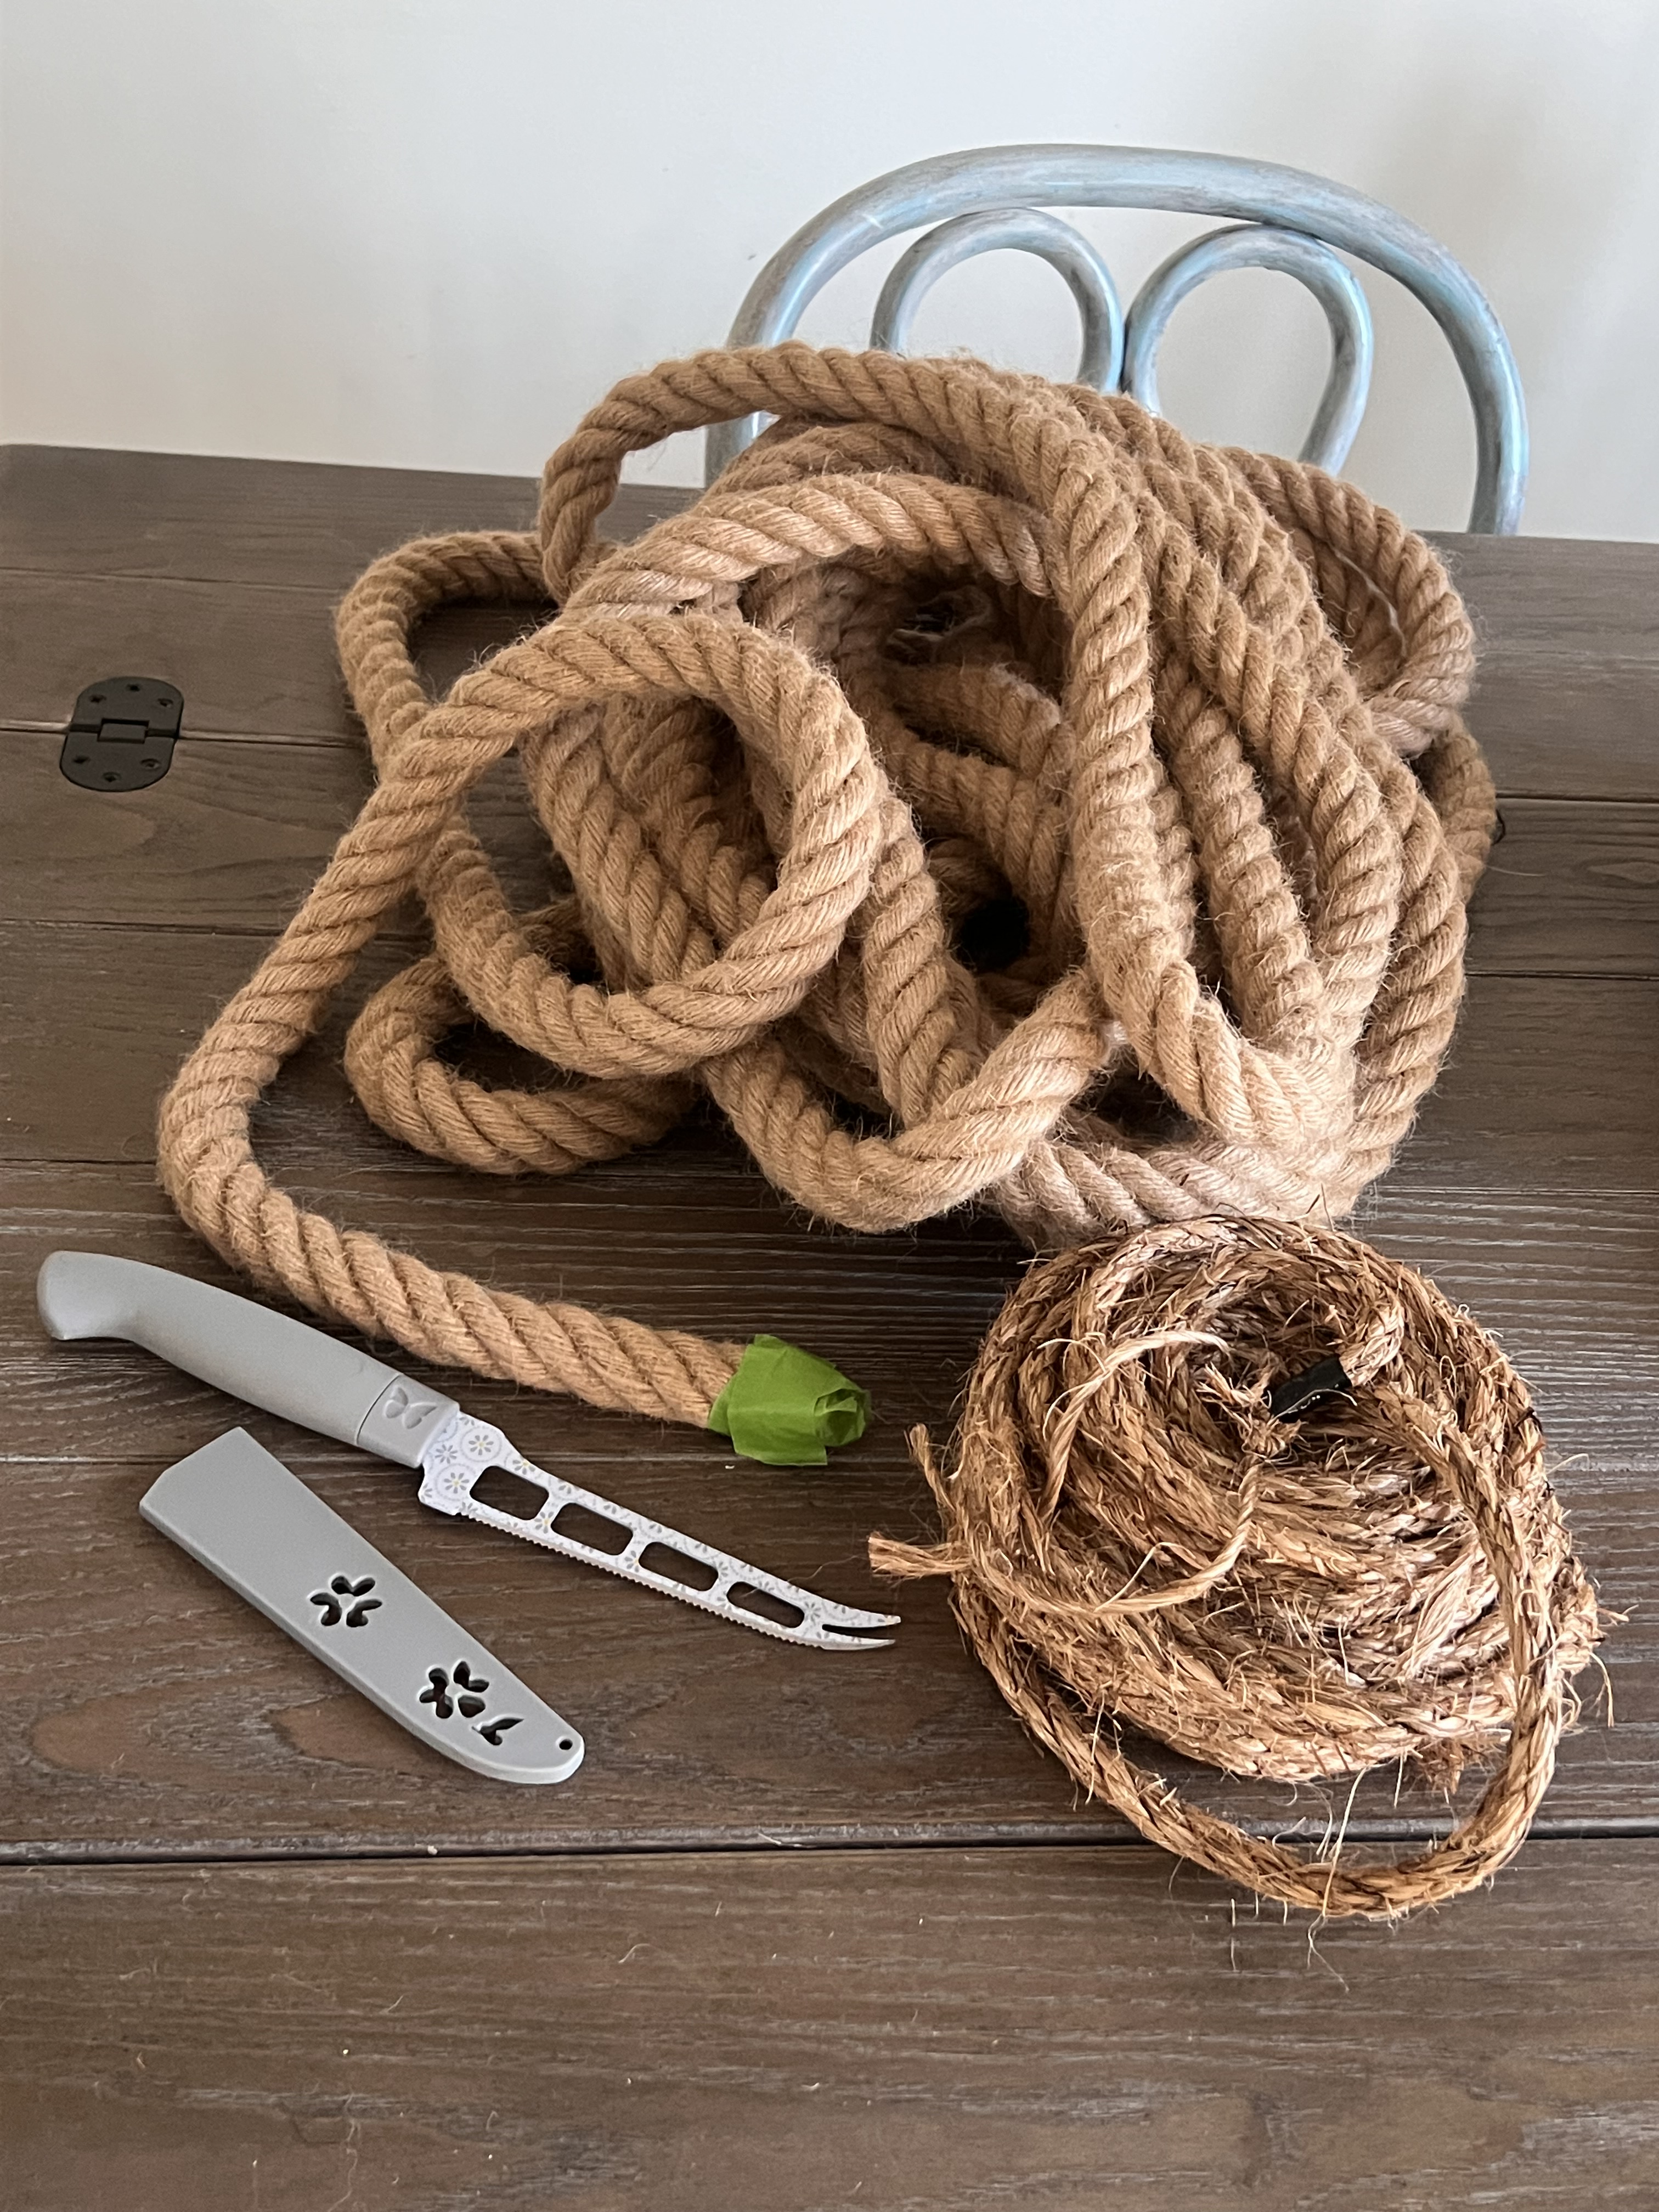

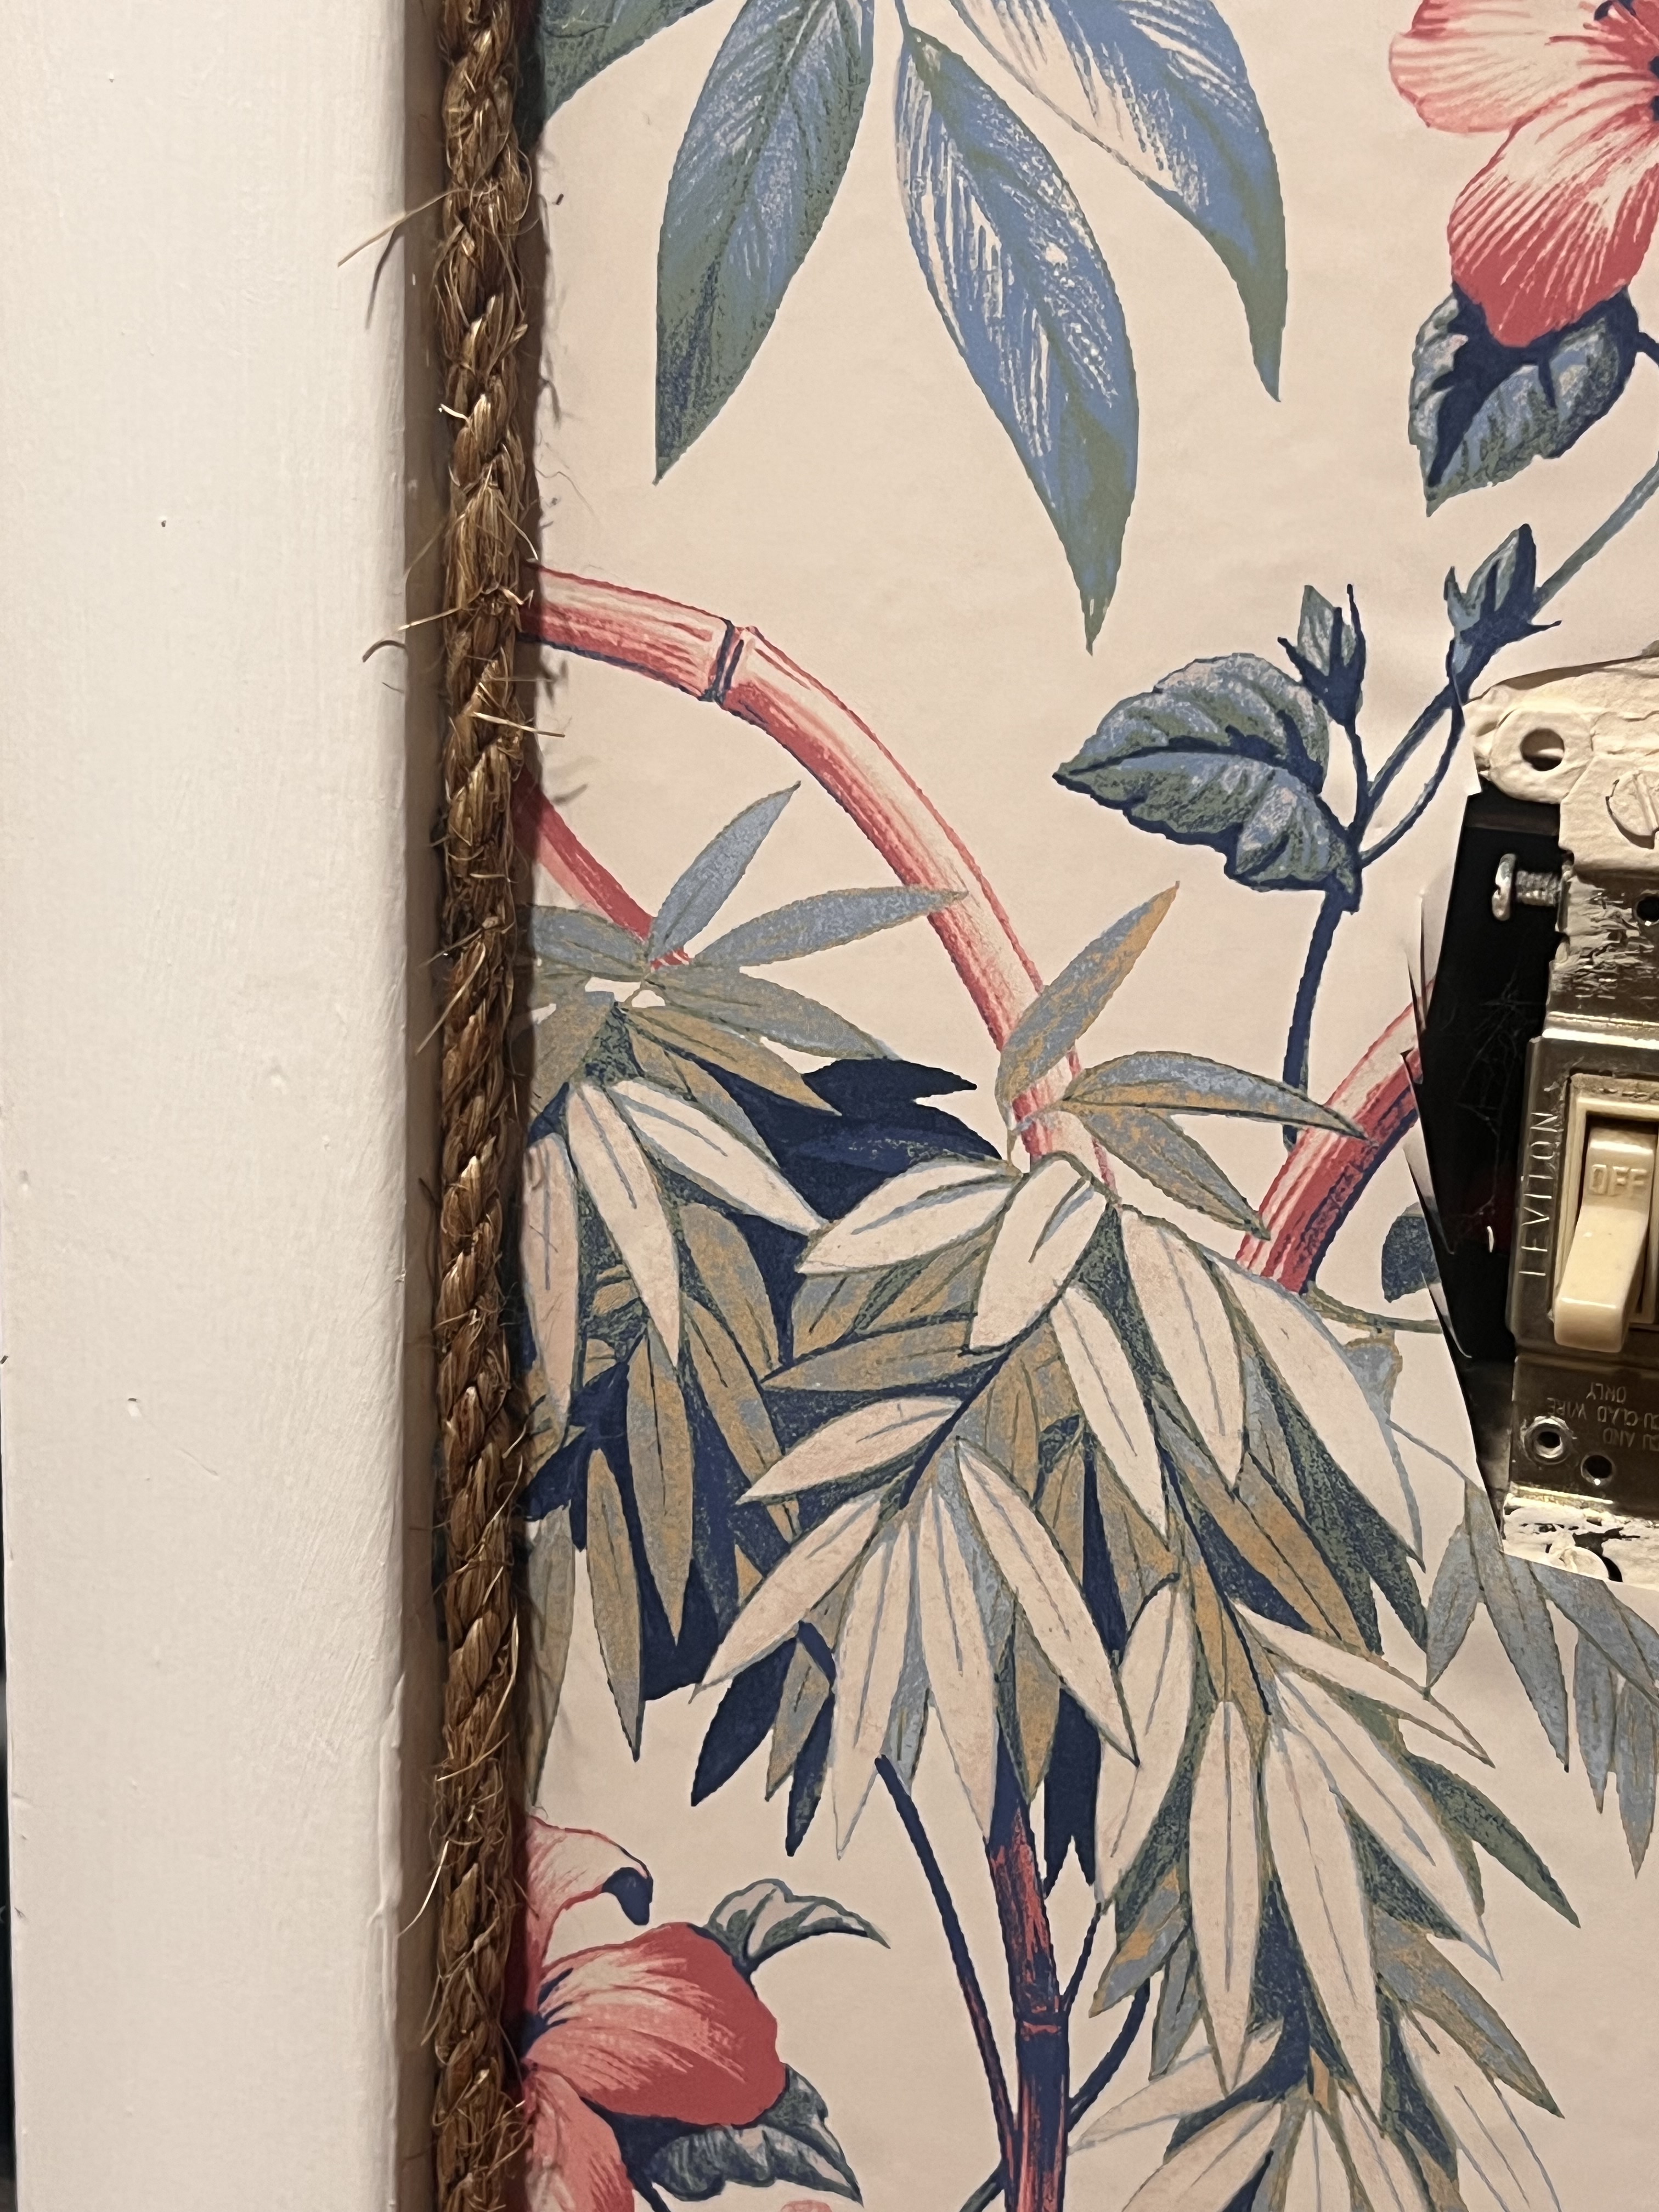
After I completed both the base boards and ceiling molding with the 1-inch rope, I tied (pun indented) the look together with smaller jute rope around the door frames and custom headboard (post coming). You can find smaller jute rope at your local hardware store, craft store, or on Amazon here.
Here was the final look and I love it!

Leave a comment