
One thing I miss about Hawaii is the year-round ability to grow plants inside and outside of my home. Like Jack, I could toss a few seeds out a window and the next day I would see it growing with little to no effort. I literally had some sort of stalk grow one time…more about that in another post. I don’t think I realized I suffered from seasonal depression until the cold and dark months of the east coast came upon me the last two seasons. Growing up here, I was accustomed to it. But after spending years in the sunshine, I realized how much these months impacted my well-being. I thought, how can I provide a natural remedy to this? Simple, light and life.
Trust me, I have had several plants die and do not claim to be an expert. But one thing I do know, like people, plants need a caring environment, and the most basic needs fulfilled to grow and evolve. Sunlight, water, and a stable environment is all you need to create a wall of plants. In my primary bedroom, I had lots of light. Ensuring some privacy is important, mostly for my neighbors (ha!), but it was equally important for me to have one window that let the light poor in no matter the temperature outside. I had imagined creating a wall of plants in front of one window strategically maintaining privacy. Hanging shelves was a thought, but I wanted something I could easily access and provided stability. I also love variety. Simple window shelves would provide me options to change plants around throughout the year and have some fun with the design (pretty much every window in my house has something growing by it). Plus, the backside of my home has the most direct sunlight as evidenced by the need to paint my house the first year I owned it!
Building Window Shelves
If you build your own shelves in front of a window you can decide, do you want 1, 2, or even 3 shelves depending on the size of the window. It will be important to consider how you can continue to operate the window and clean them time to time. For sturdy shelves, it is much cheaper to use simple wood pieces that can be painted or stained as you desire versus purchasing factory made shelving. Tip: I often find that MDF shelves also do not hold up like wood and can be a challenge to paint and finish just the way I want.
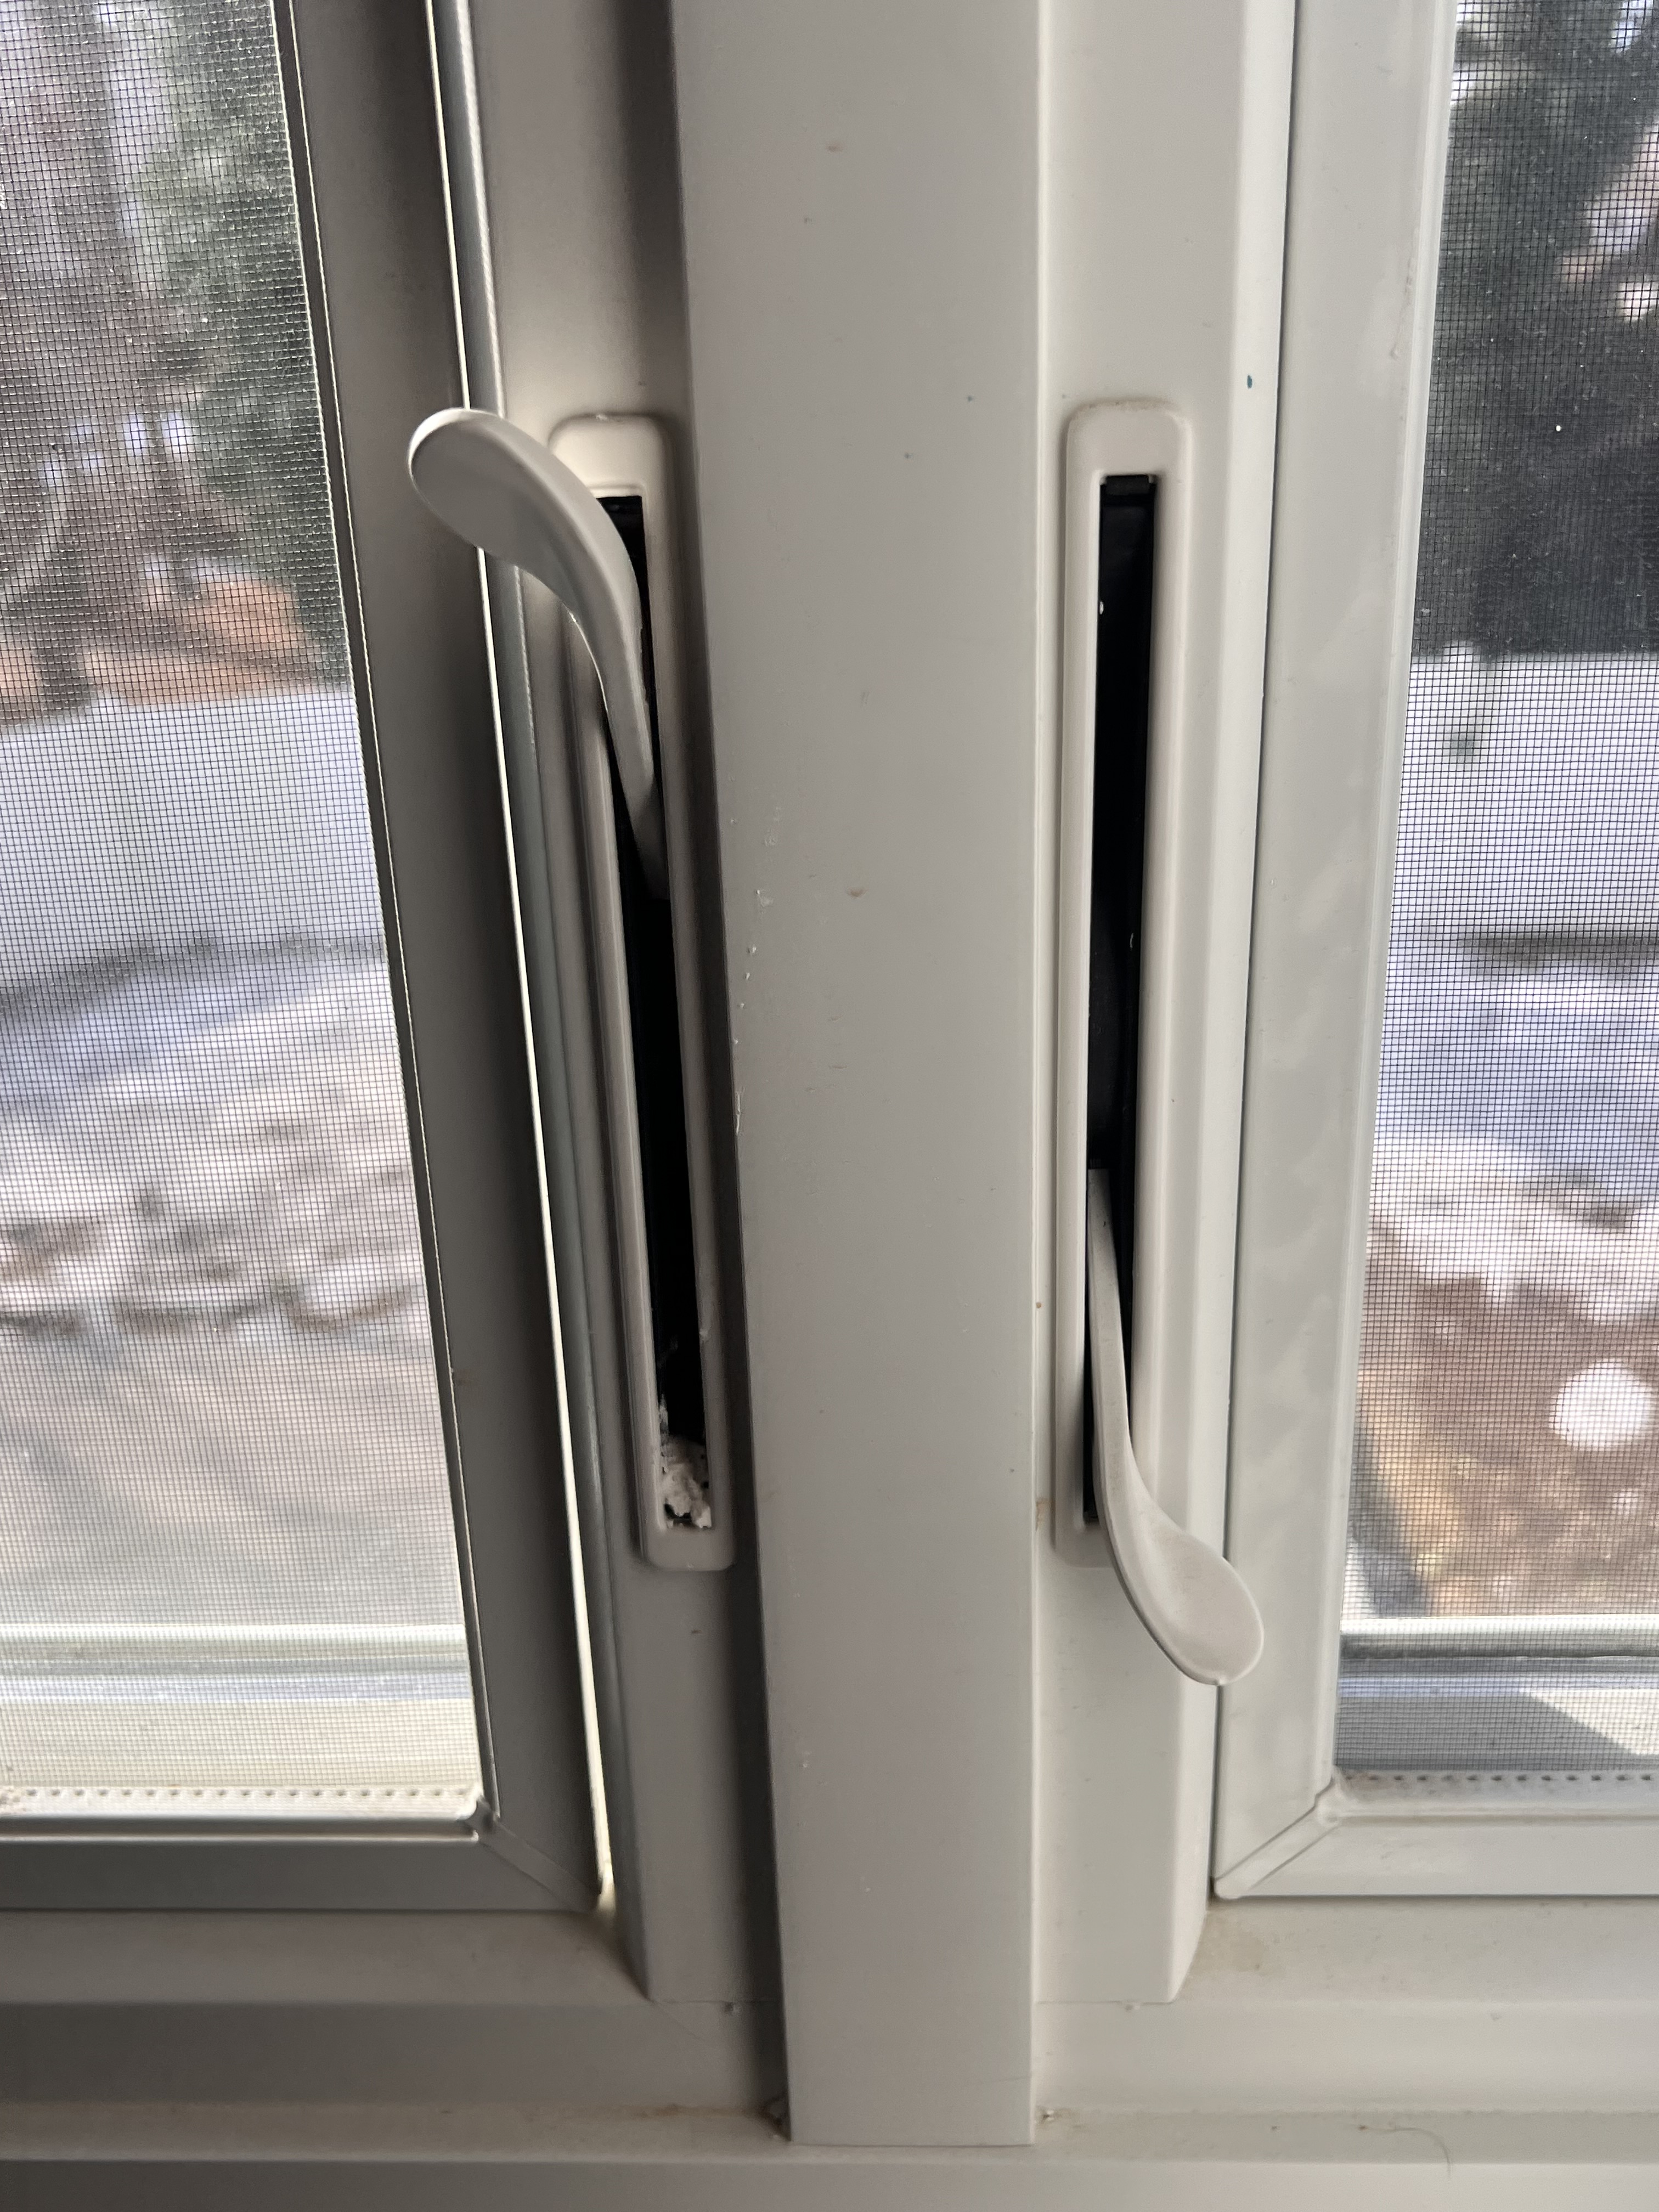
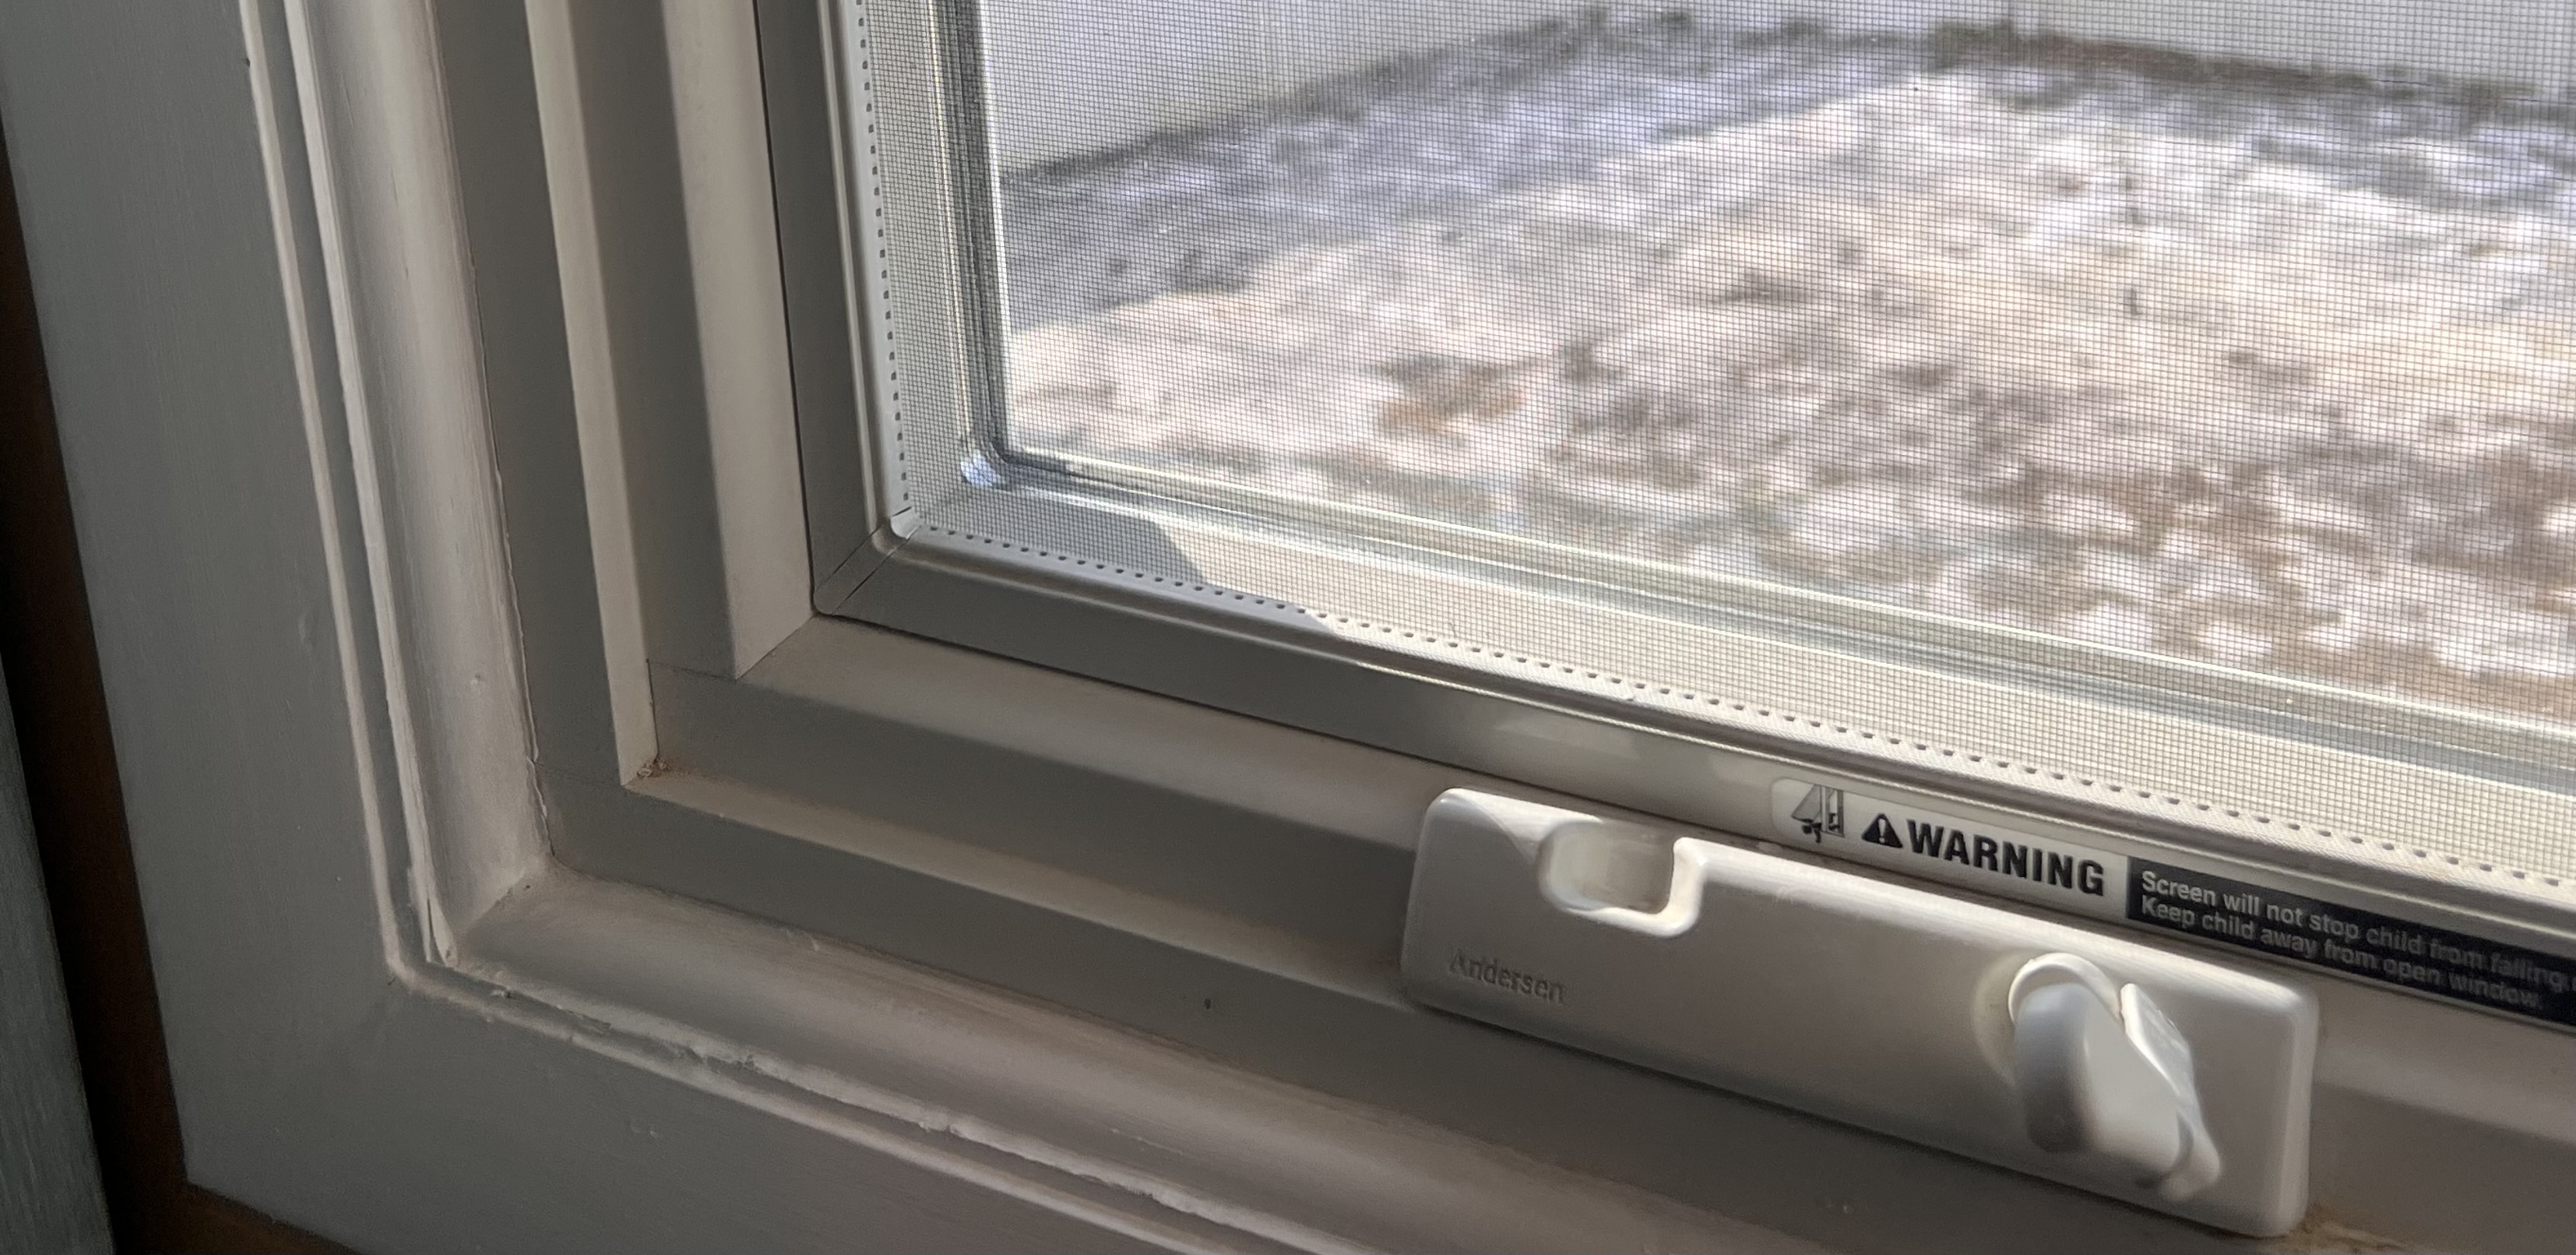
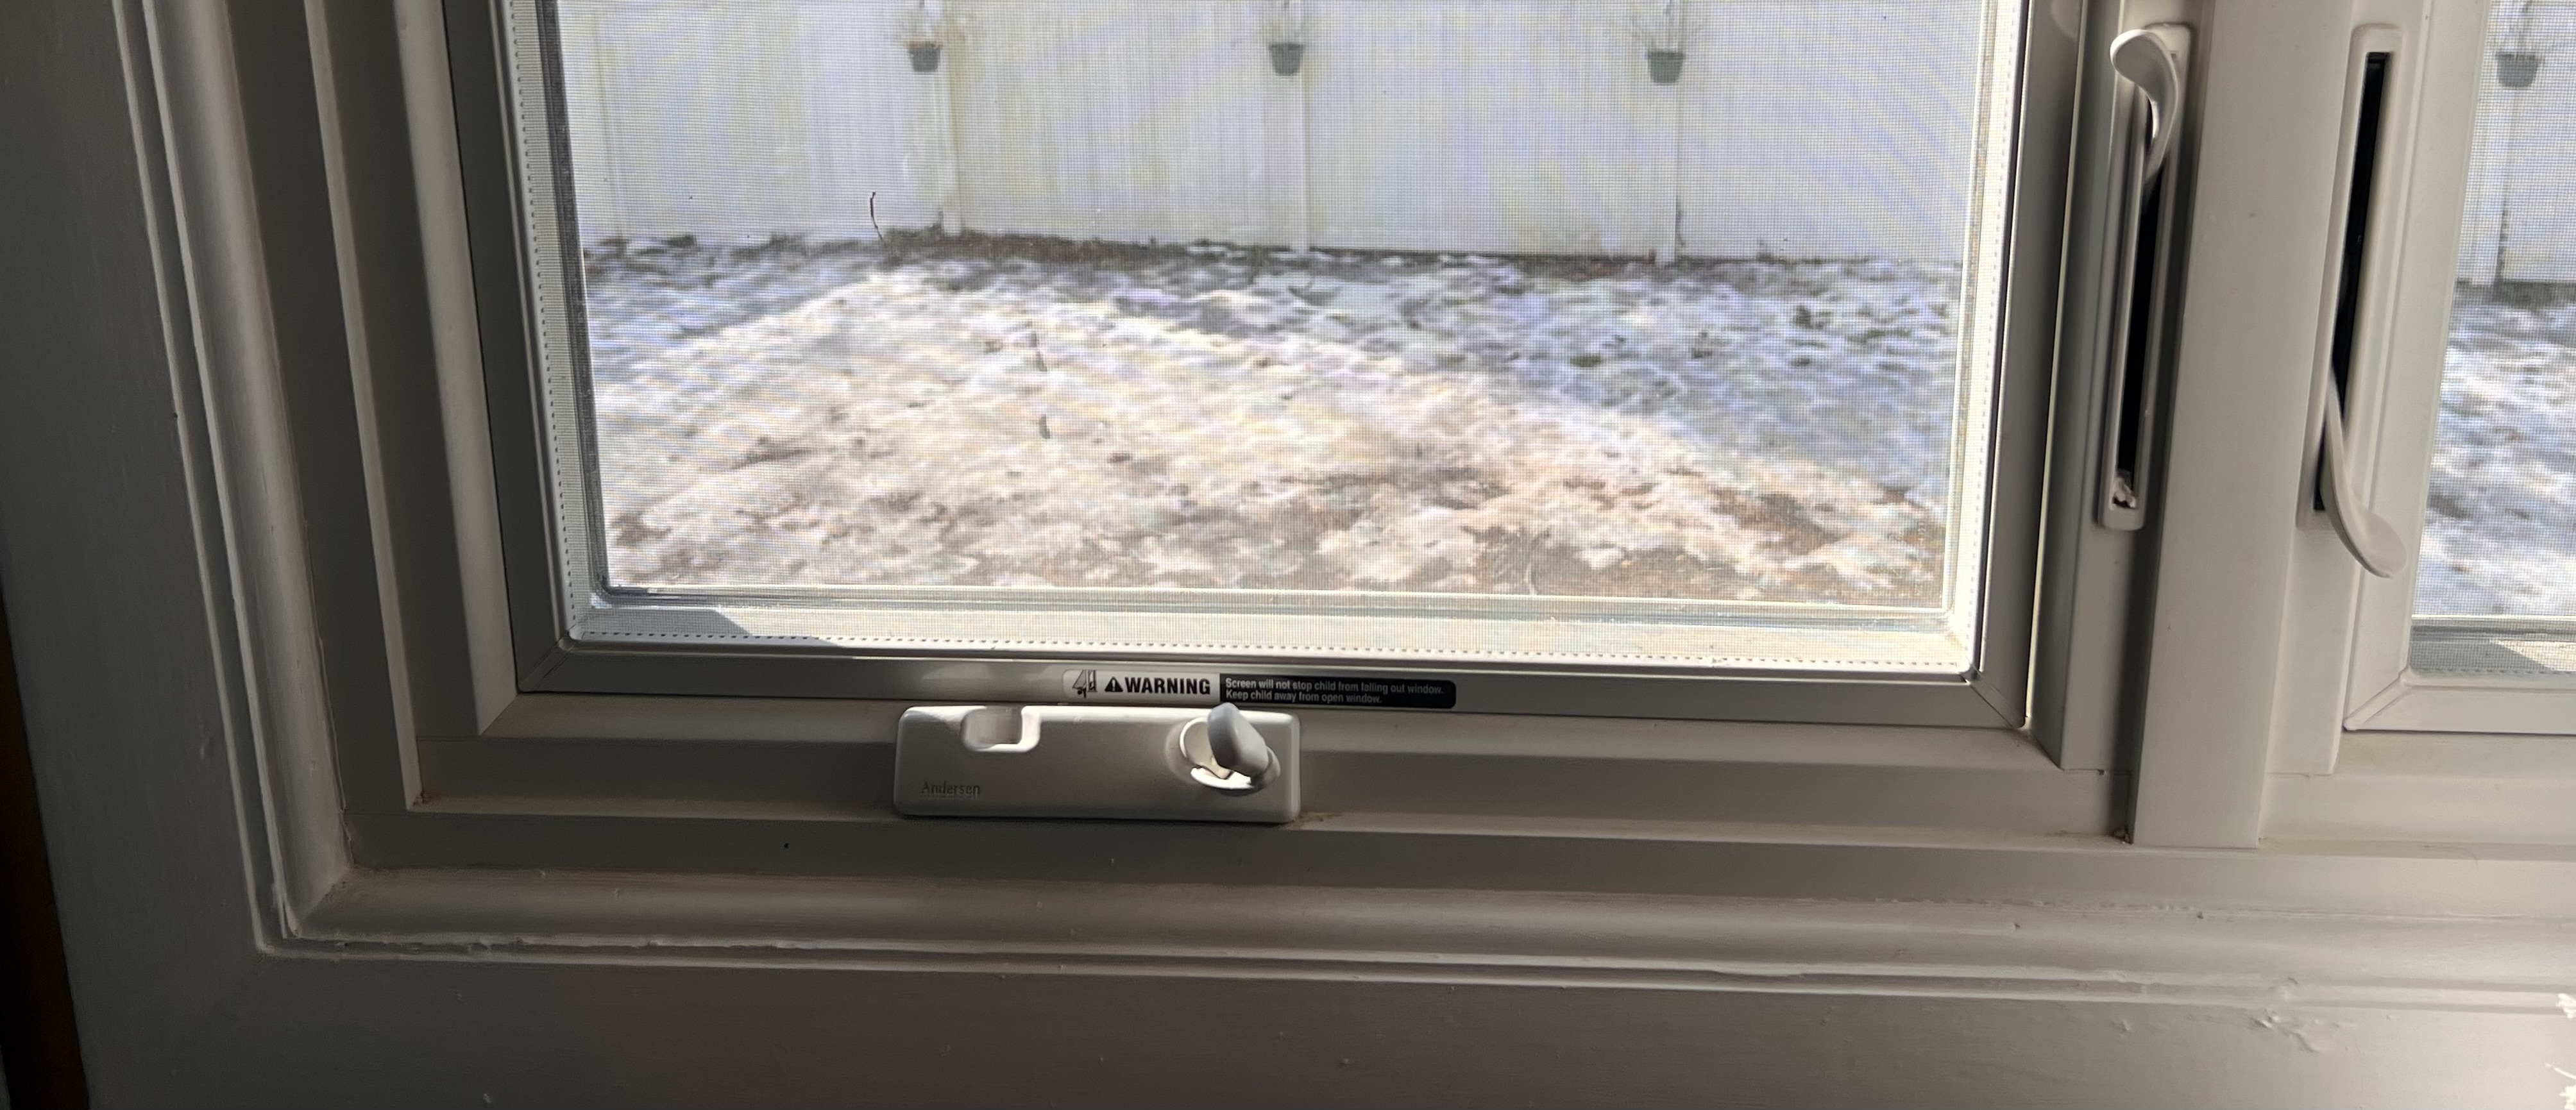
To start I measured the windows. My windows were pretty large. This set of windows was 55.5″ high by 56.5″ wide inclusive of the trim. The depth of the window casing (the area inside the trim to the window) was not deep enough to do a shelf that sat directly in front of the window. I also noted I needed to leave room to operate the opening and locking mechanism of the window.
Tip: Traditionally if I was doing a shelf of this length, I would recommend a middle bracket to stabilize the shelf. But that was not going to be feasible across two windows. Weight will matter and I will need to monitor that the overall weight of the plants does not cause bowing to the wood shelf after time.
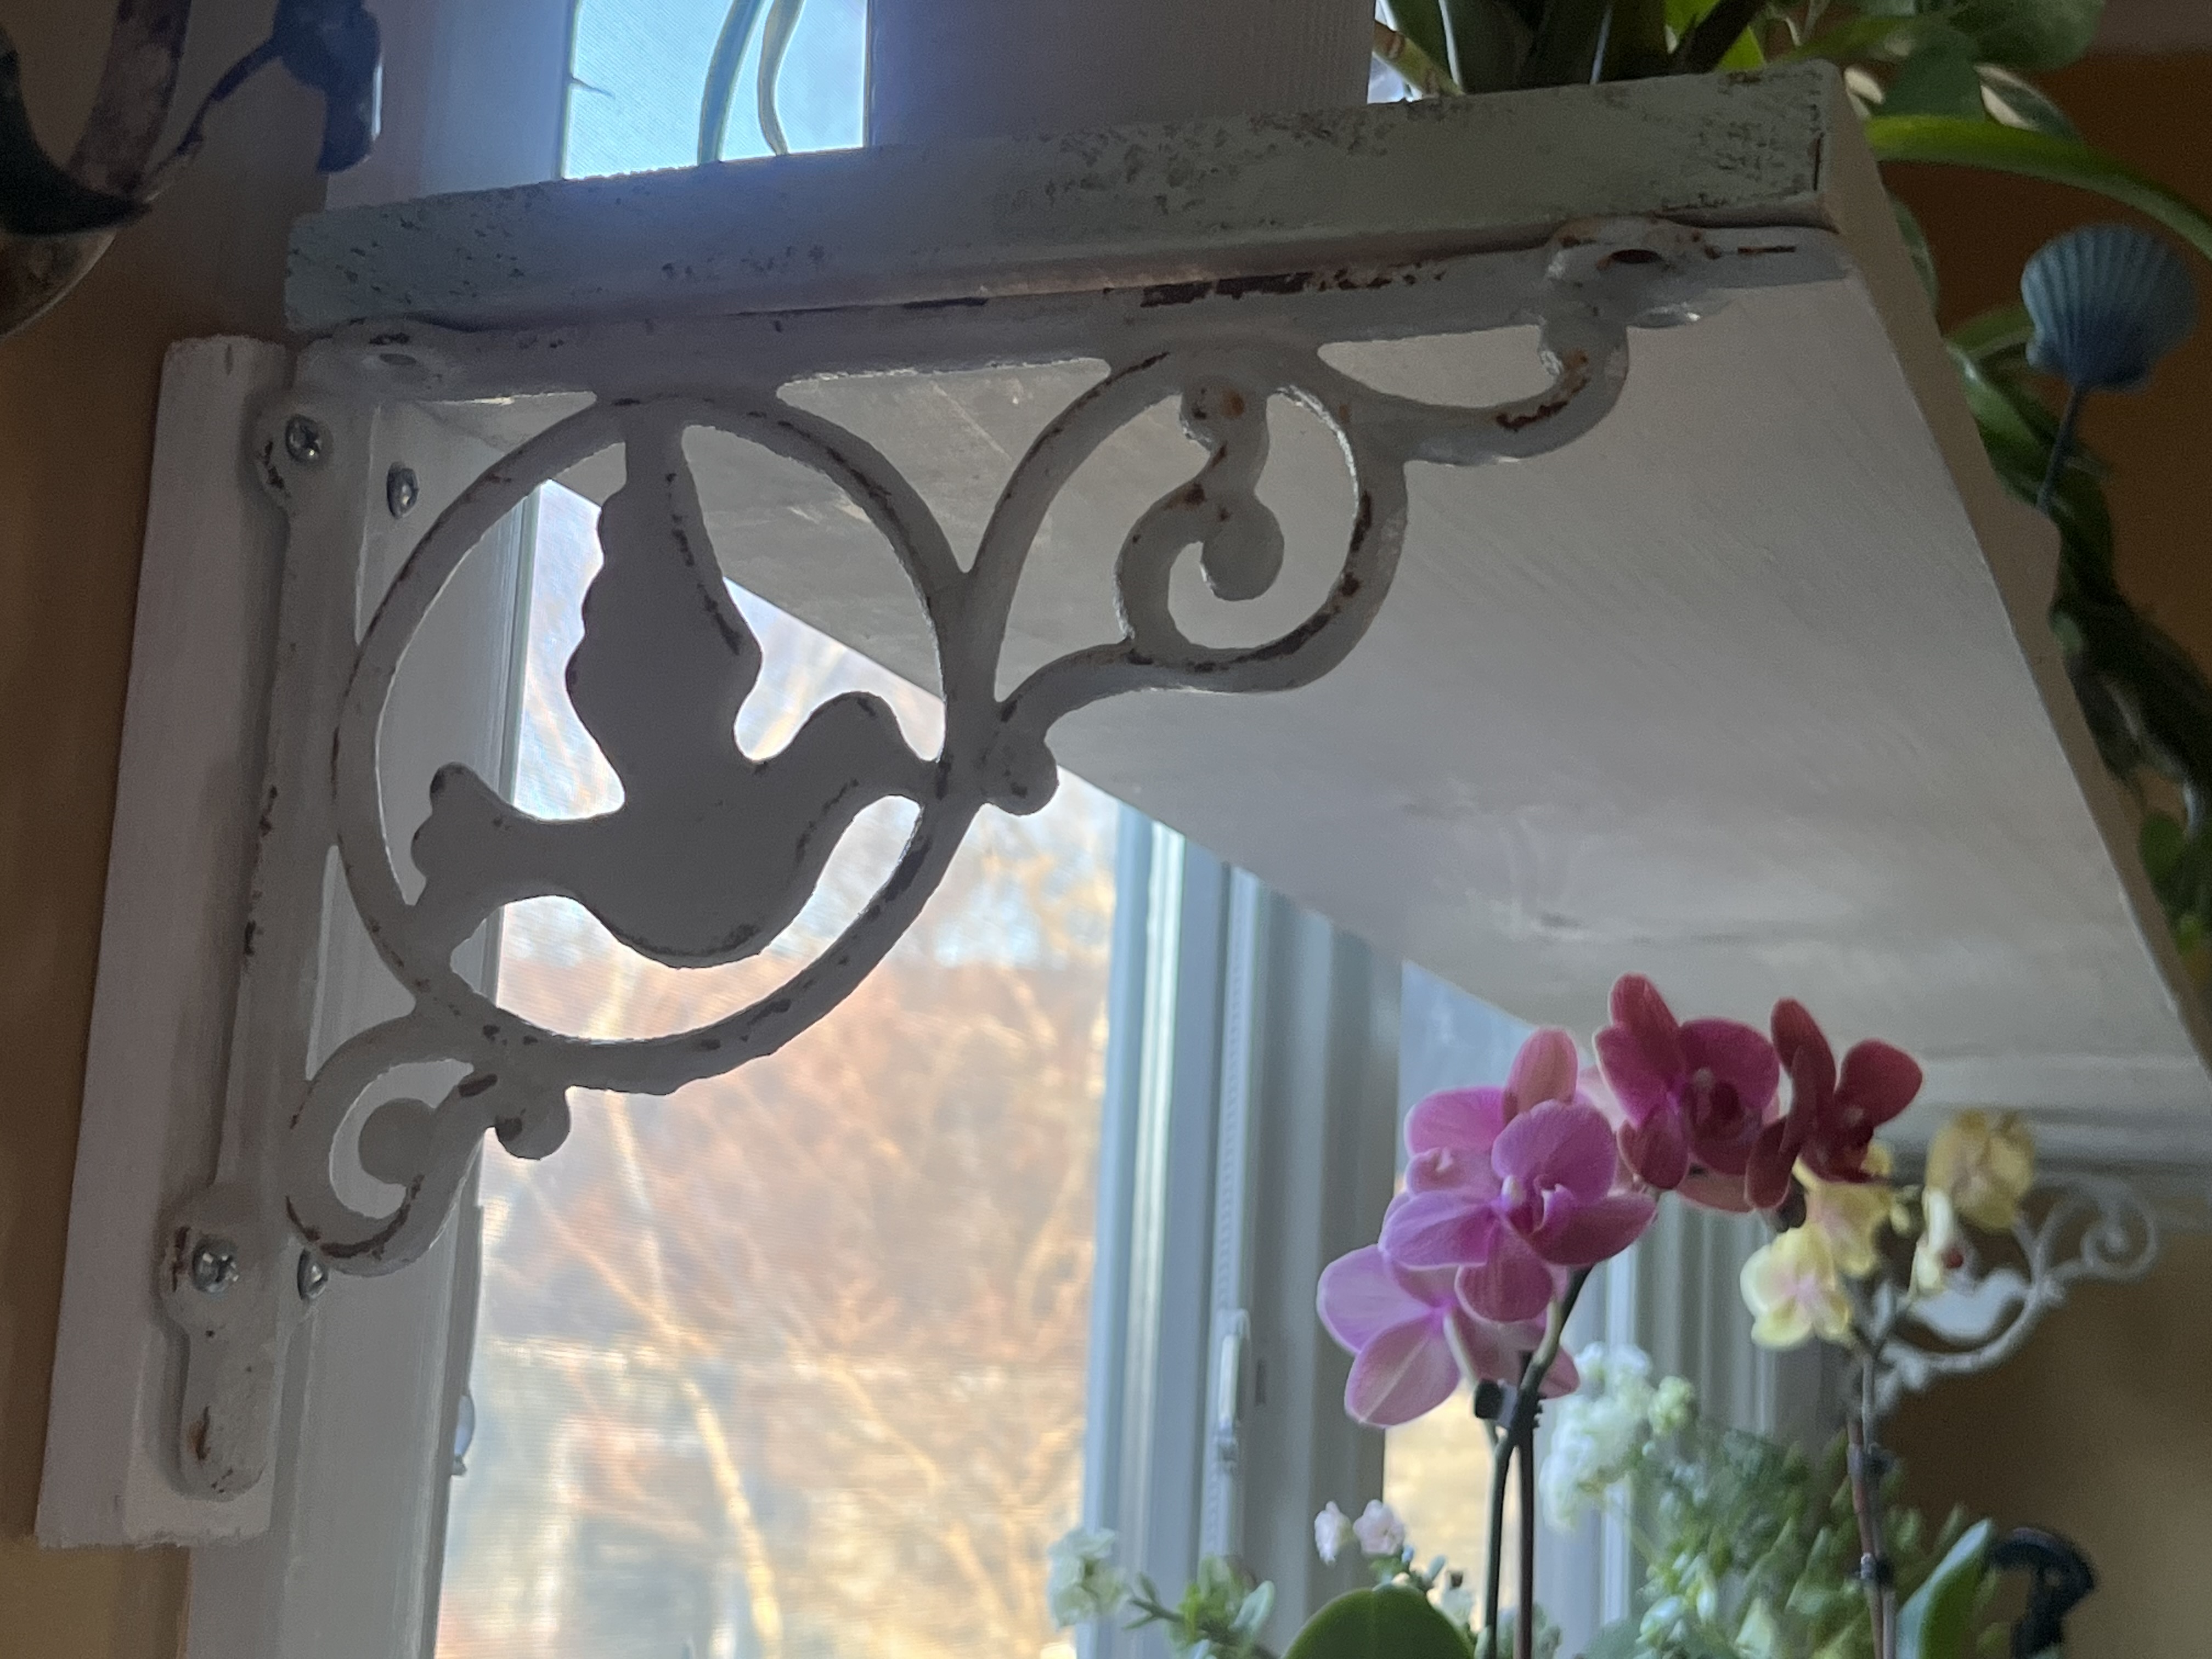
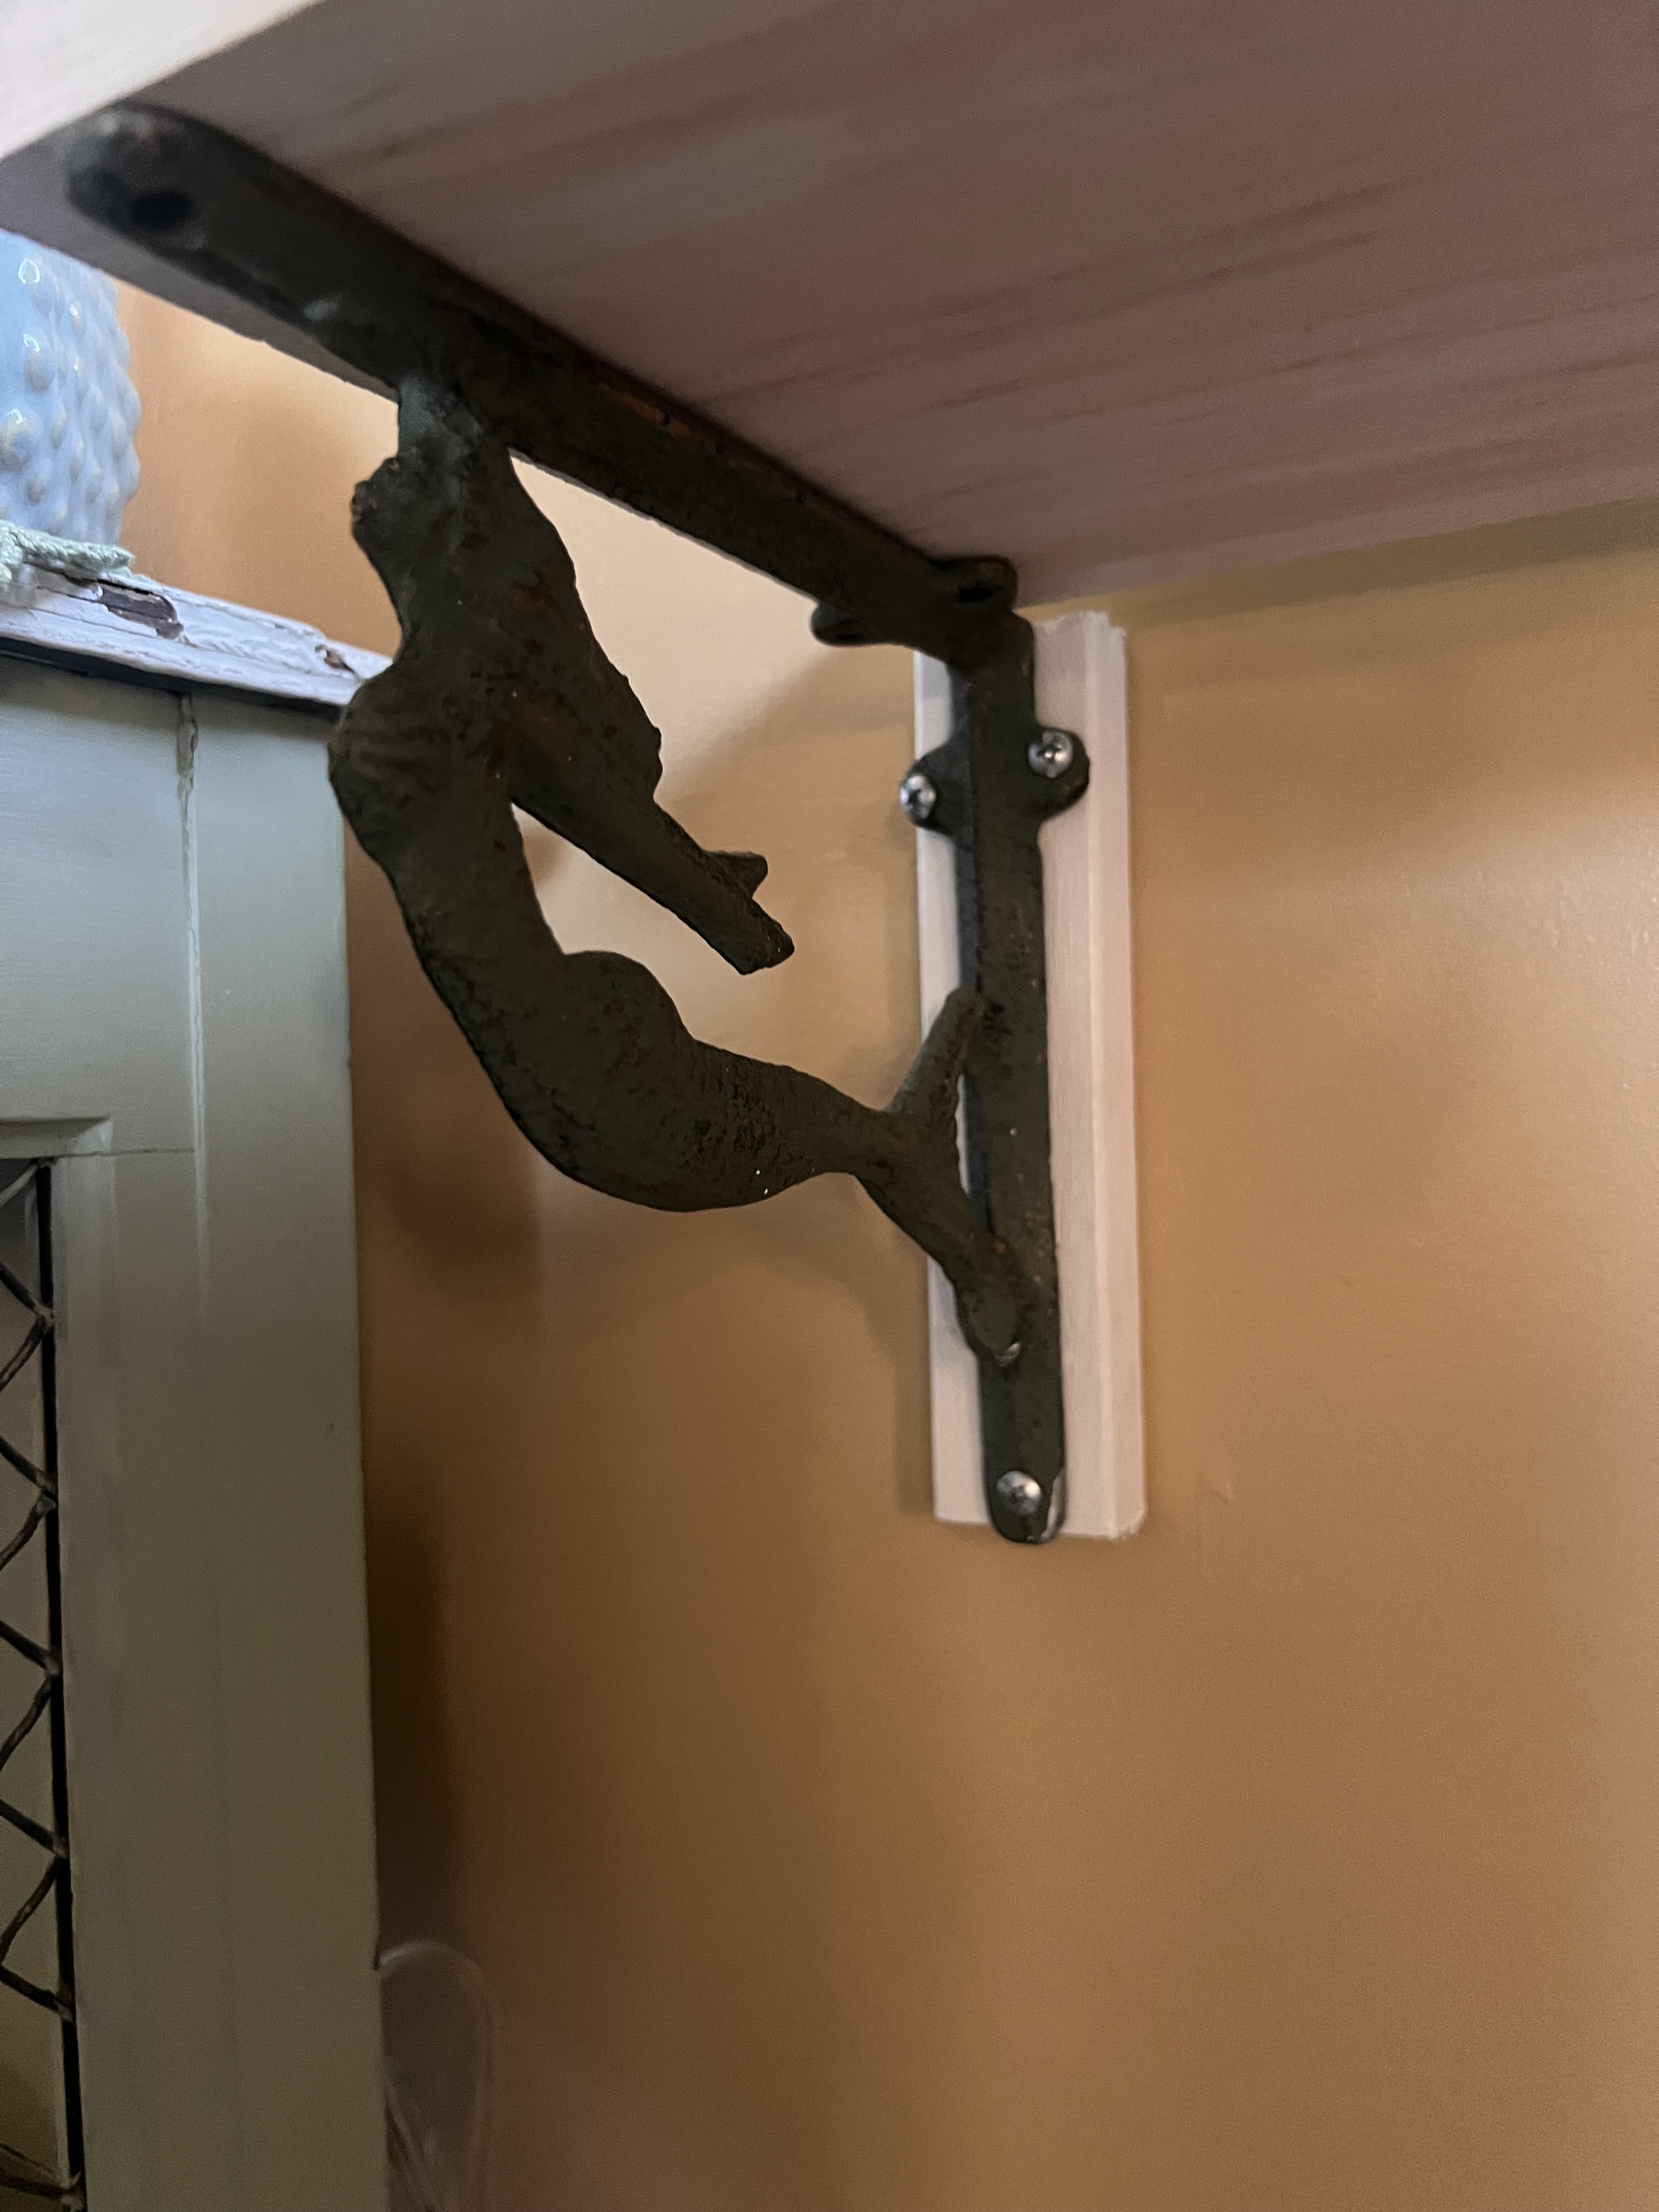
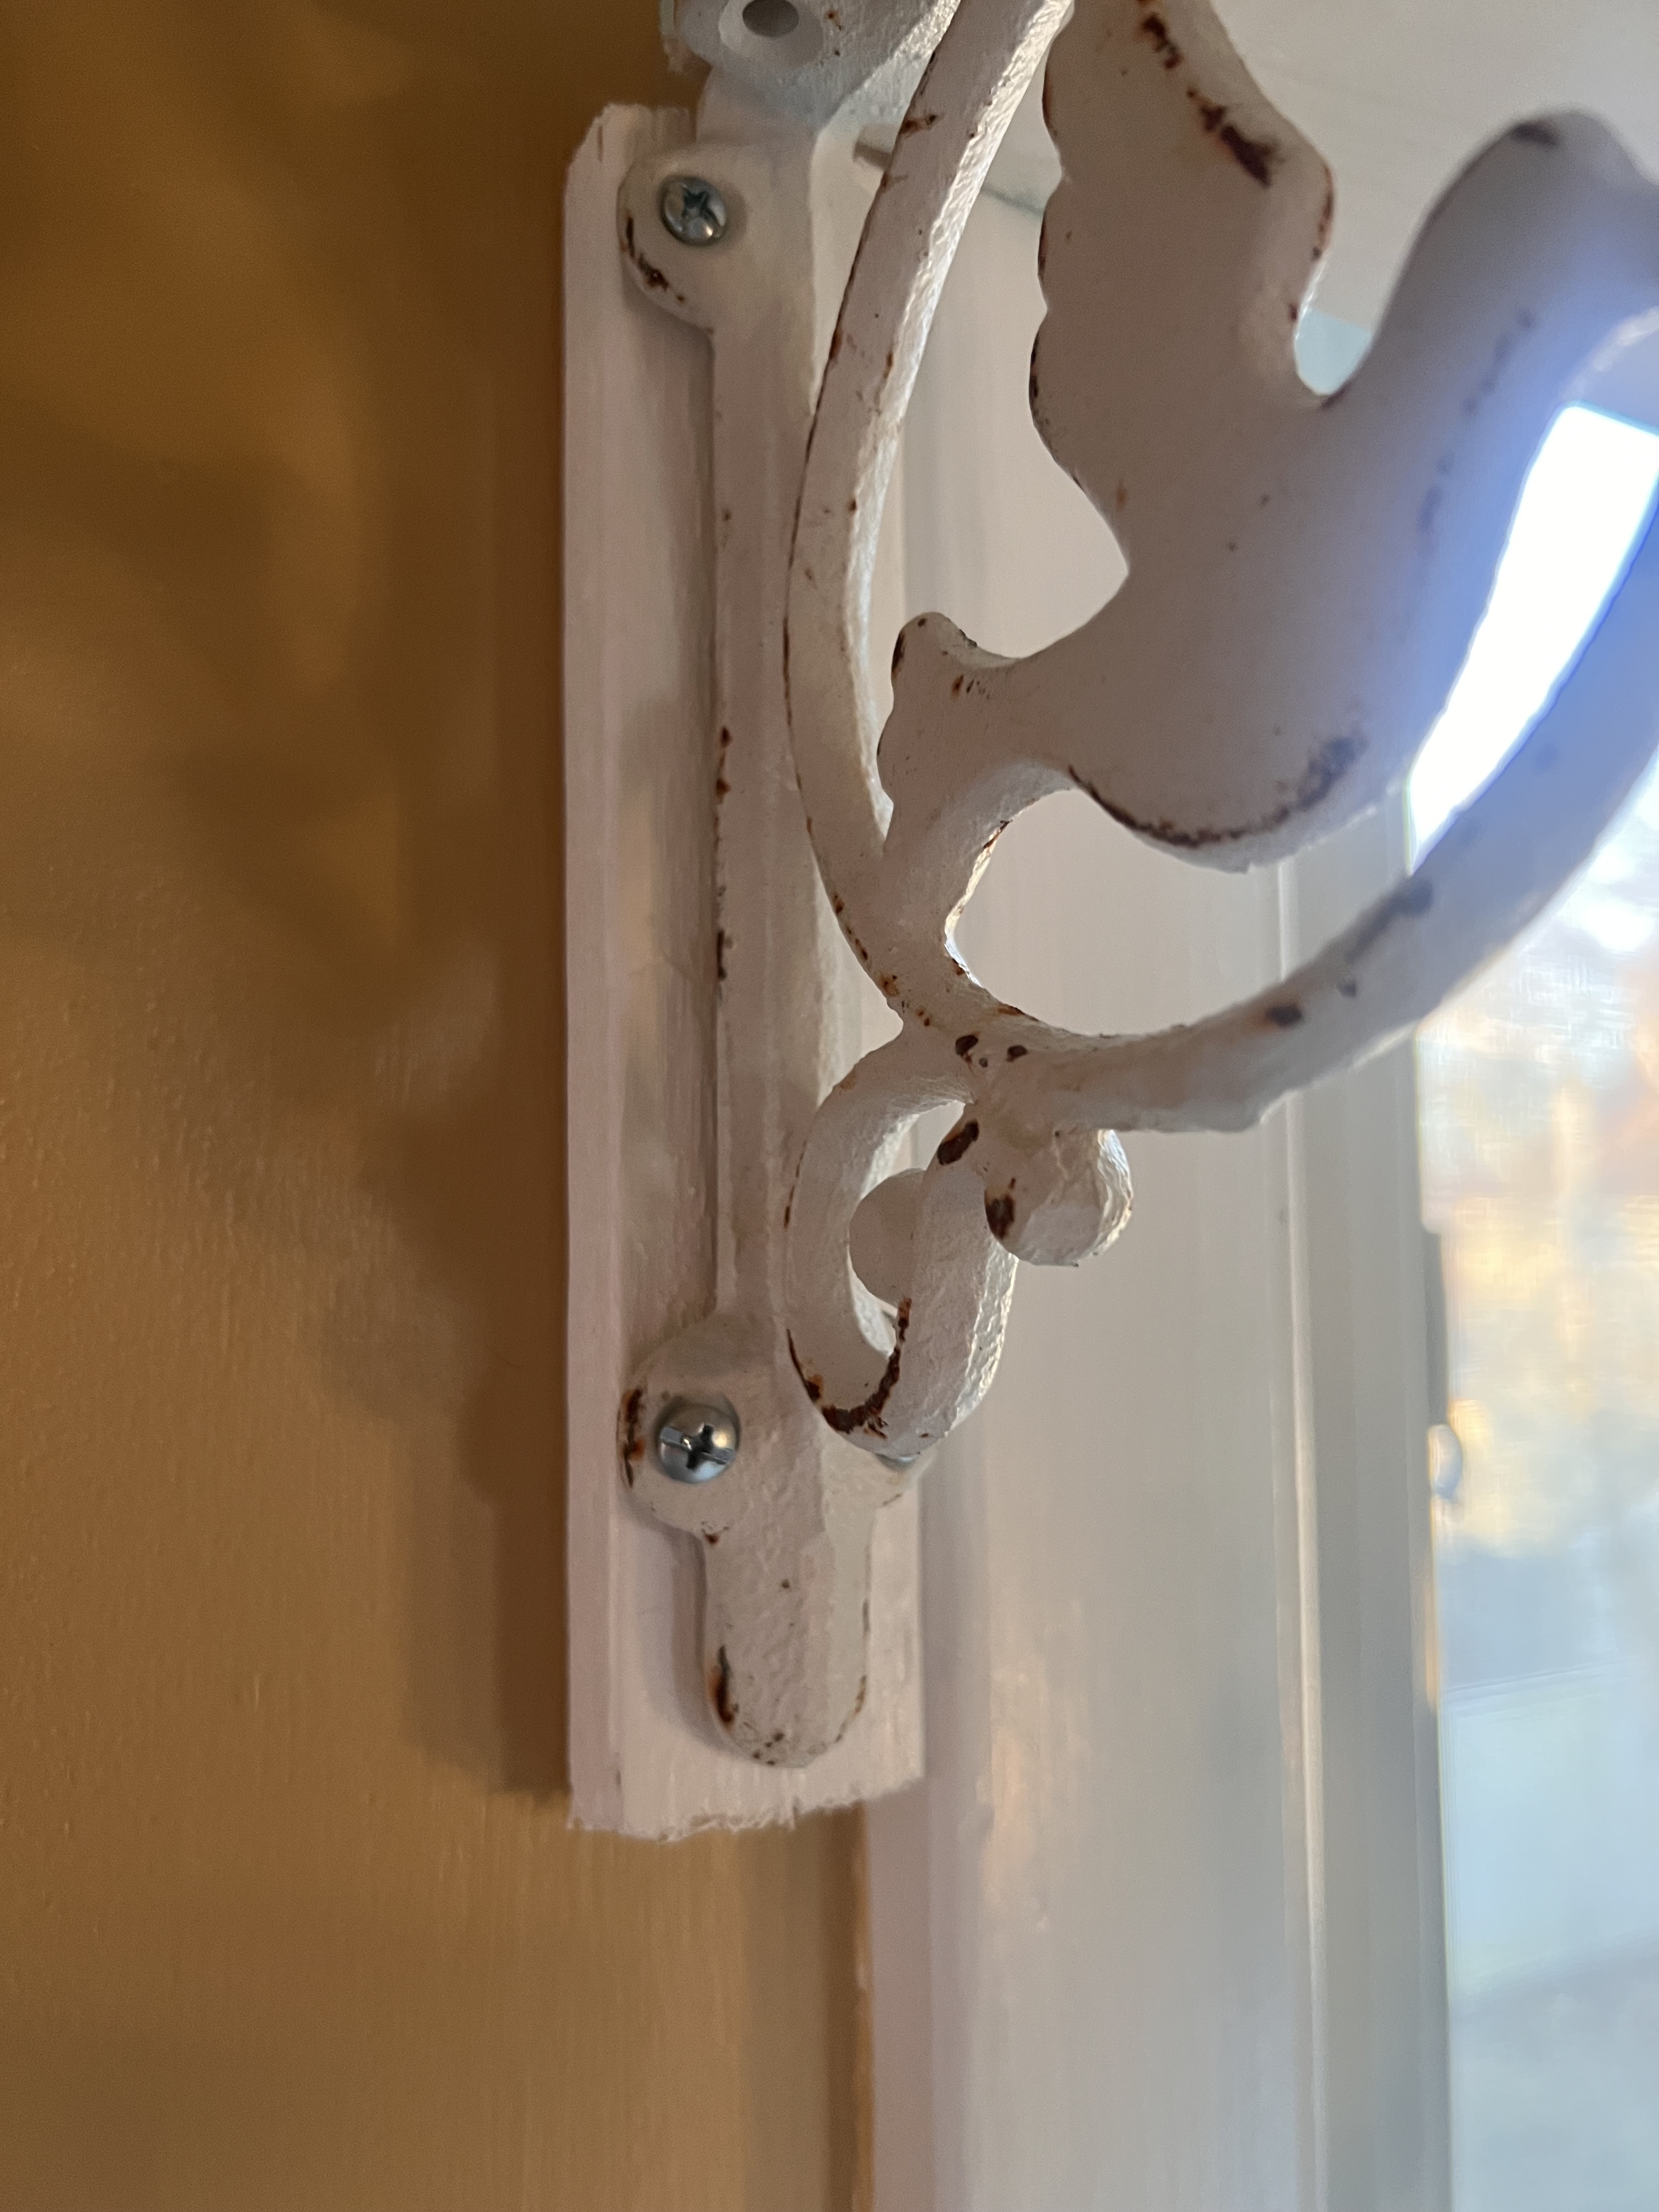
For brackets, you have lots of options. Salvaged corbels, inexpensive and simple shelf brackets from your local hardware store, or new, but vintage looking steel brackets can all be used. I opted to go with new but vintage looking brackets. I am not a person that likes things to match, I actually love variety and to me it allows me to not choose only one option. You can make this your own and choose matching and modern or vintage and eclectic…the choice is yours. I chose the following 3 different bracket options. They all were different sizes, but that worked perfectly as I needed more space from the bottom shelf for my rocking chair. I chose a 7″ green cast iron Mermaid, a 7.38″ distressed white cast iron Fleur De Lis, and a 9.2″ rustic white in Cast Iron bird. These can all be purchased on Amazon and delivered direct to you! (see below)


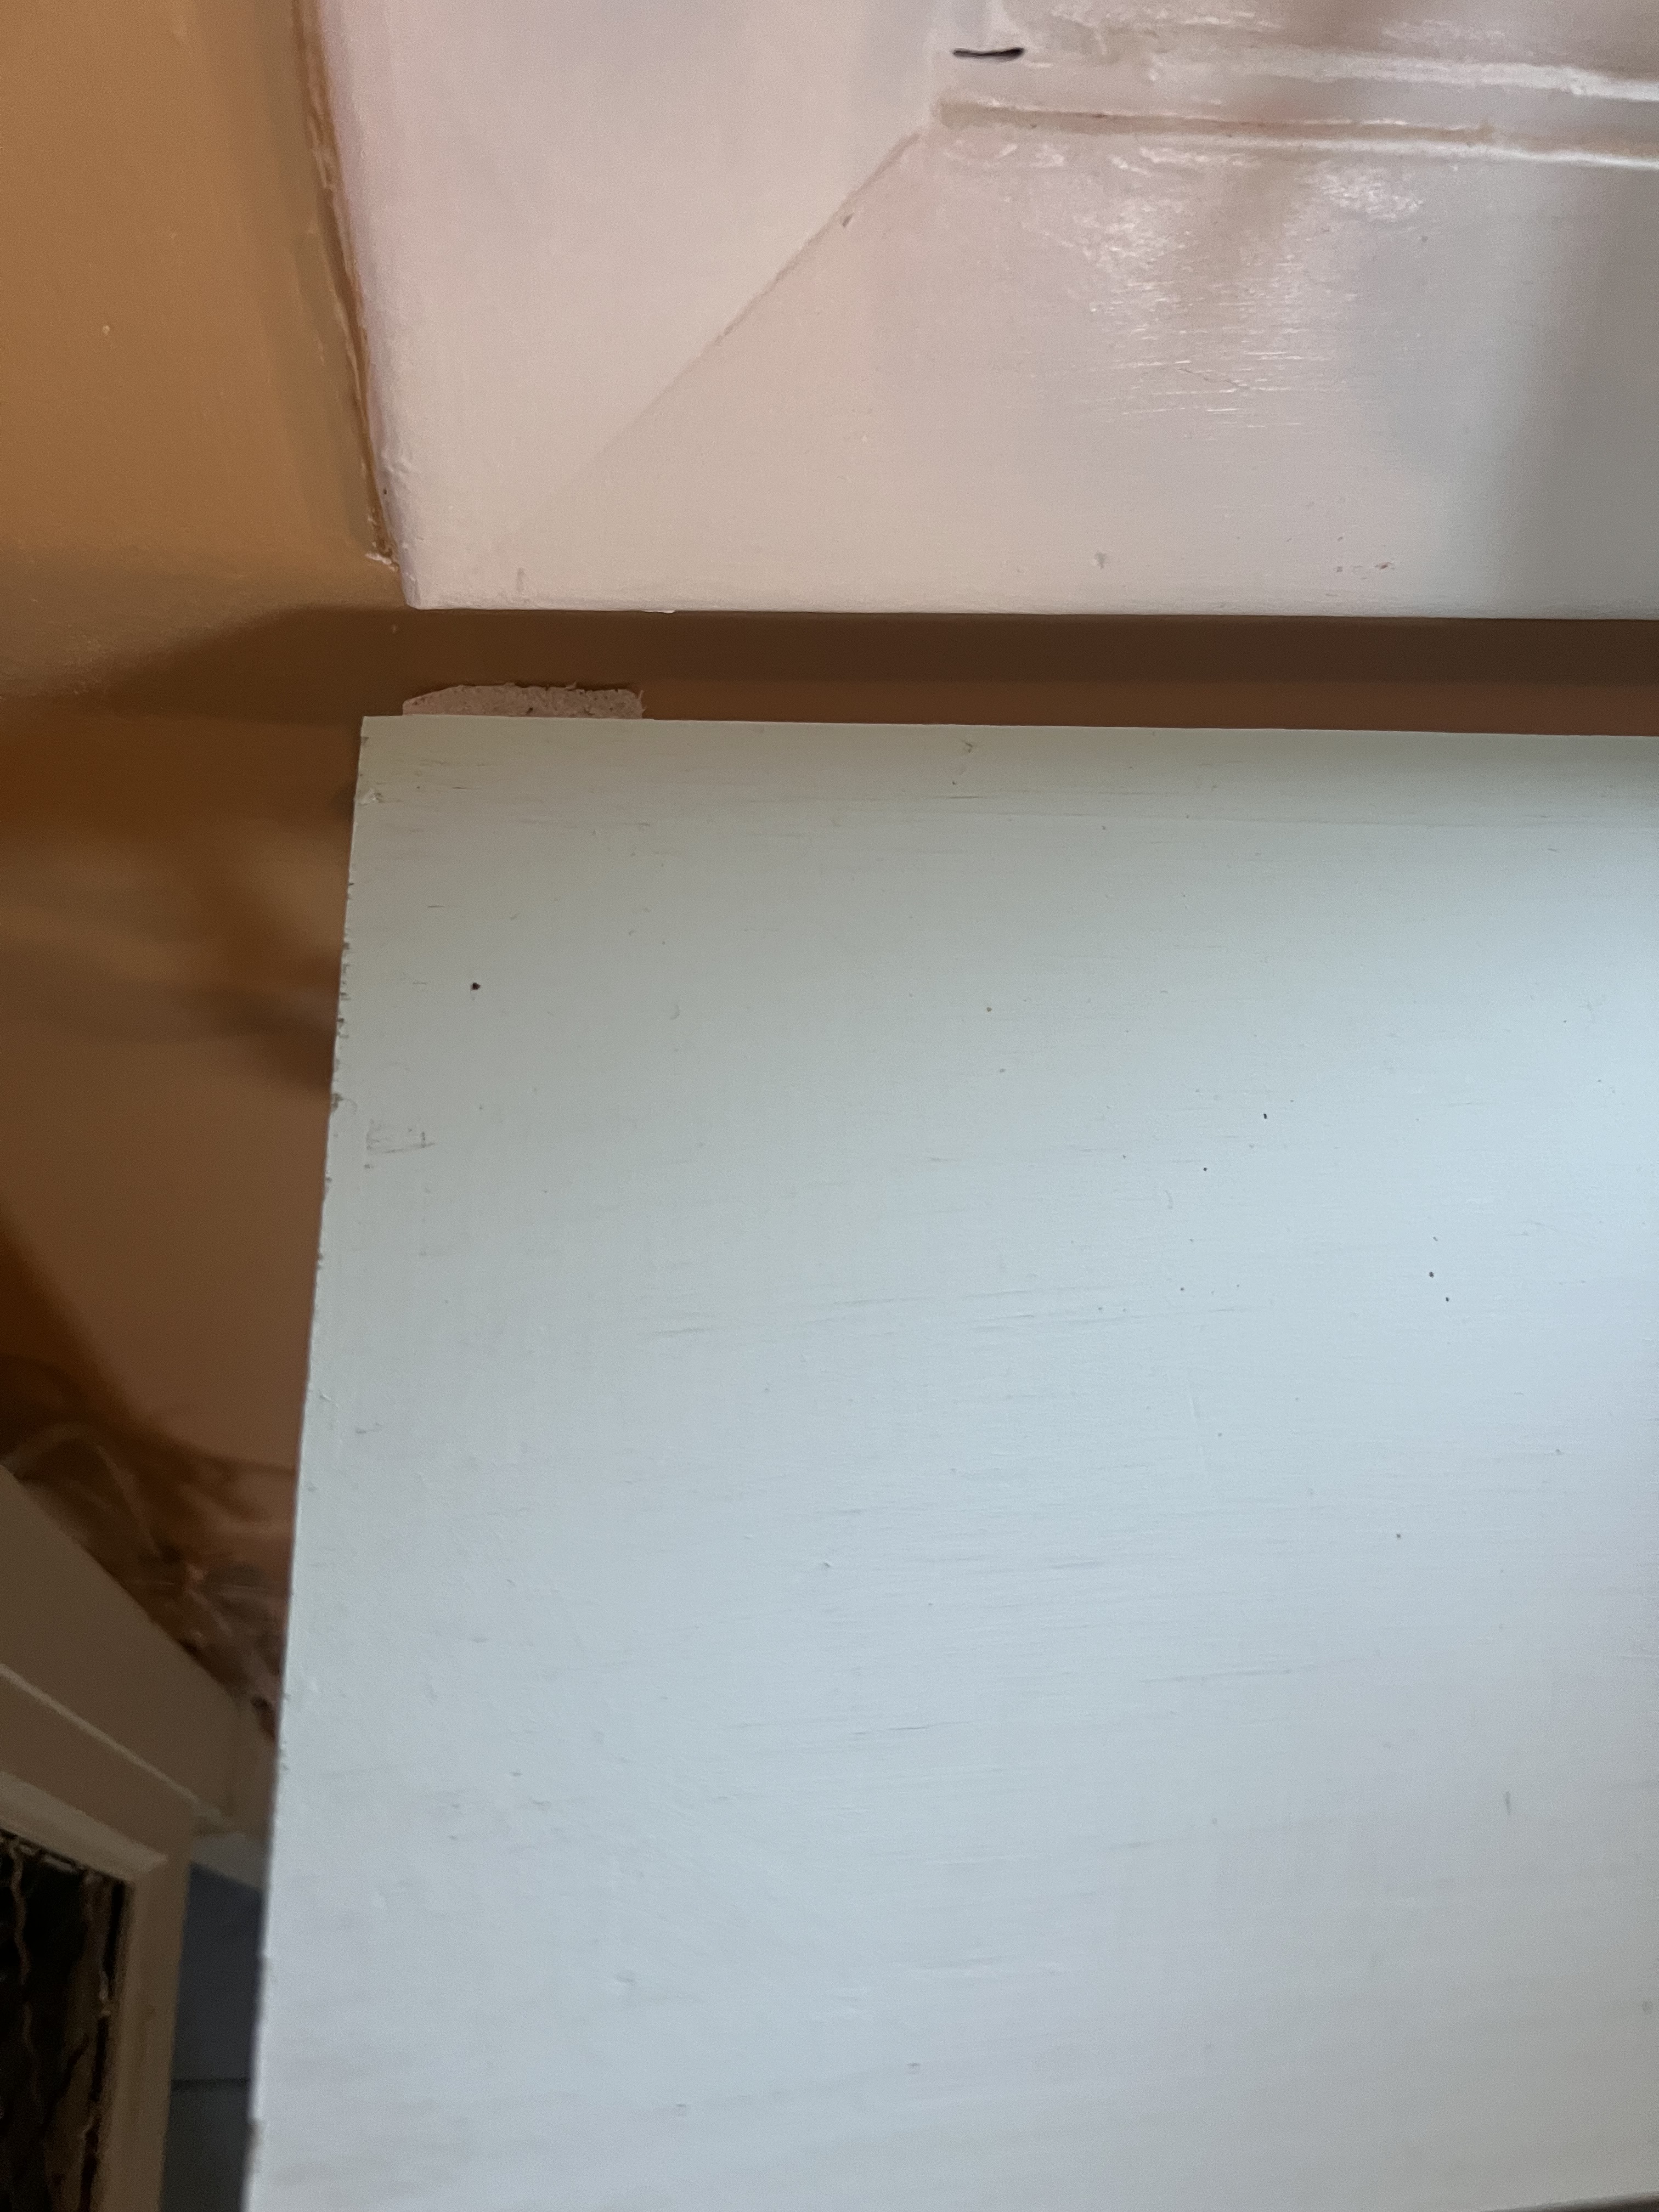
I used a simple 1x6x8 board cut down to size for the bottom shelf and 1x8x8 boards cut to size for the top two shelves. Tip: I like to get the brackets up and then measure the shelf length after to ensure an accurate cut. Because I was placing these around the window trim, I wanted the shelves to sit flush to the trim. I used 1×2 small pieces cut for each bracket length to bring the bracket out slightly. This also ensured the shelf was properly secured to the wall. I began by cutting the pieces to fit the brackets, painting with my trim paint, and installing 2 screws strategically under where the bracket would eventually sit. You can see this below. For the bottom shelf, I placed it directly under the trim, for the top two shelves, I placed them to the sides of the team. After cutting the boards and giving them a quick sanding, I used watered down my trim paint to give the bottoms of the shelf a whitewash bringing out the grain and knots in the boards and painted the top of the shelves with some left-over duck blue paint.
While I did secure the brackets to the wall, I opted to not secure the shelves to the brackets. This was so I could disassemble the shelves at a later date to clean the windows if desired. Tip: If you want to secure the shelves, you could drill small holes and use a small bolt and nut combo to secure the shelves in place allowing you to take apart in the future easily. Considering I do not have little ones anymore (my boys are 18) or a cat that may get curious, this was not necessary in my space.
After your shelves are installed, this is where it gets fun. Get potting or simply buy some cute small house plants, orchids, aloe, succulents…really anything that needs sun and water. Depending on the light you have, you may choose plants that need different levels of sun.
Sit back and enjoy the light and life!


Leave a comment